Adding Crease Lines
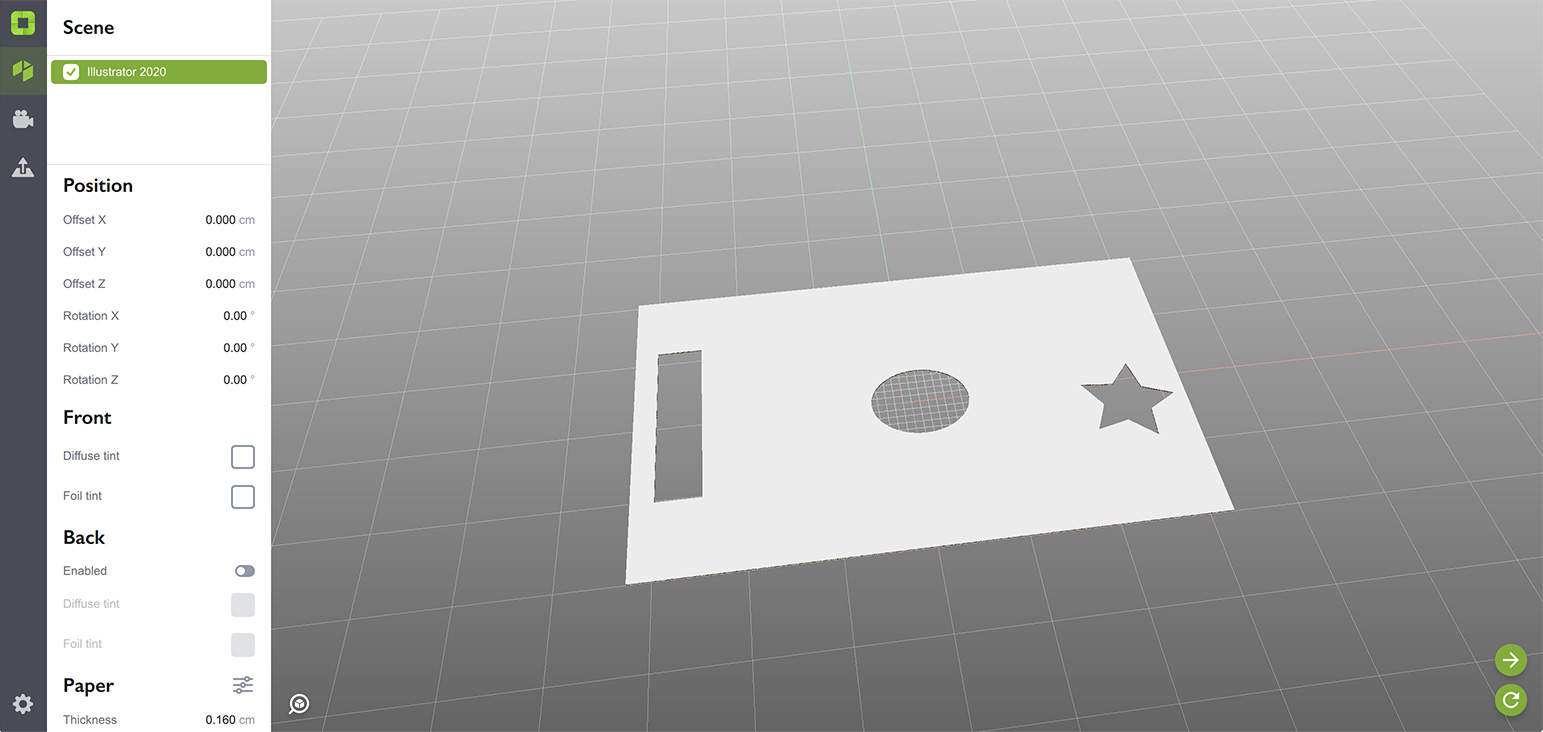
We’ll start from scratch for this tutorial, so make a new Illustrator document, make “Origami” layer there and draw a solid rectangle in the Origami layer. Then add three holes at the left, right and center, so you can easily distinguish the dieline parts later. Something like this:

We’ll fold the side parts up later in the tutorial, so the holes let us easily see the sides. Here’s what it looks like in Origami:
So far it is pretty much the same as in the previous tutorial, now let’s add a crease line.
Adding Crease Lines
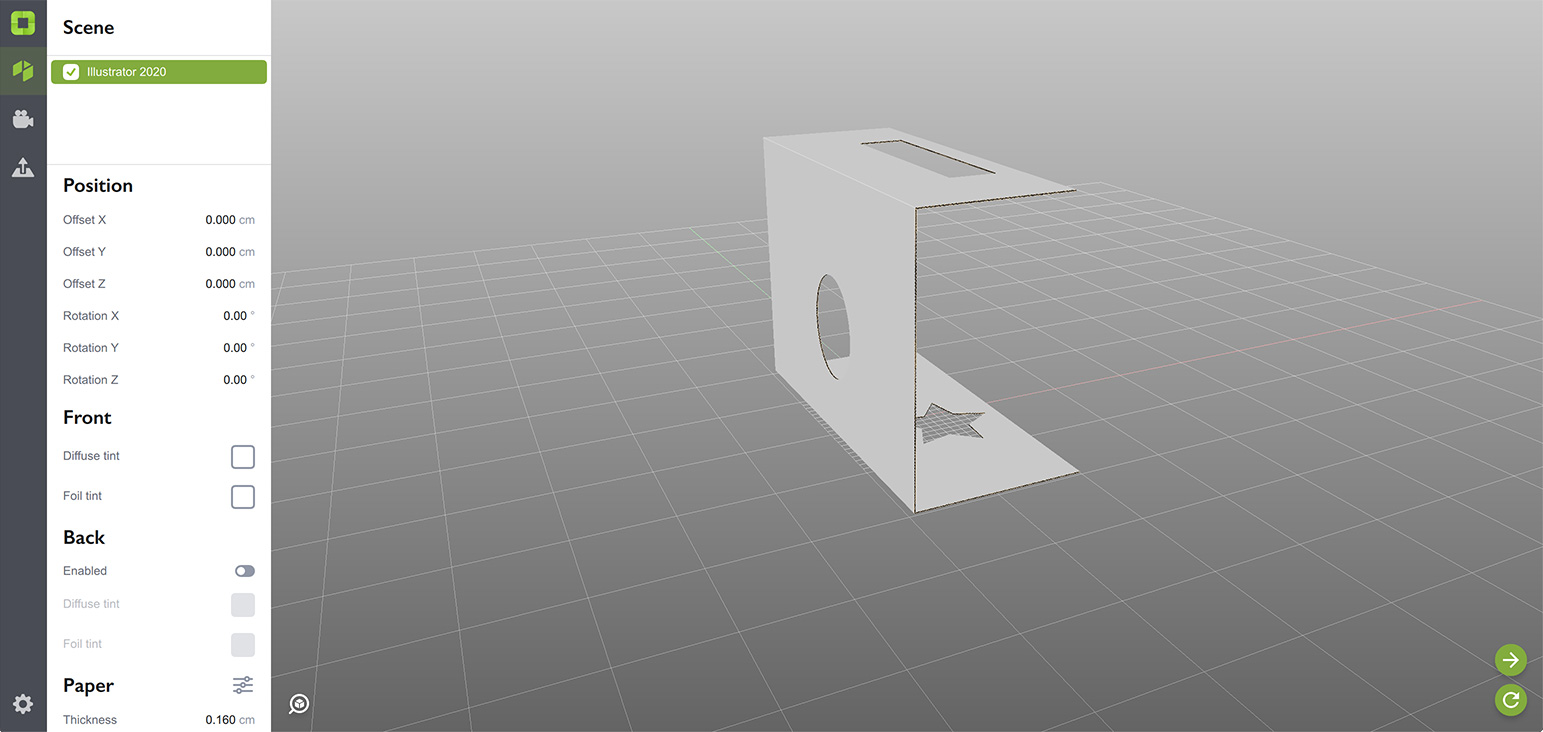
Crease lines are dashed. That’s the only difference between cuts and creases, so make sure you use the proper line style each time. Now add two vertical dashed lines, splitting the dieline into three parts:
When adding crease lines, consider these rules:
- Crease lines must be straight. Origami does not support curved crease lines;
- Crease lines must begin and end on cut lines. There are some exceptions, but for your first dielines make sure they do.
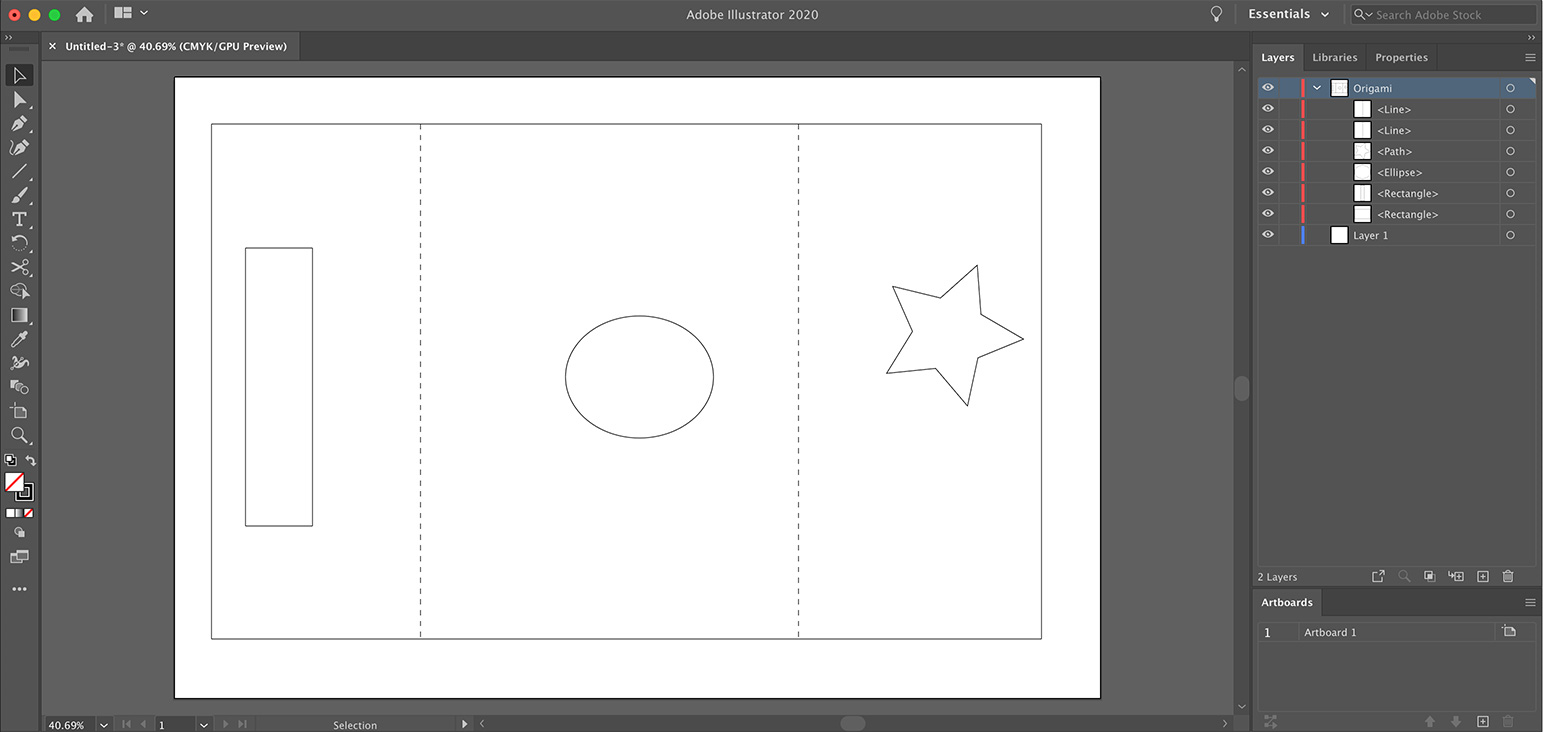
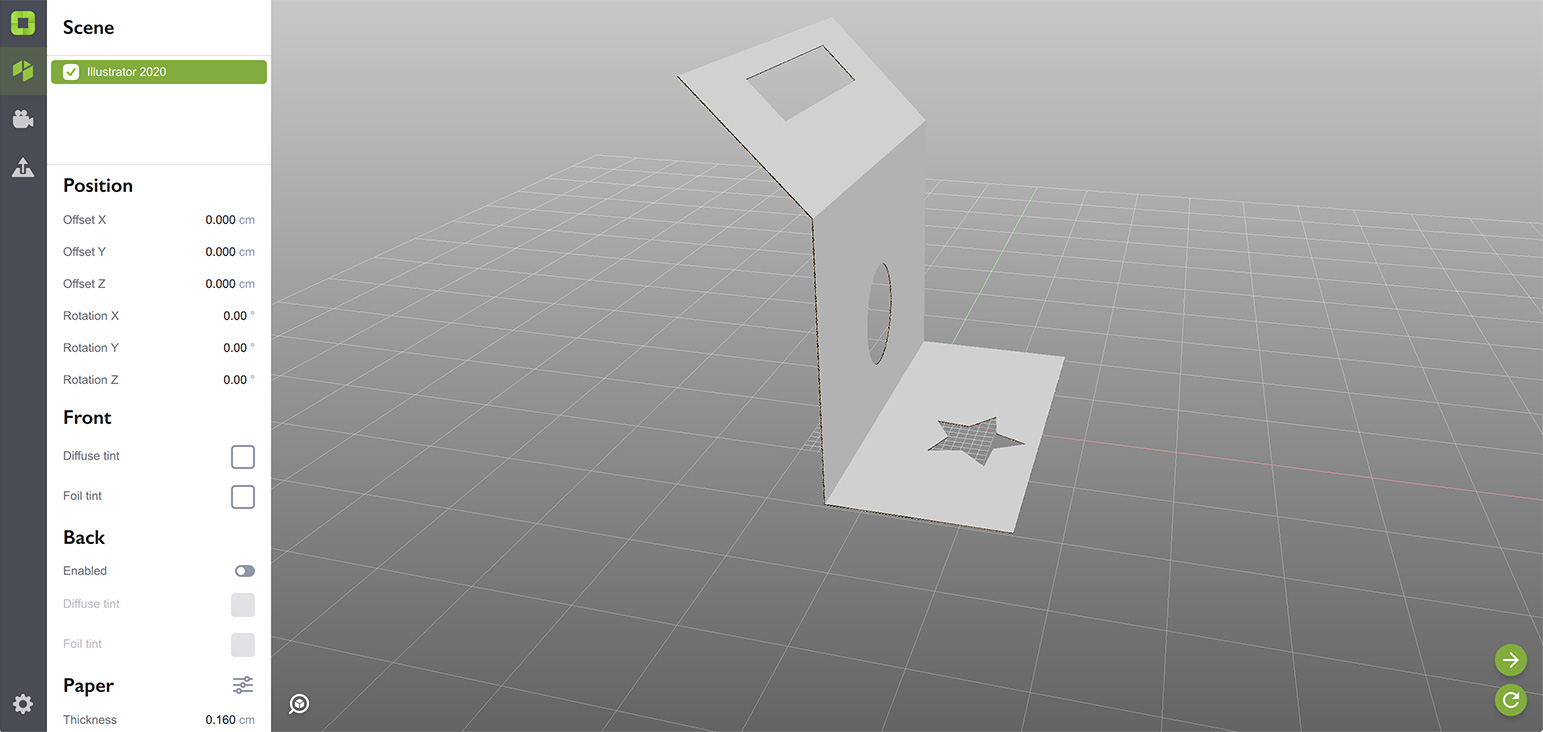
Again, Origami will tell you if the rules are broken, give it a try in your spare time. Now switch back to Origami and refresh the shape:
Wow, it is now folded up! It might not stay on the plate you expected, but Origami doesn’t know your plans (yet), so it selects the base plate itself. We’ll show how to help Origami to select the right plate in the next tutorial, meanwhile just leave it as is.
Non–right Angles
Both parts are folded at right angles — 90°, but what if you need a different angle? Not a problem, you can configure it right in Illustrator by putting the angle you need into the crease line’s path name:
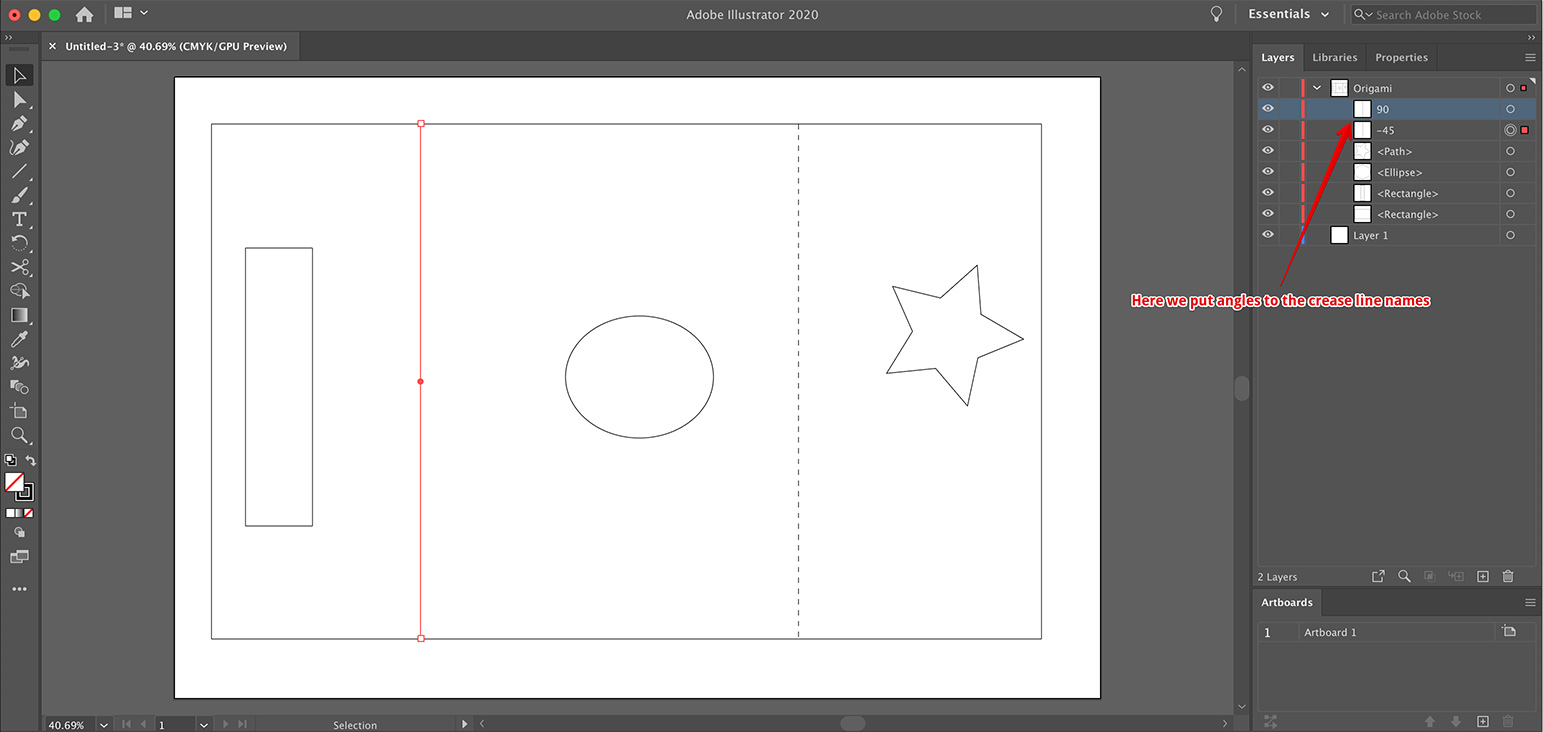
Here I used 90° and -45° as path names to get a shape like this:
Your image might look different even if you used more or less similar layout and angles, as Origami selects the base plate itself. Again, we’ll make it more predictable in the next tutorial.
You can edit folding angles right in Origami, have a look at our dieline viewer tutorial for more details.
Important Note
Origami only reads angles from the paths themselves. If you put a crease line into a group and name the group instead — Origami will ignore that. The rule of thumb is to make crease lines as simple, as possible. Do not overlap them, do not use the same line along the whole bottom of the box, do not group them and so on. The simpler — the better.
What’s Next?
Now when you’ve done with crease lines, it is time to learn how to select the bottom part of the shape, so it is positioned properly. Click the link below to do so.
- Defining Bottom — tell Origami where is the bottom of the shape;
- Multiple Shapes — how to have several objects in the same scene;
- Dieline Generator — make dielines faster with the online generator;
- Export and Rendering — learn to export scenes or render them.
Adobe and Adobe Illustrator are either registered trademarks or trademarks of Adobe Systems Incorporated in the United States and/or other countries.