Connecting to Illustrator
Origami is not limited by Illustrator and can be used with virtually any 2D editor capable of loading and saving SVG files. Adobe Illustrator is special as Origami comes with a plugin that simplify the process a lot. We’re going to release similar plugins for other editors, providing there is enough demand and the editor supports plugins. Affinity Designer is the first in line, we’re just waiting for them to support plugins.
In order to exchange dielines with Illustrator we need to install a special plugin that will work inside Illustrator and let Origami talk to it directly. Make sure you quit Adobe Illustrator first, as otherwise the plugin will not be installed.
Installing Illustrator Plugins
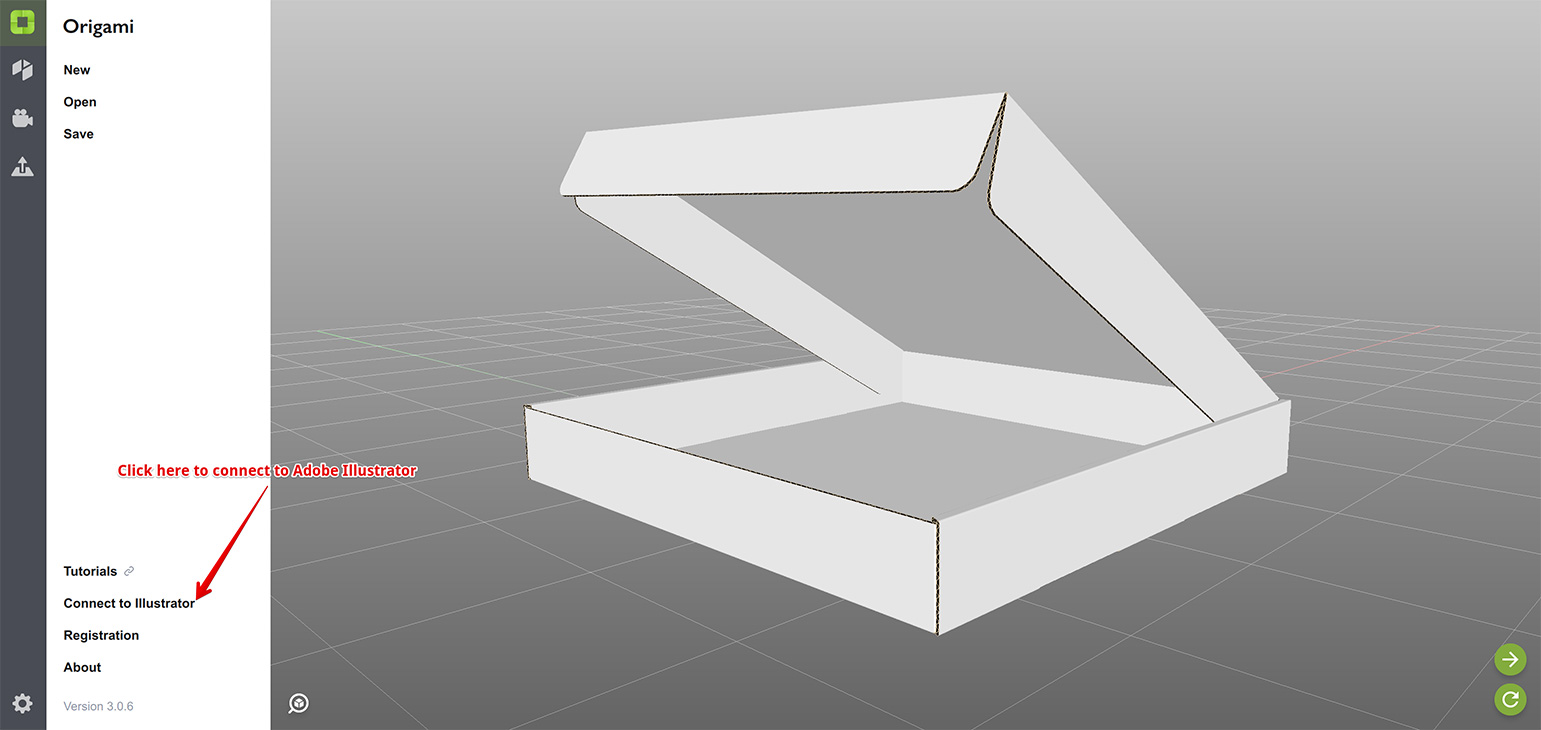
To install the plugin, open the installation window. You can do this by using File → Connect to Illustrator menu item, or by clicking a special button on the main panel:
Once you click the button, a list of Illustrators found in your system will pop up:
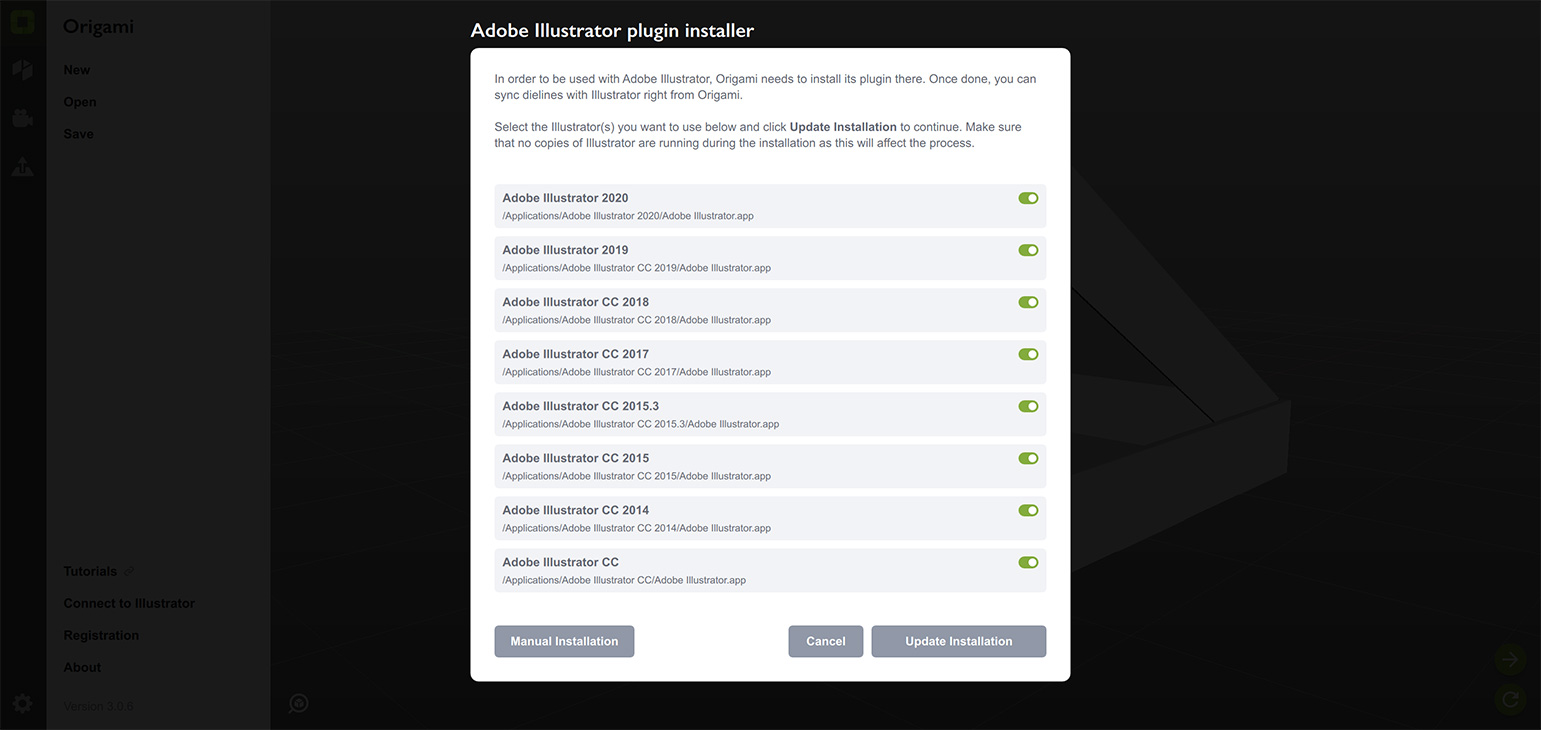
Origami looks for Illustrators on your computer and displays the list of what it found. If your Illustrator is not listed here, click the Manual button and follow the instructions in the “readme” file there. Otherwise, simply select the Illustrators you use by checking the boxes at the right and click Update Installation button to continue.
The next thing you see is the information about the changes in your system:
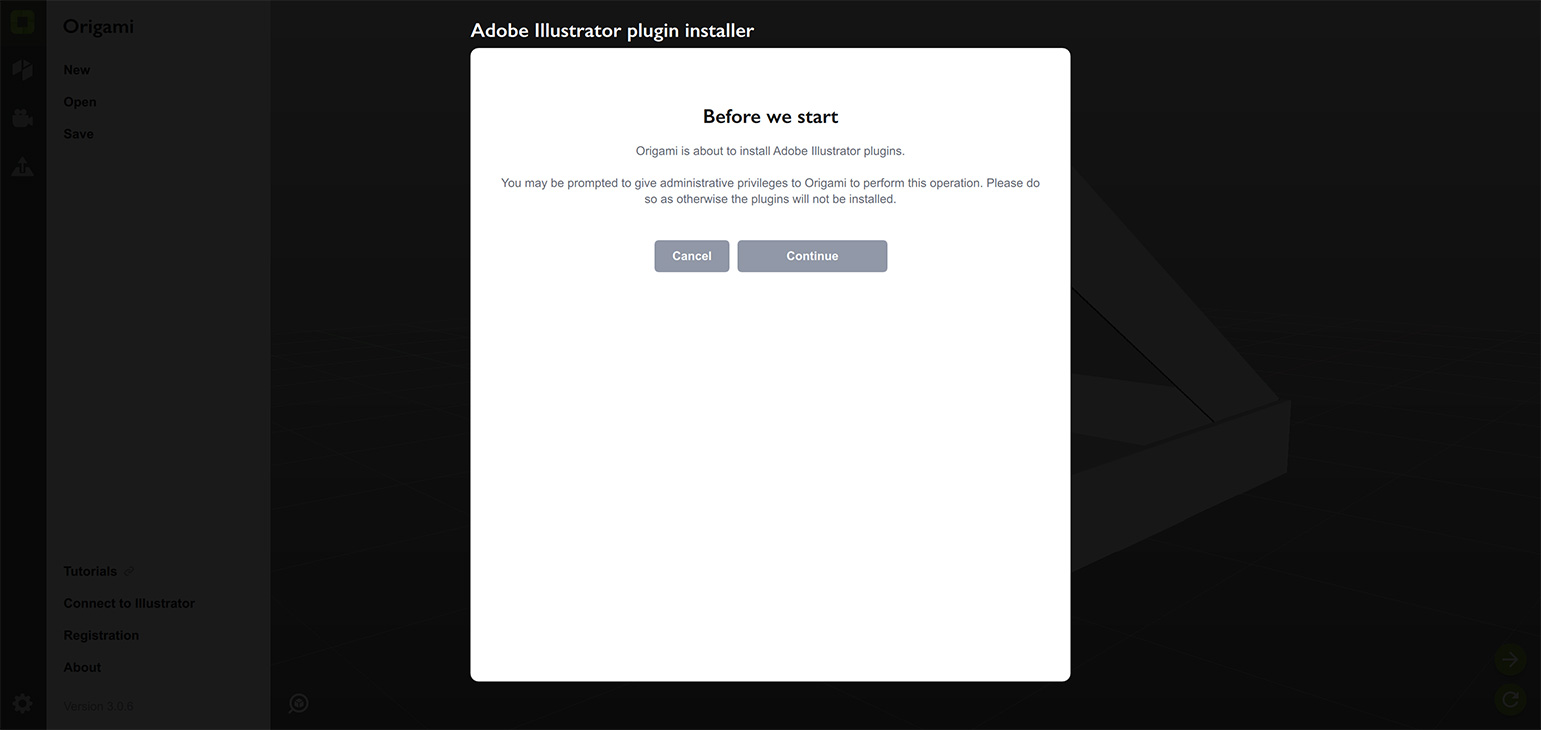
In order to install the plugin, Origami needs to modify your Adobe Illustrator installation (to copy the plugin files inside Illustrator). Both Mac OS and Windows do not allow applications to modify each other by default, so Origami requests an administrative access to your computer to make the changes. Once you click Continue a system pop up will be shown and ask you to let Origami to make the changes. Please do so, as otherwise the plugin will not be installed. If you are concerned about the changes Origami makes to your system, use the Manual button for more details about the process or for manual plugins installation.
Once done, you will see the confirmation message:
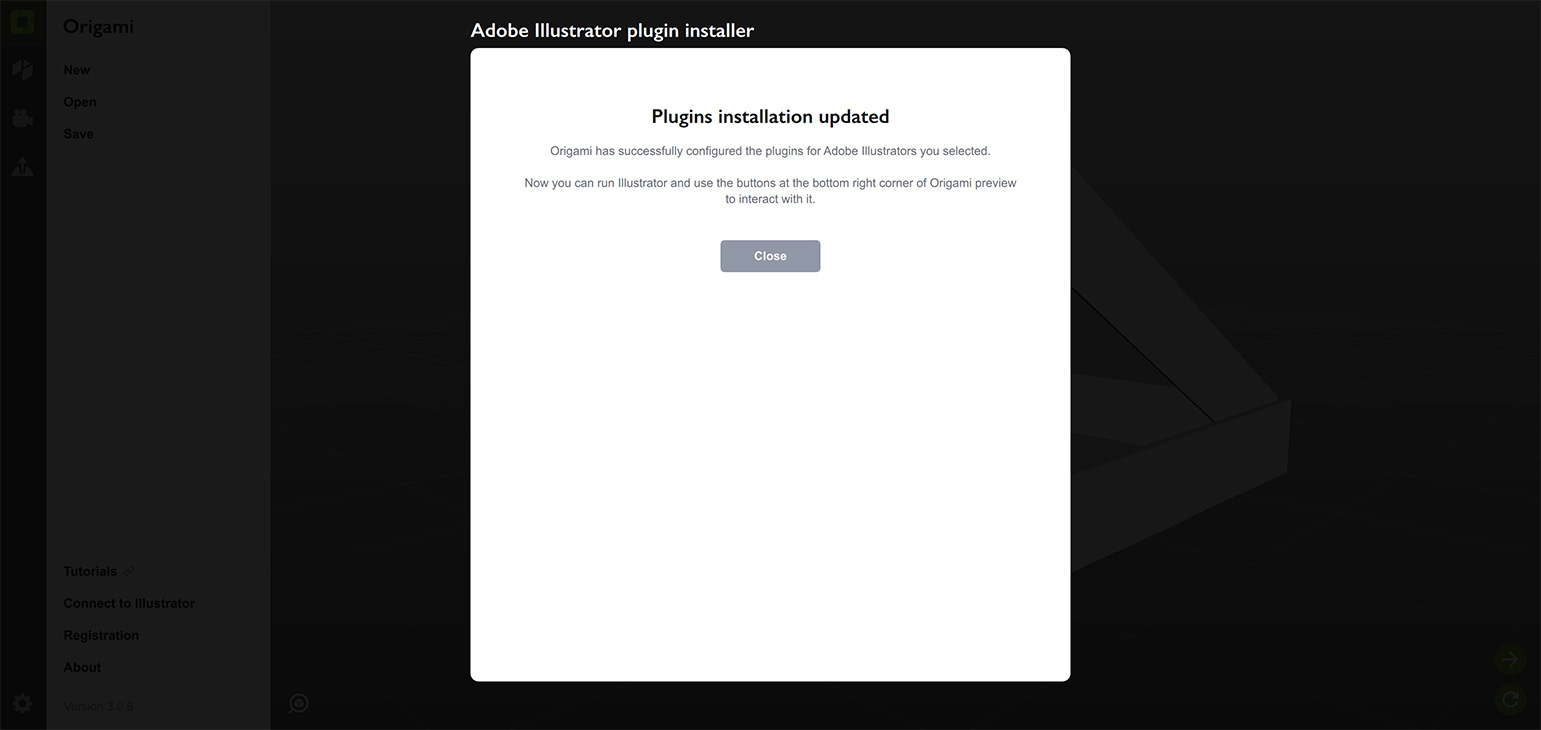
Great, you can now start Illustrator and continue reading.
Sending Dielines to Illustrator
We still have the sample pizza box shape loaded, so let’s send it to Illustrator for editing. It is important to say that all the shapes in Origami scenes are actually dielines. Although they are folded up, Origami still keeps the flat version of each shape, so you can edit it any time and get the 3D version updated.
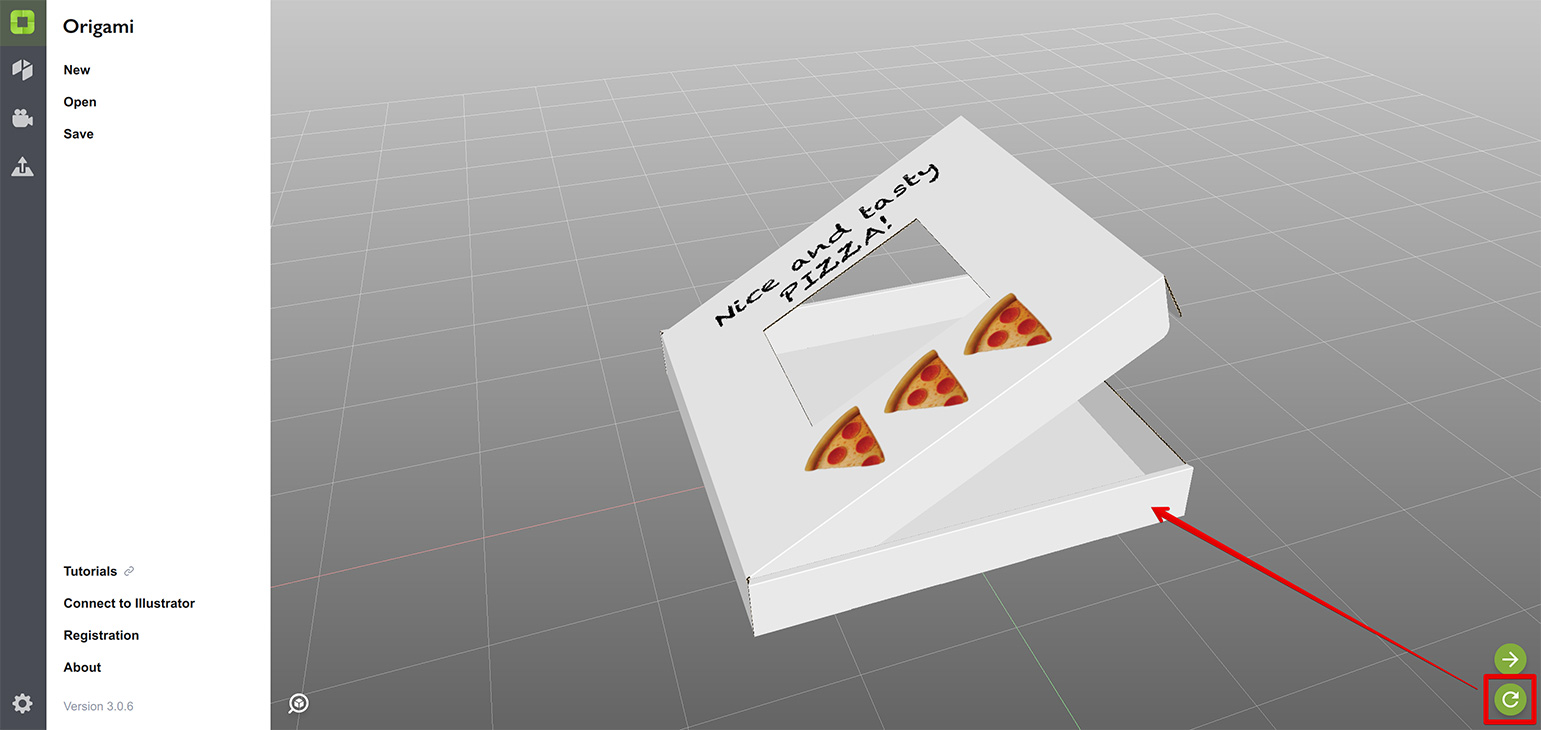
Once you selected a shape in scene, you get two buttons at the bottom right corner of the window:
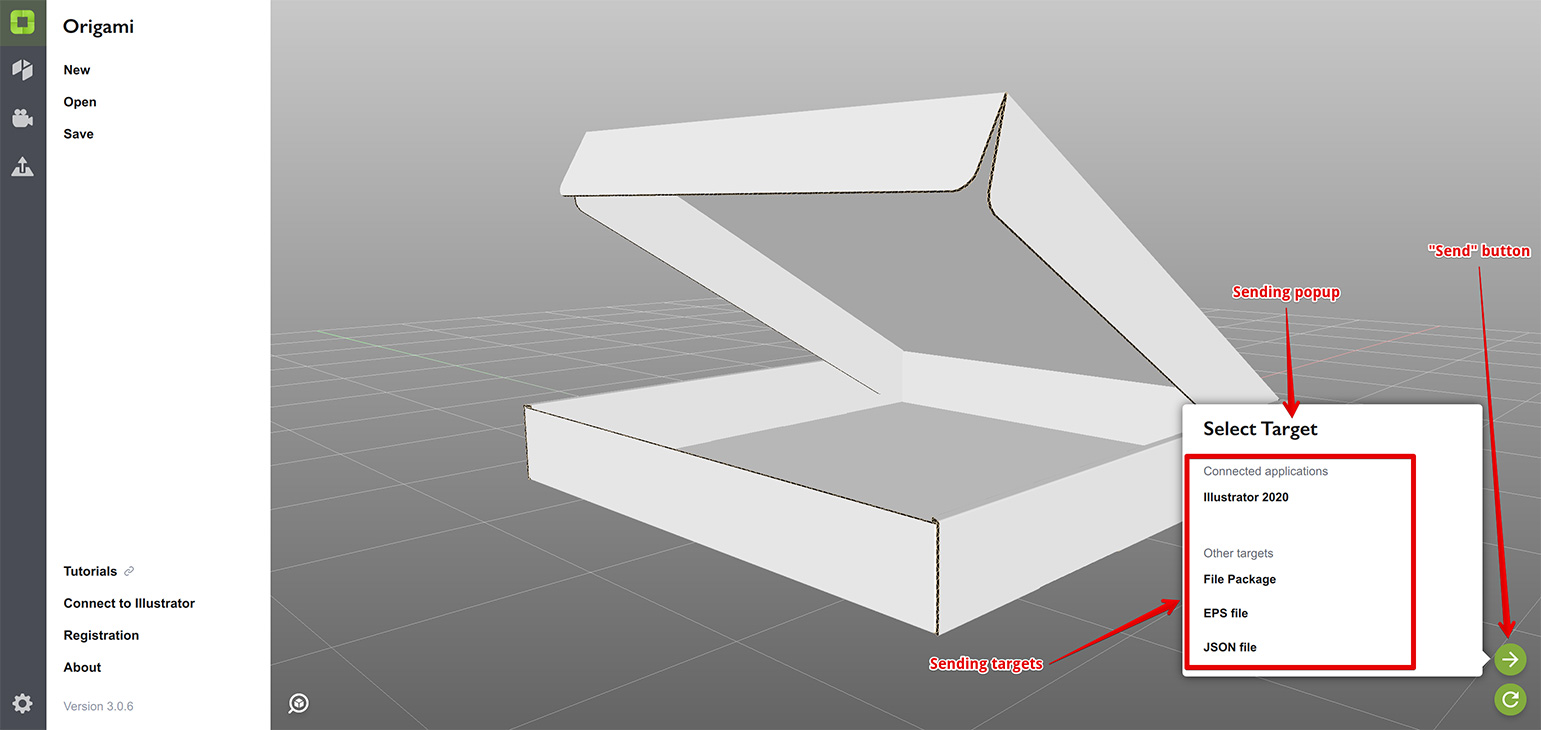
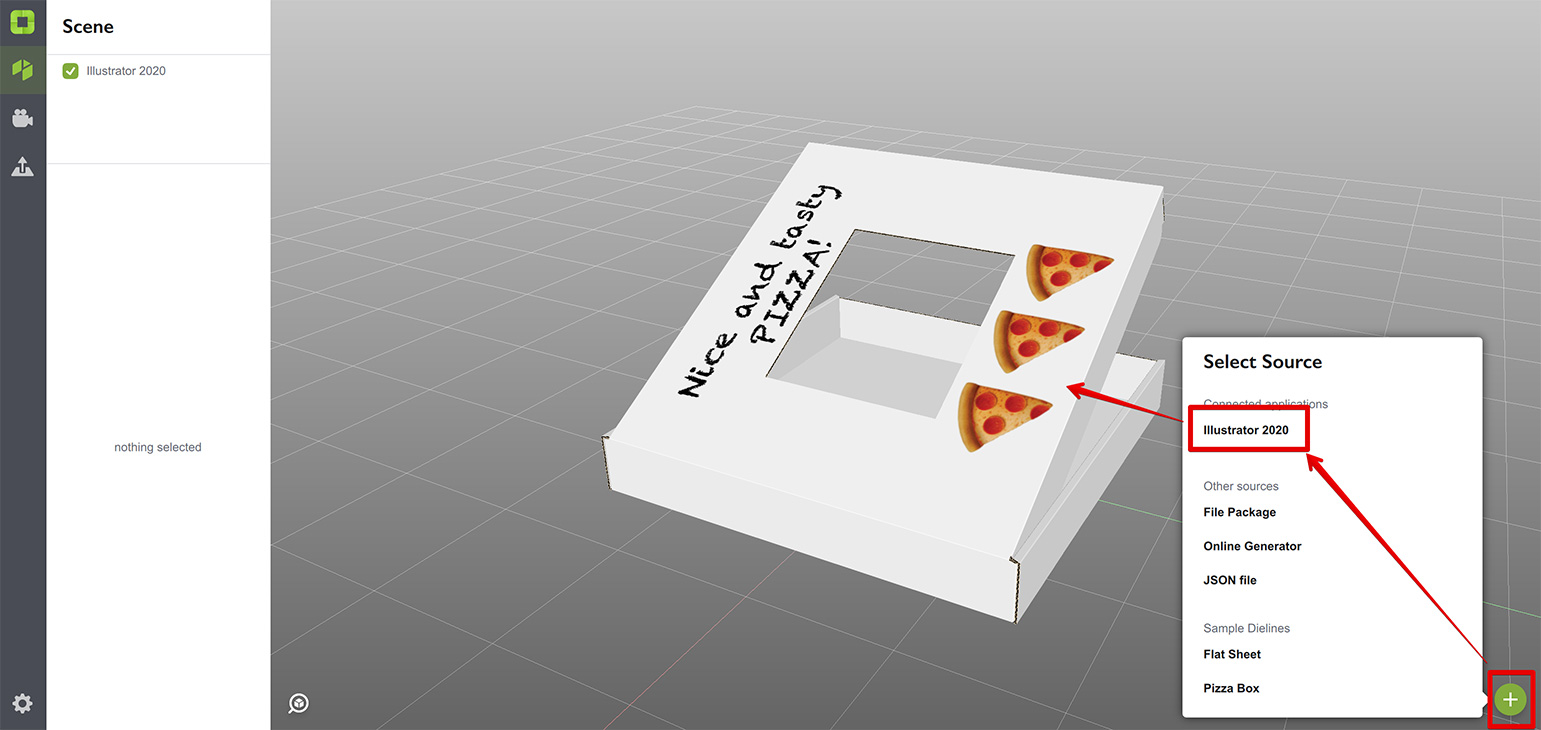
One of the buttons has an arrow pointing right — this is the “Send” button, which lets you “push” the selected dieline to one of the targets supported by Origami. This includes:
- all the running Illustrators that you installed plugins to;
- a folder with dielines as an SVG file and artwork;
- an EPS file with the dieline only;
- a JSON file of our internal format for 3rd party apps integration (you most likely don’t need that).
If you installed the Illustrator plugin and Illustrator is running, you will see it in the pop–up list as a sending target as on the screenshot above. Origami will modify the currently opened document in Illustrator, so make sure no documents are open, or make and select a new one, then click the Illustrator item in the sending popup.
In a few seconds you will get something like this in Illustrator:
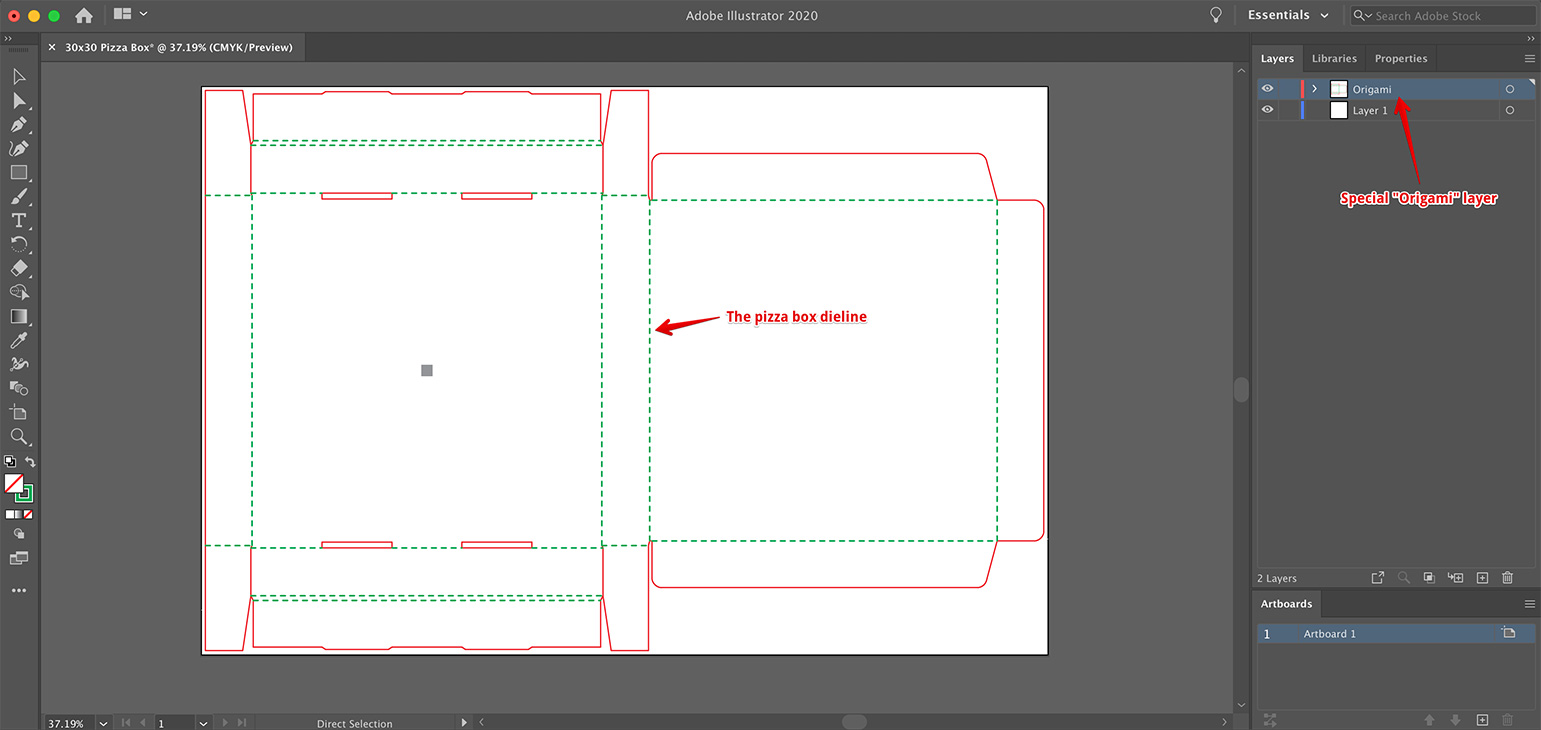
Note that Origami made a special “Origami” layer with the dieline and left the default “Layer 1” intact. It is essential to keep all the dieline–related paths in the Origami layer and keep the artwork separate.
Make Changes in Illustrator
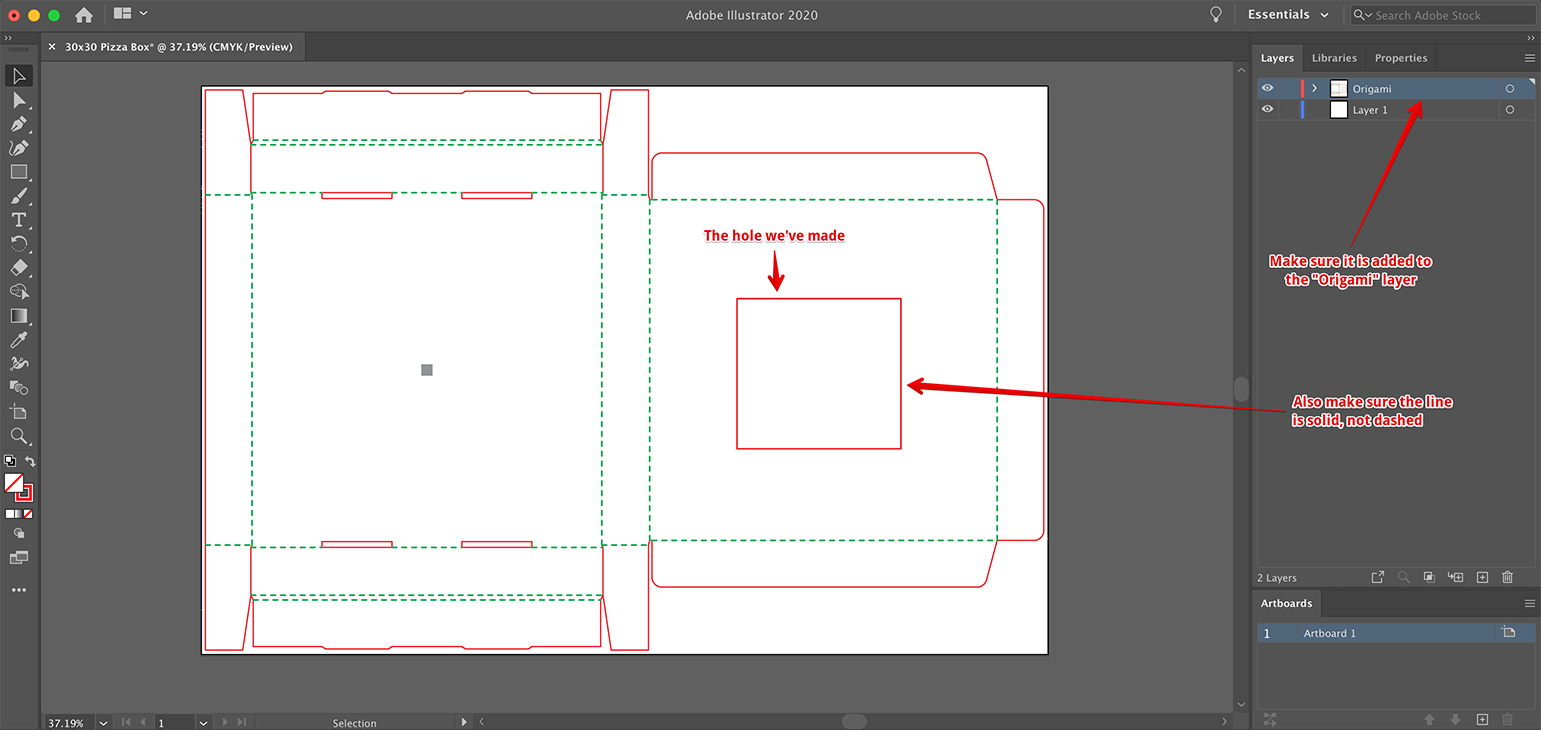
Now lets make some changes to the dieline in Illustrator, say lets add a hole to the lid, so we can see the pizza. To do that simply draw a solid-line rectangle in the Origami layer in the middle of the box lid:
Then switch to the “Layer 1” layer in Illustrator and add some artwork to the lid around the hole:
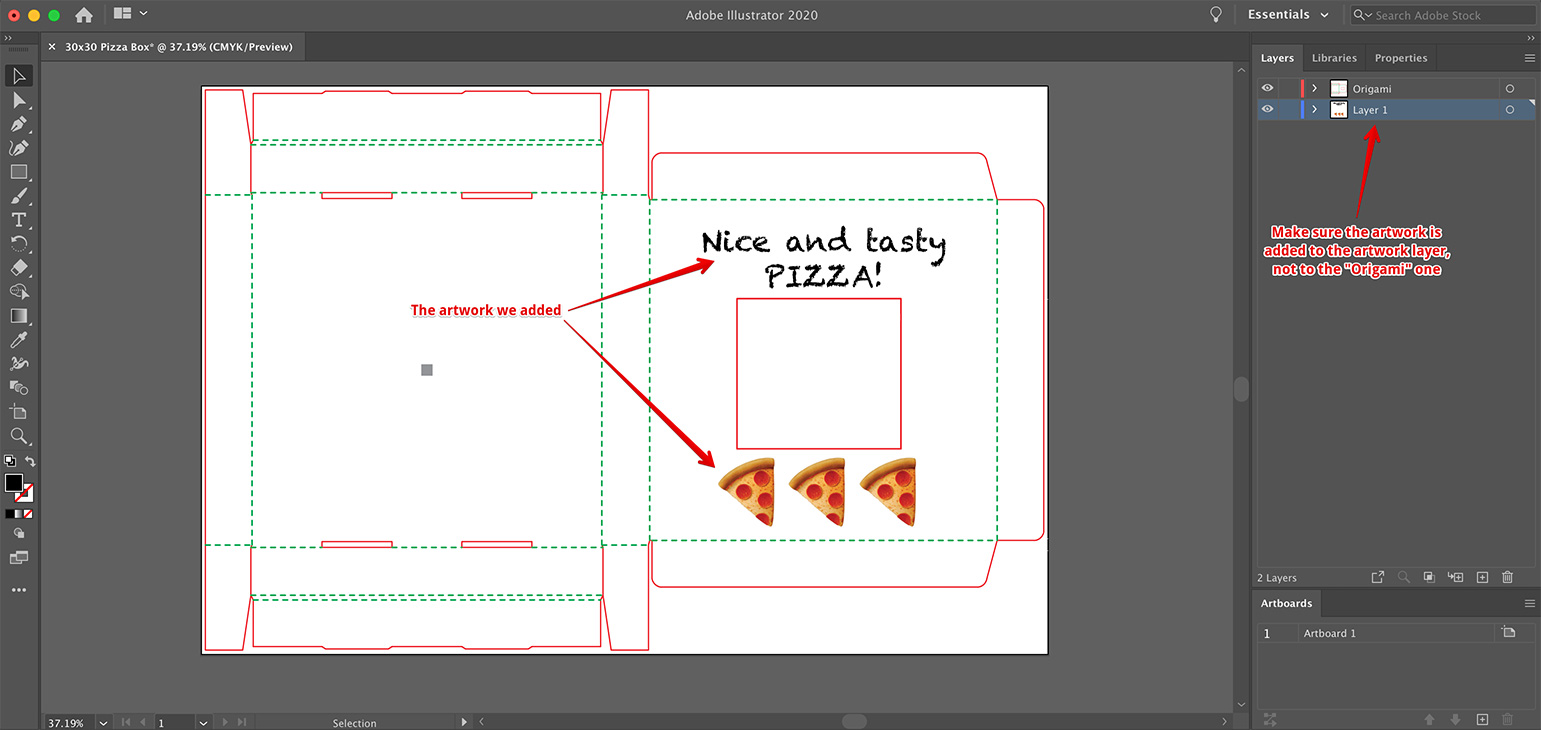
Make sure the artwork is added to the “Layer 1” layer, not to the “Origami” layer. Always make sure that dieline and only dieline is in the Origami layer. Once you finished with the artwork, switch back to Origami, make sure the pizza box shape is still selected and click the Refresh button at the bottom right corner of the window:
If everything is done right, you’ll see the hole in the lid and your artwork around like on the image above.
Note that when you clicked the Refresh button, Origami didn’t show the popup to select where to get the dieline from. Origami remembers the last target you used to send or receive this particular dieline and doesn’t ask you if it knows where to get the dieline from. You can right–click the Refresh button if you want to re–select the dieline source. This doesn’t apply to sending, Origami always asks you where to send the dieline.
On Artwork Handling
Now you have both dieline and artwork in Origami, but there is a very important point here. While the dieline is stored perfectly “as is”, the artwork is just a raster copy. It is good for preview, for rendering, for exporting to 3D models, but this is not the master copy in any way. If you later send the dieline to Illustrator, Origami will only send the dieline, not the artwork.
Once again: Origami sends and receives dielines from Illustrator, but it only reads the artwork from Illustrator.
Starting From Scratch
Let’s reset the Origami project, keeping the Illustrator project opened. Click File → New in Origami and confirm you don’t want to save the changes. You’ll end up with an empty scene and the Plus button at the bottom right.
You see the Plus button when the scene is empty or if nothing is selected in the scene. In this case Origami has nothing to refresh or send, so the only option it has for you is to add a new shape, so you see the “plus” button. If you add or select something, you’ll see “send” and “refresh” buttons instead.
So click the Plus button, select Illustrator in the popup list and you should get your pizza box back:
So the idea is simple: all the dieline information, folding details and artwork is stored in Illustrator files. Although Origami keeps a copy of some of these data, it is a good idea to keep the Illustrator project, as well.
We’ll discuss dielines editing in more details in the next chapters.
Uninstalling Plugins
If for any reason you need to uninstall the Illustrator plugin, you can do it absolutely the same way as you installed them. Click “Connect to Illustrator” button, then de–select the Illustrators where you want to remove the plugin. After that click Update Installation, then Continue, let Origami make the changes and it’s done.
What’s Next?
Now as you can send data to Illustrator and read them back, it is time to make your first dieline from scratch. Let’s go!
- Making a Simple Dieline — make a simple dieline and see it in 3D;
- Adding Creases — learn how to fold a dieline;
- Defining Bottom — tell Origami where is the bottom of the shape;
- Multiple Shapes — how to have several objects in the same scene;
- Dieline Generator — make dielines faster with the online generator;
- Export and Rendering — learn to export scenes or render them.
Adobe and Adobe Illustrator are either registered trademarks or trademarks of Adobe Systems Incorporated in the United States and/or other countries.