Adding Effects to Origami Shapes
Origami supports foil, varnish and emboss effects by using spot colors to mark their areas. This tutorial explains how to configure these effects, see them in preview and finally export.
This tutorial explains the foil effect in detail, as varnish and emboss work in a very similar manner.
Making a Test Scene
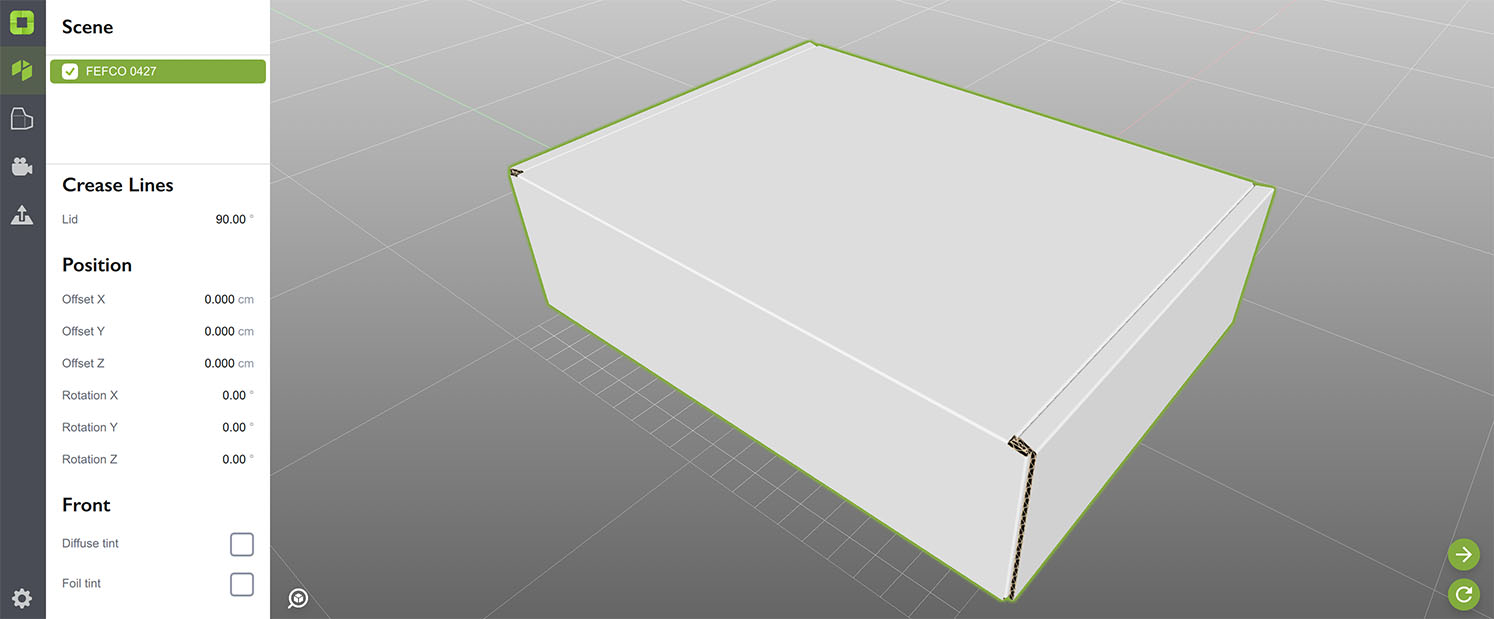
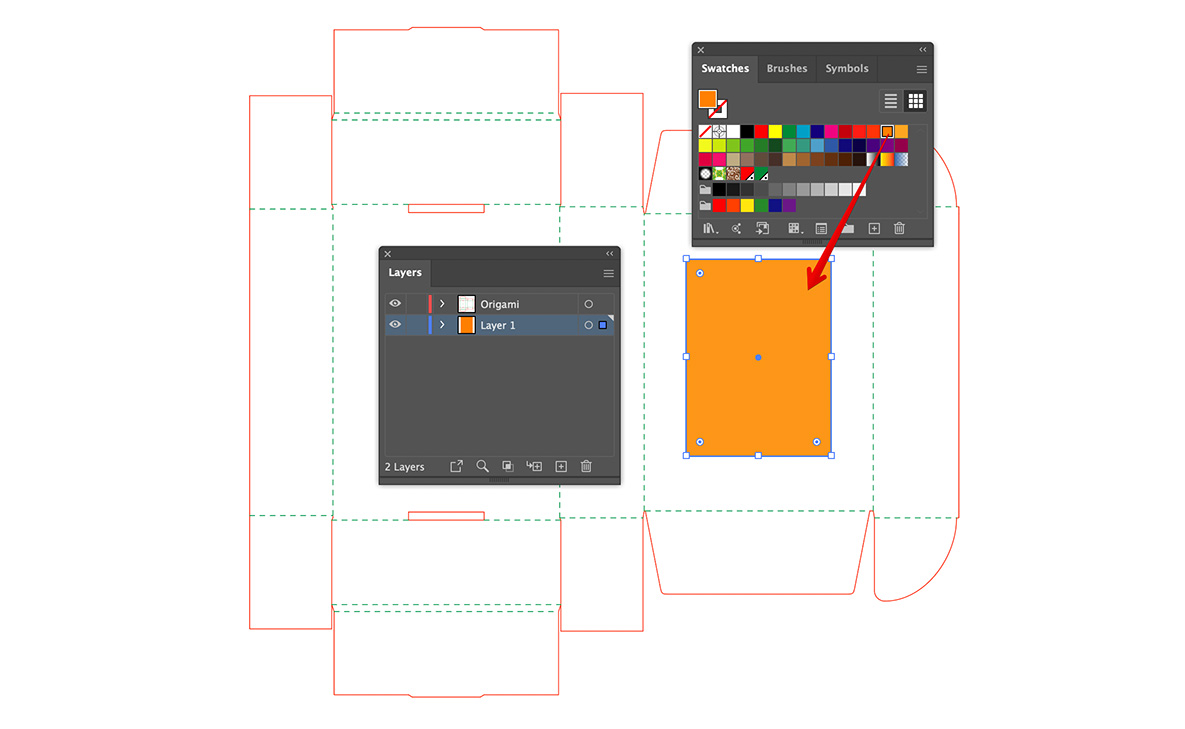
Let’s start with a FEFCO–0427 box made with our built–in dieline generator. With all the default settings you will get something like this in Illustrator:

And something like this in Origami:
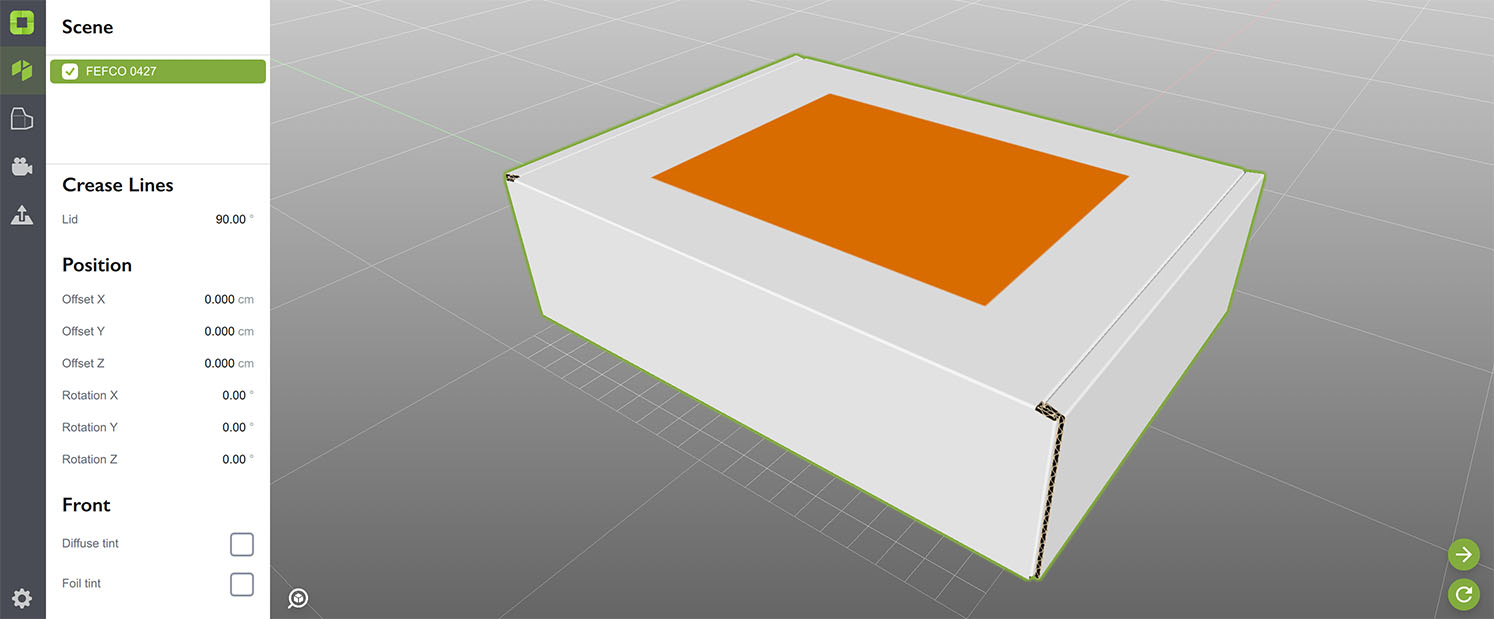
Now add a rectangle or text to the top of the box and fill it with a gold–looking color (or any other, it doesn’t really matter). You should have this in Illustrator:
And this in Origami:
We’re almost there, the only thing is that our “gold” color is not gold enough, as it doesn’t reflect. Let’s do this.
Converting Paint into Gold
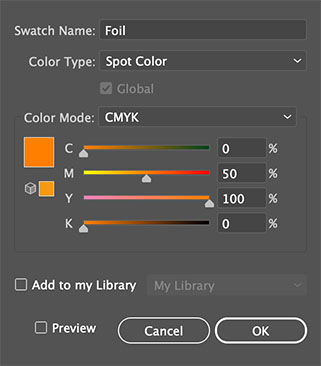
Double–click that orange color in the “Swatches” window of Illustrator to open the “Swatch Options” window:
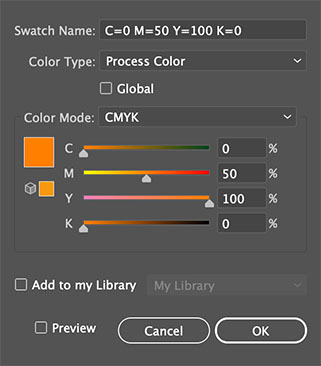
And make two changes:
- Set the swatch name to “Foil”;
- Set the color type to “Spot Color”.
You should end up with this:
Click OK to commit the changes and make sure the “gold” color you used to add that extra artwork to the top of the box is now a spot color named “Foil”. If everything is fine, switch to Origami and update the scene:
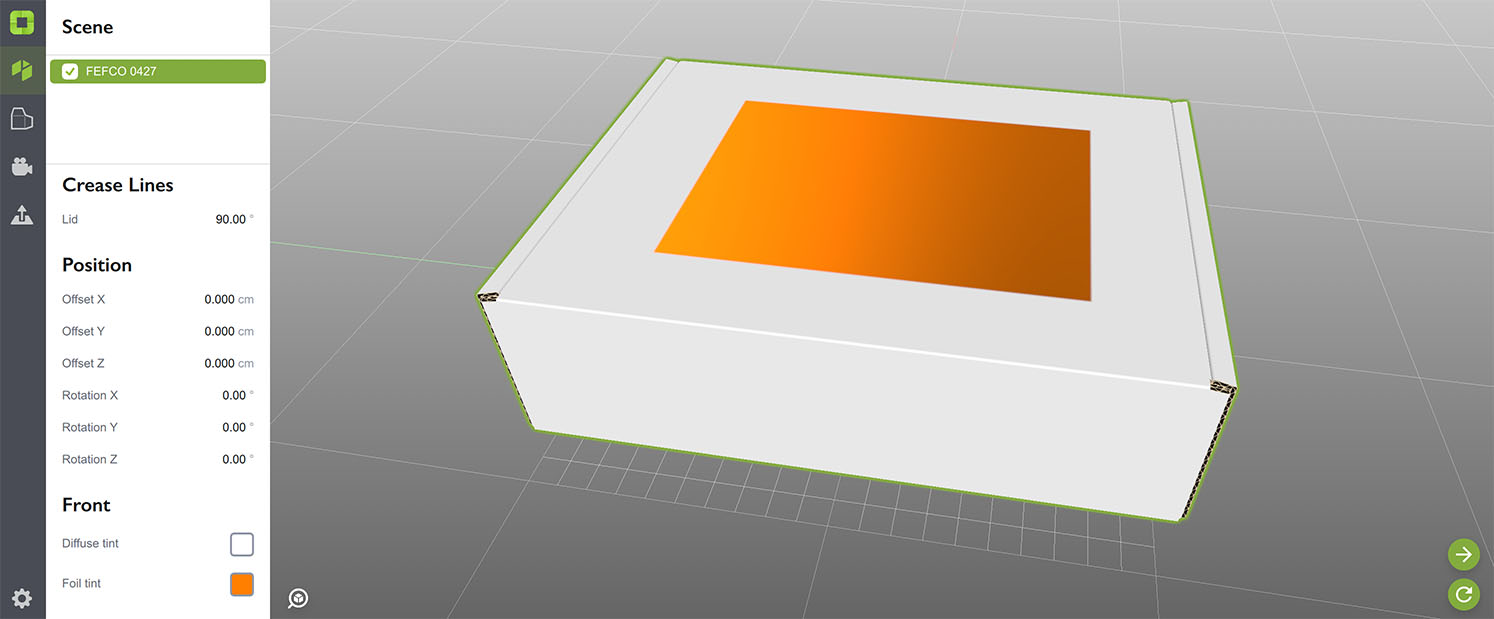
Rotate the preview with your mouse to see the gold foil effect.
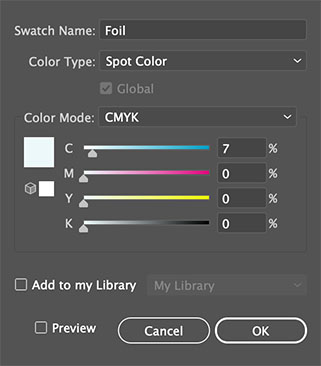
Converting Gold to Silver
You can control the foil color by adjusting the spot color you created. Let’s make it gray with a light blue tint to make it look like silver:
Then update the Origami scene to see the result:
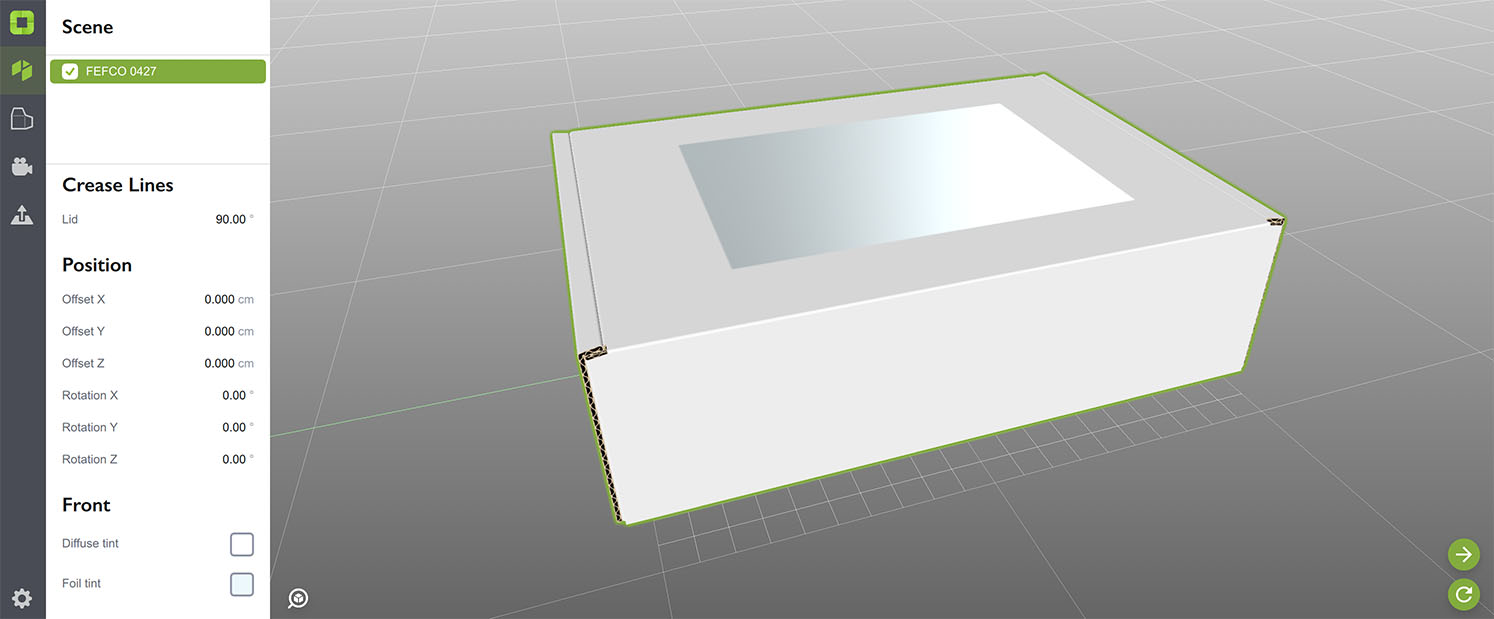
This way you can make foil of any color you need. You can also use opacity to get the most of the effect.
Foil Roughness
You can adjust the roughness of the foil in Origami. The rougher the foil, the blurrier the reflection.
Varnish and Emboss
The other two effects are configured the same way as the foil one. You make a shape and fill it with “Varnish” or “Emboss” spot colors. Make sure you enable overprint fill/stroke for these shapes to keep the artwork behind them visible.
White Edges and Overprint
You might notice a thin white strip around the foil areas, like a stroke. You will for sure notice the white areas behind the varnish and emboss areas. This is caused by the effect cutting out the “main” artwork, leaving the white area behind the foil, varnish or emboss. This is slightly visible with foil, but is very visible for varnish and emboss effects as they reveal the original artwork.
The solution is to enable overprint fill/stroke for the shapes used to draw the effect. This way Illustrator will keep the underlying artwork intact and you’ll get no unwanted white spots.
Using Custom Spot Color Names
Origami uses “Foil”, “Varnish” and “Emboss” spot color names by default, but as with any other default value you can change them in the Settings window.
Exporting and Rendering Effects
Origami displays effects in preview and renders them with the built–in renderer. The effects can be exported to Boxshot using Collada format.
Other software may not be able to completely understand these effects in Collada, as they are exported using Boxshot–specific extensions (there is no standard format for these effects). However, the effects are exported as masks, so it shouldn’t be too difficult to load and configure them manually.
Same for OBJ format. Origami exports effects as masks, but the MTL format does not reflect that, as it doesn’t have options to describe the effect. You will need to configure it manually after import.
GLB and 3D HTML (which use GLB inside) have enough support for most of the effects, so you should get pretty close materials there to the ones you see in preview.
Adobe and Adobe Illustrator are either registered trademarks or trademarks of Adobe Systems Incorporated in the United States and/or other countries.