Adding Watermarks
Koru lets you add watermark to the scene you make, but it takes it to another level with its 2D image nodes that work as overlays.
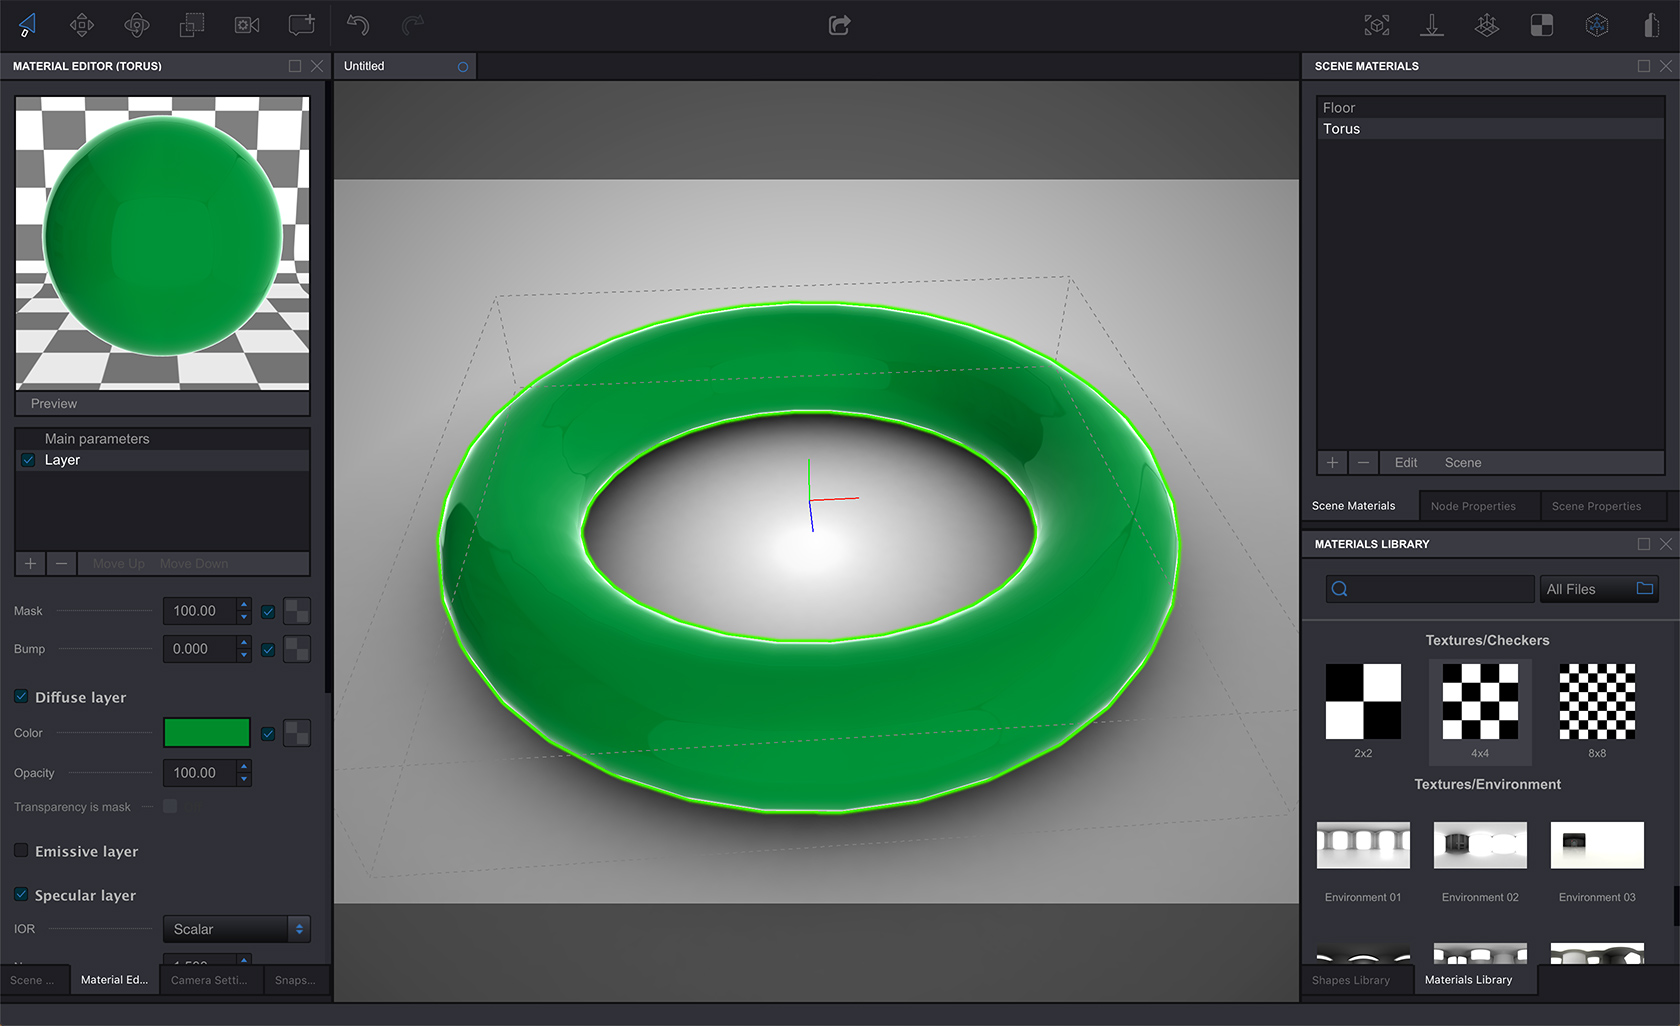
Let’s start with a simple scene and select an image to become the watermark. I’ll use the built-in one from the materials panel for this tutorial:
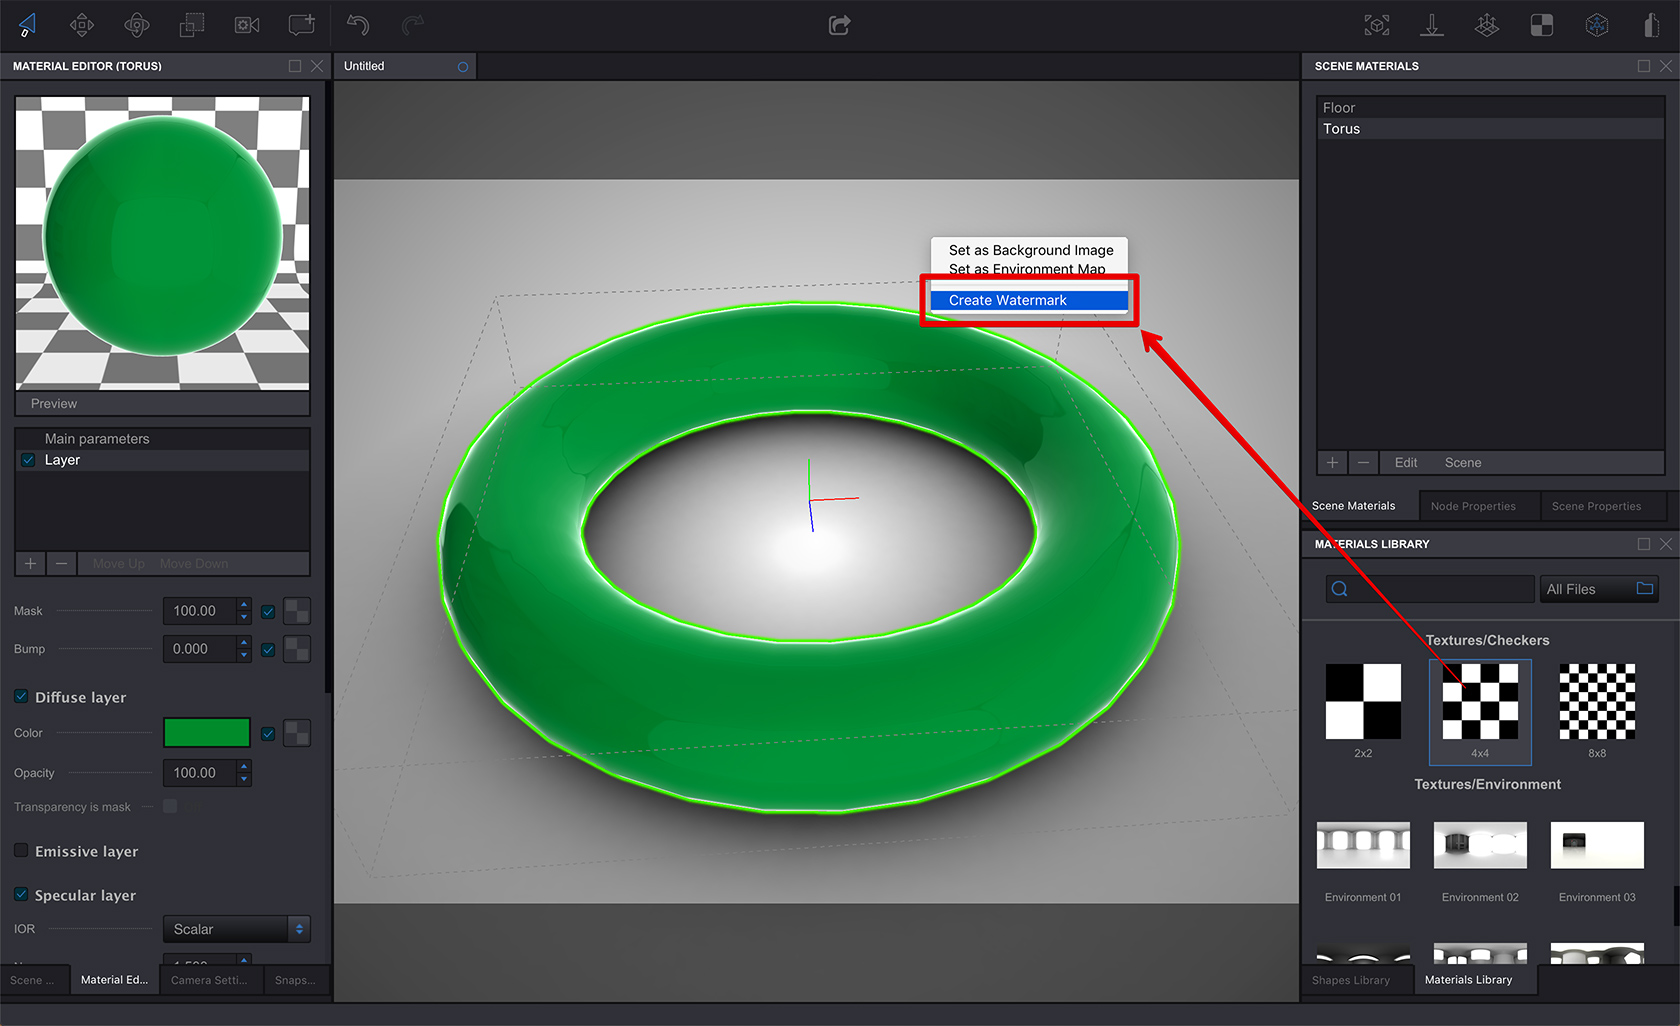
Drag and drop the image into the scene and select “Create Watermark” in the popup menu:
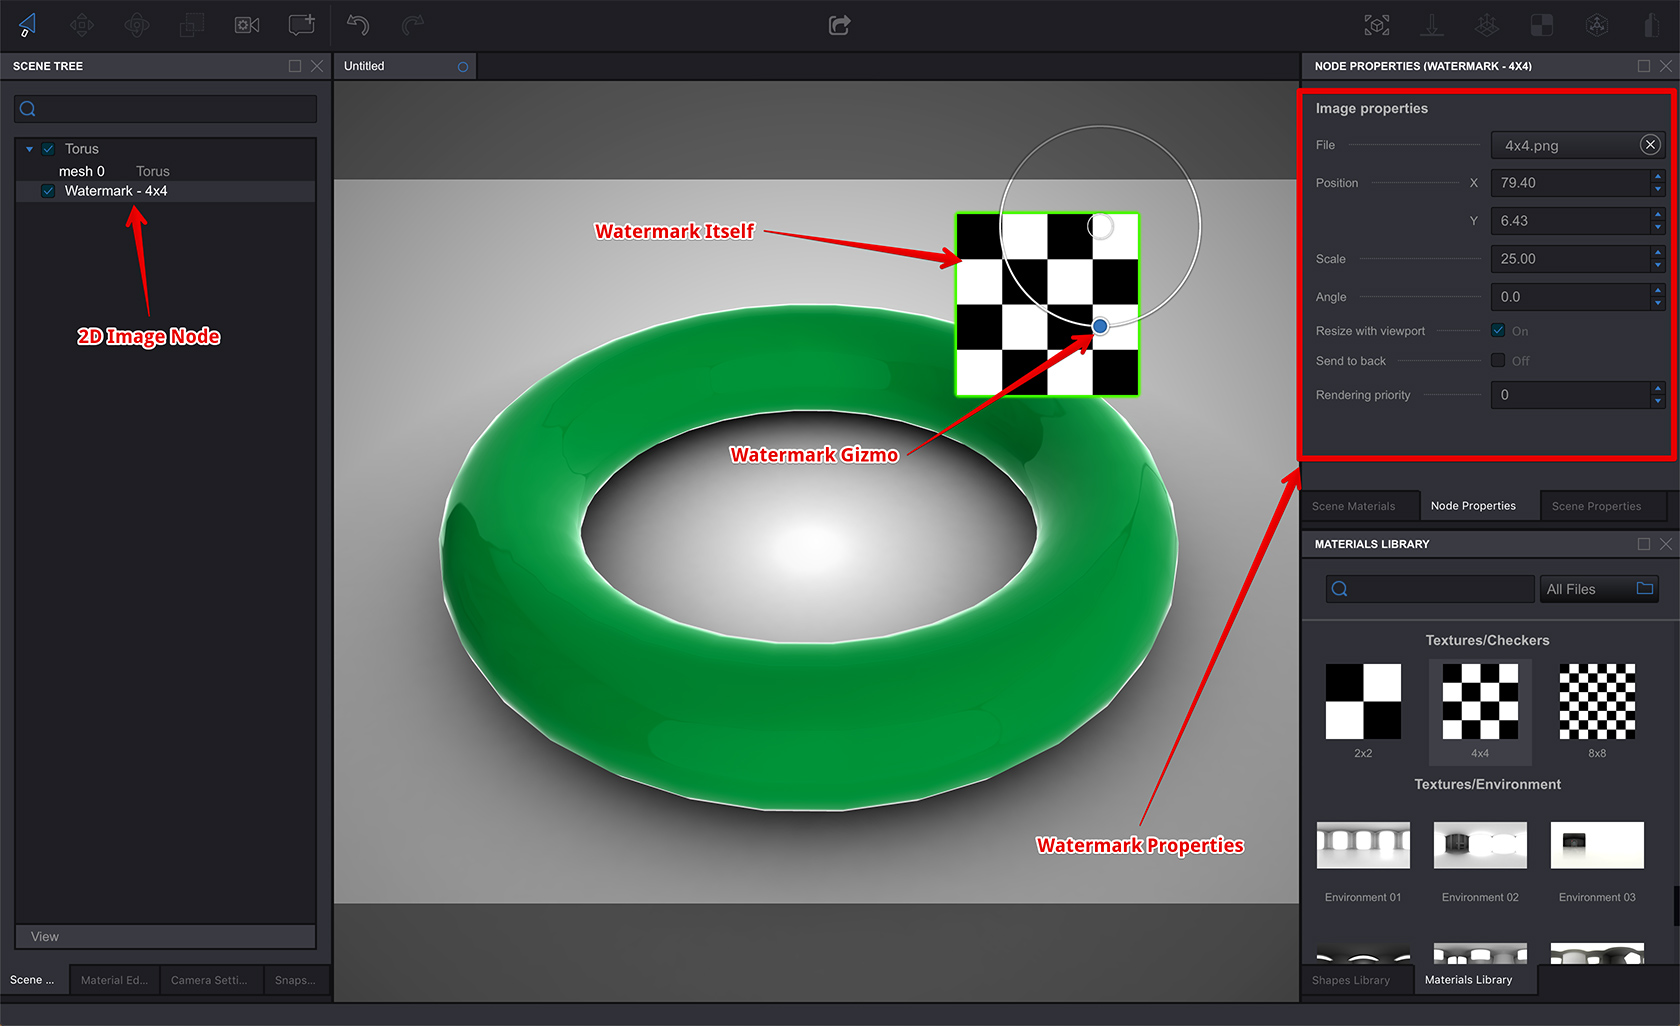
You see the image is placed to the screen, not to the scene or object. This is a 2D image node that you can see in the scene tree and edit in node properties panel:
Moving Watermarks Around
When an image node is selected, you see its gizmo that you can use to move, rotate or scale the image. It snaps to round angles, margins and scales but you can hold Shift to avoid this.
You can also edit the parameters directly using the scene properties panel. Here’s the list of the image node properties there:
- File - the image itself;
- Position - the position of image node pivot point, in percents;
- Scale - the scale of the image node;
- Angle - the rotation angle of the image;
- Resize with viewport - controls if the image size is relative to viewport or absolute;
- Send to back - lets you put the image behind the scene objects.
Image nodes are aligned to the screen/preview area, so plan your layout according to that.
You may have as many image nodes as you want.
Interaction With Snapshots
Best of all, image nodes (like any other nodes) are affected by snapshots. This means you can move, rotate, scale, show and hide them using snapshots.
This way you can create captions, titles, extra backgrounds for animations and so on, or simply move the watermark to a better location for that specific angle of view.
That’s All!
Great, you’ve just learnt another Koru trick. The main thing is that watermarks are not just watermarks, they are actually first-class node objects living in screen space.
- Decals — how to place images on objects as decals;
- Lightmaps — how to compute scene lightmaps and configure them;
- Floor reflection — how to add and configure floor reflection;
- Watermarks — adding 2D image overlays;
- Taking Screenshots — how to add "Take Screenshot" button to your Koru exports;
- Loading Images — how to upload your own images to exported Koru scenes;
- Automatic Rotation — how to make your scene automatically rotates when idle;
- Customizing Snapshot Buttons — how to customize snapshot buttons with CSS;
- Creating Snapshot Buttons — when CSS is not enough you can create snapshot buttons yourself;
- Drop–Down Snapshots Menus — convert snapshots to configurable options;
- Manual Snapshots Control — how to activate a specific snapshot;
- Customizing Background — replace that gray gradient for scenes with transparent background;
- Non-Interactive Scenes — can exported scenes ignore mouse clicks?
- Fullscreen Button — how to change the fullscreen button look?
- Materials — Koru materials explained;
- Partial Snapshots — making snapshots that affect just some scene elements;
- Using Metadata — add extra information to nodes and use it in browser.