Using Metadata
Let’s start with a simple scene of three balls. Drag the sphere template to an empty working area, then drag it again twice and arrange the balls so they look like this:
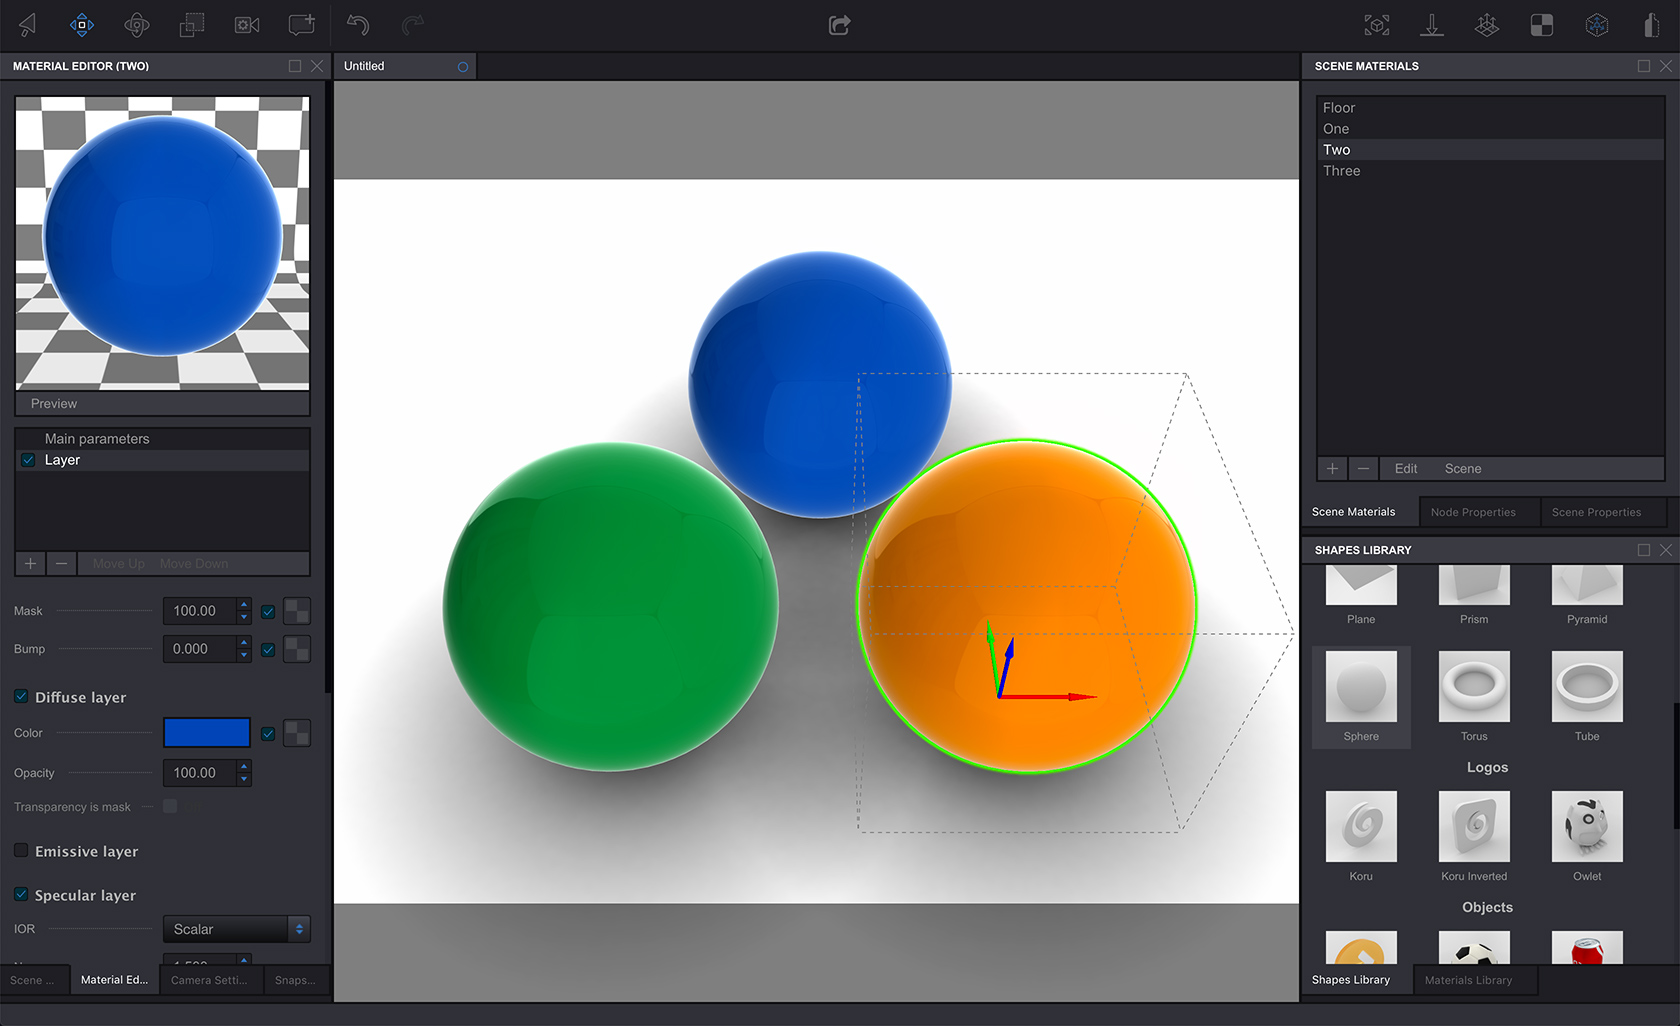
Select one of the balls (I selected the orange one), then in the main menu click Scene -> Metadata Editor… and the editor window will pop up:
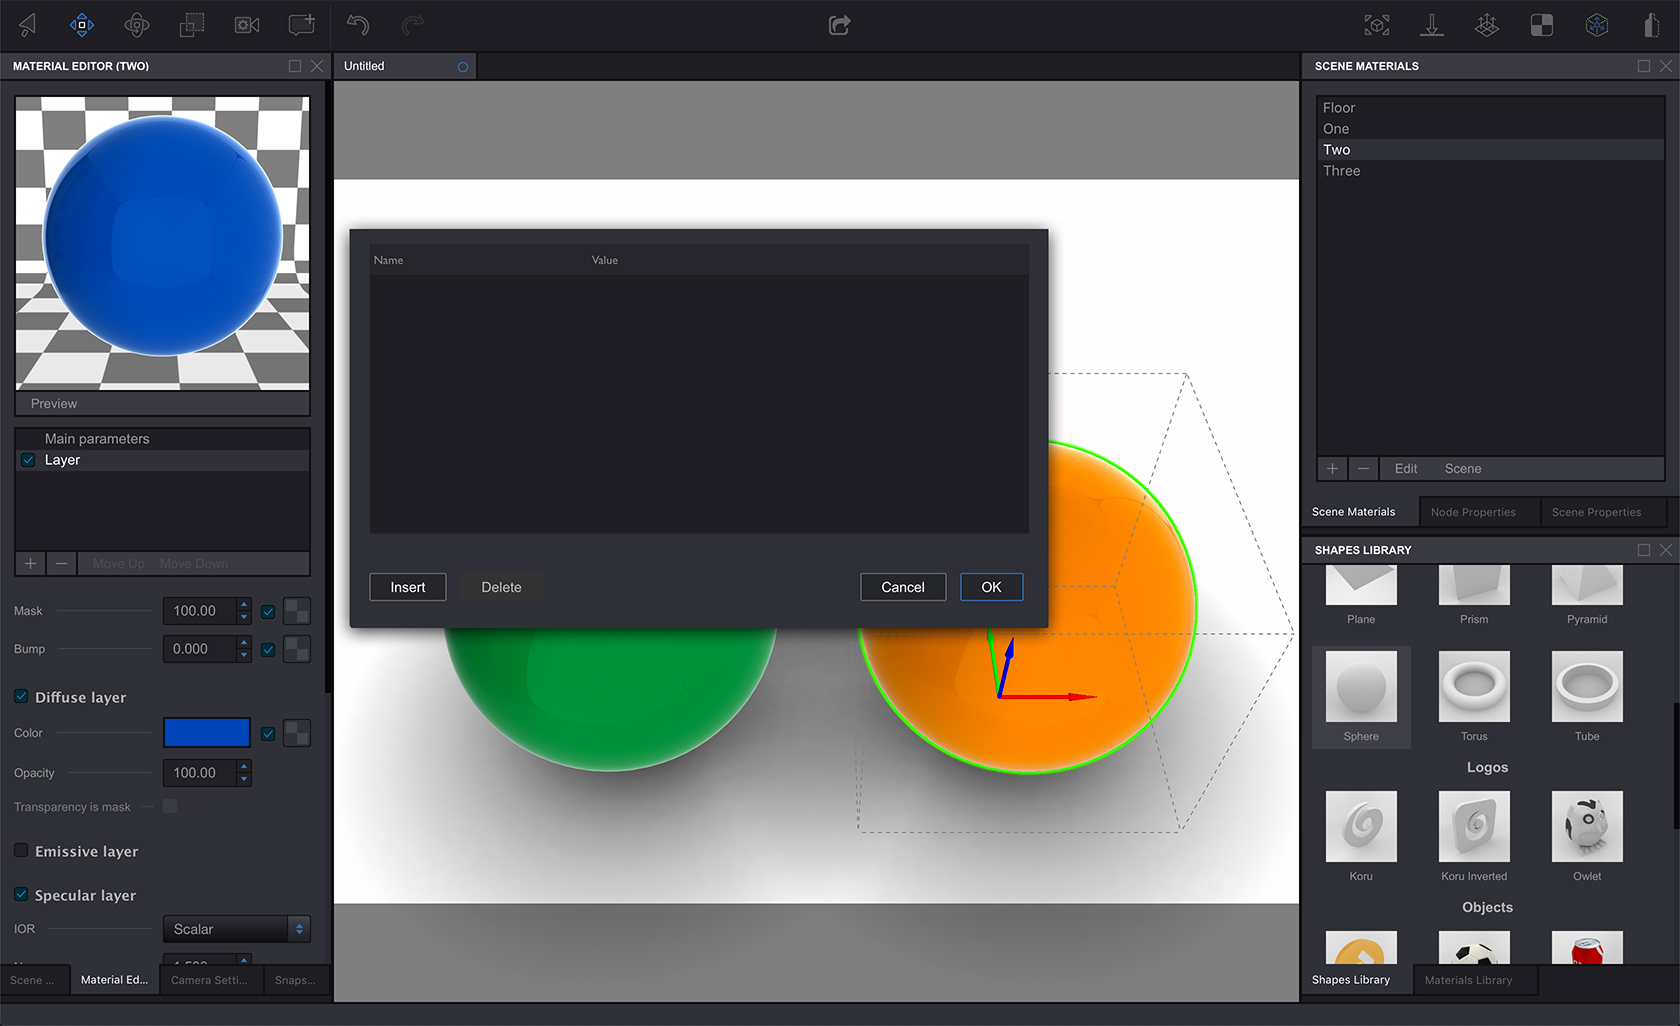
Here you can add some properties and assign them values that will be stored for the selected node in the scene. To add a value click Insert button at the bottom left corner of the metadata editor:
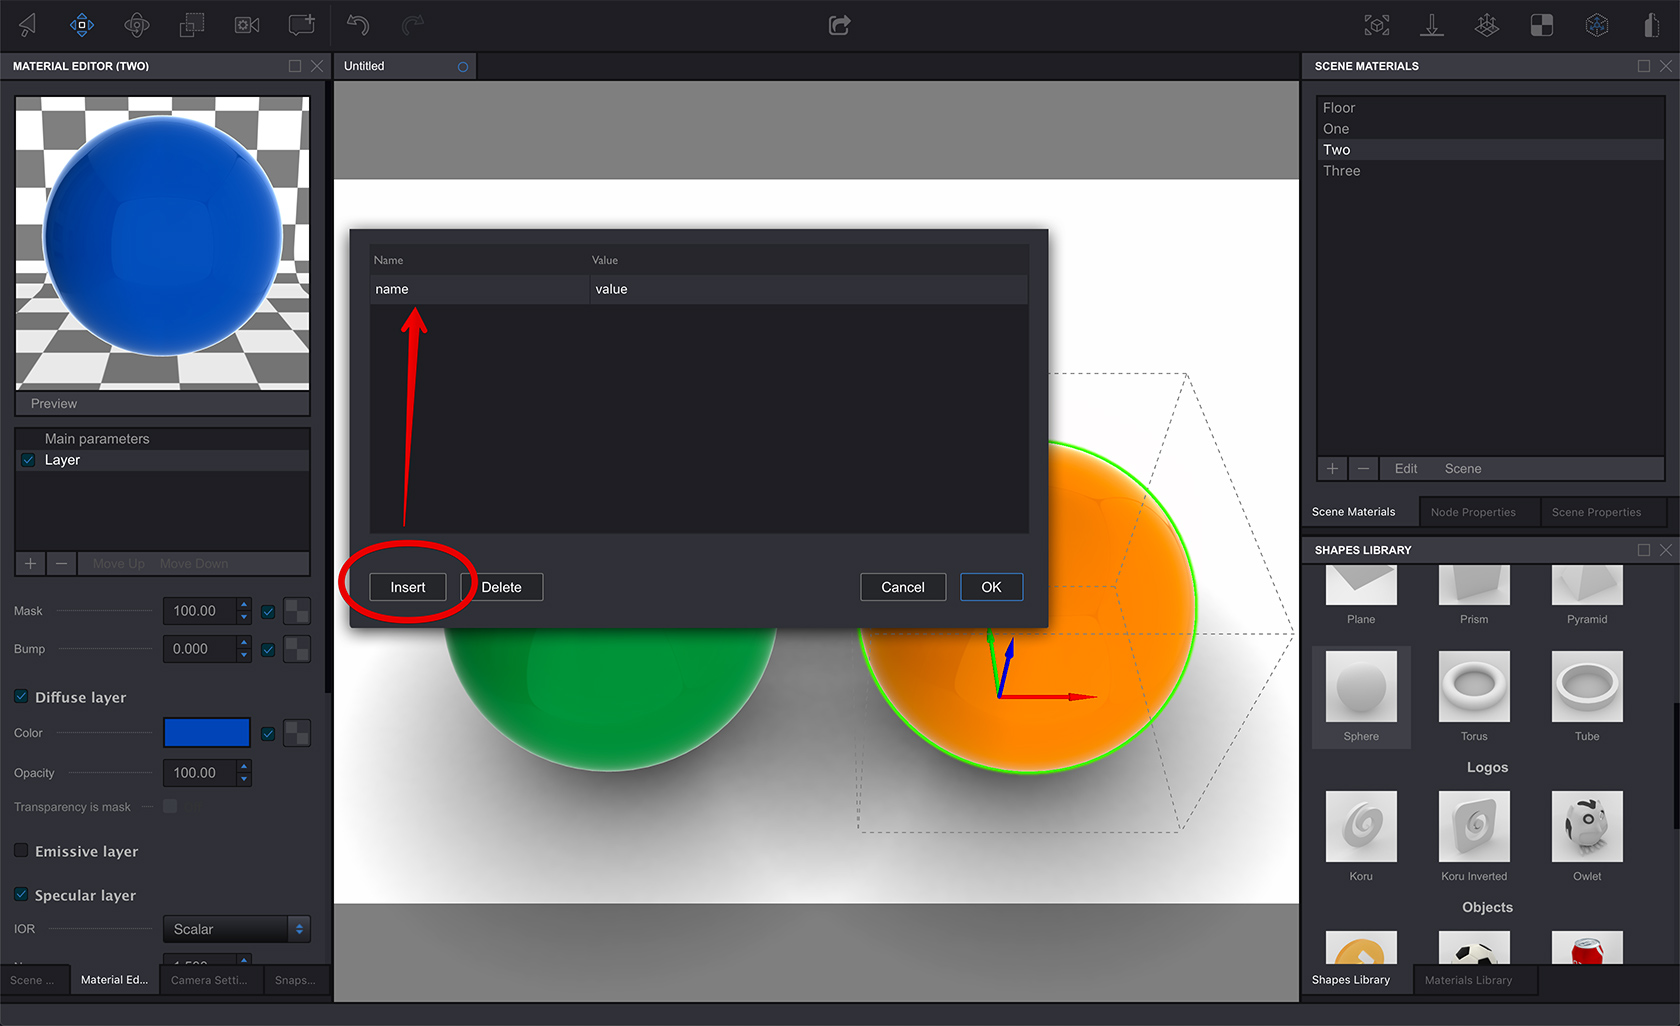
Here I added some dummy data to the orange ball. It now has id, sku and url associated with it:

Click OK then do the same for all the other objects. You don’t have to add the same metadata to all the objects, you may leave some objects without metadata - that is completely up to you. The idea is that you can associate some data with some objects, that’s it.
Accessing Metadata
If you simply export the scene to HTML, you’ll notice no traces of metadata as by default they are not shown. You need a special code to see them. The good news is that such code comes with Koru as one of the demo templates.
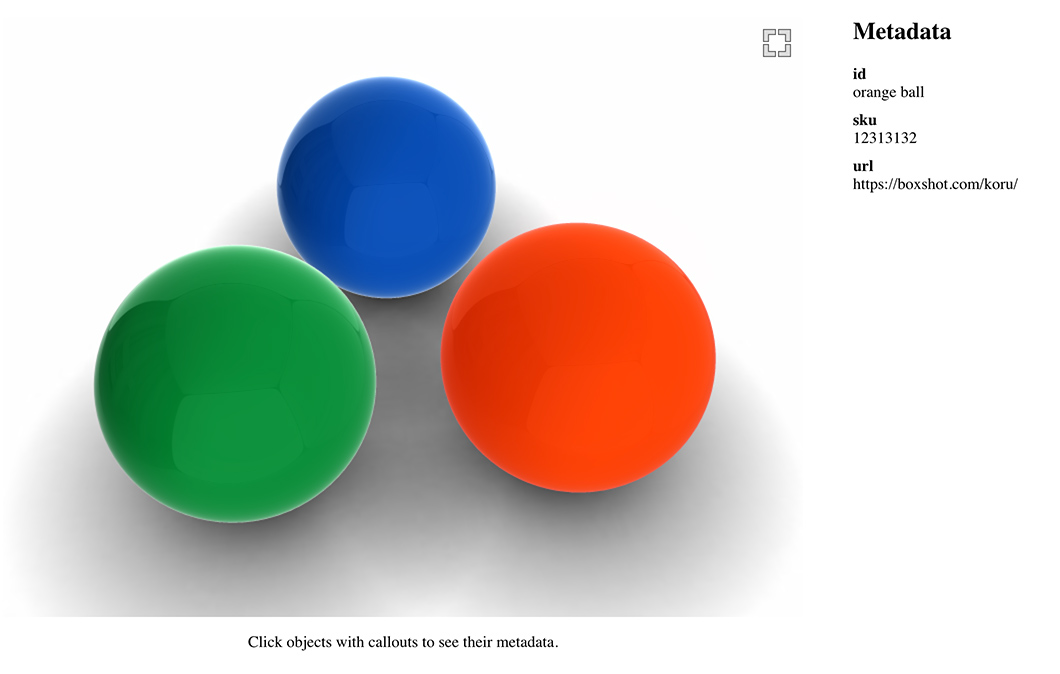
Click the Export button in the middle of the toolbar, select Disk, select the file name and get to the template selection screen. Locate the “Metadata” template there and export with that template, then load scene to the browser and click the balls. You’ll see the metadata you entered:
Have a look inside the code that Koru generates for you, it is at the very bottom of the file. There are three functions that do the job. The first one is simple:
function koruInit(koru) {
	koru.addEventListener('loadend', onLoadEnd);
}
All it does it adds a listener function that will be called when the scene is loaded. Here is that function:
function onLoadEnd(event) {
	var koru = event.koru;

	koru.selection = new Set();
	var mouseDownPos = [0, 0], isMouseMoved;
	function onMouseDown(event) {
		isMouseMoved = false;
		mouseDownPos = [event.layerX, event.layerY];
	}
	function onMouseMove(event) {
		isMouseMoved |= Math.abs(mouseDownPos[0] - event.layerX) > 2 || Math.abs(mouseDownPos[1] - event.layerY) > 2;
	}
	function onMouseUp(event) {
		if (!isMouseMoved) {
			var ray = koru.camera.getPixelRay(mouseDownPos[0], mouseDownPos[1]);
			koru.root.intersect(ray);
			updateMetadata(koru, ray.node);
		}
	}

	koru.canvas.addEventListener('mousedown', onMouseDown, false);
	koru.canvas.addEventListener('mousemove', onMouseMove, false);
	koru.canvas.addEventListener('mouseup', onMouseUp, false);

	koru.canvas.addEventListener('touchstart', onMouseDown, false);
	koru.canvas.addEventListener('touchmove', onMouseMove, false);
	koru.canvas.addEventListener('touchend', onMouseUp, false);

	updateMetadata(koru, undefined);
}
It is somewhat longer and basically adds handlers to mouse clicks and touch events. It makes sure that if someone clicks or taps the scene, the third function will be called. Here is the third function:
function updateMetadata(koru, node) {

	var sceneMetadataElement = document.getElementById('metadata');

	if (koru.lastSelection !== undefined) {
		koru.lastSelection.highlightColor = [0, 0, 0, 0];
		koru.lastSelection = undefined;
	}

	if (node === undefined) {
		sceneMetadataElement.innerText = "nothing selected";
		return
	}

	koru.lastSelection = node;
	node.highlightColor = [1, 0, 0, 0.5];

	var metadata = node.metadata;

	if (Object.keys(metadata).length == 0) {
		sceneMetadataElement.innerText = "this part has no metadata";
		return;
	}

	sceneMetadataElement.innerText = "";

	for (var prop in metadata) {
		var title = document.createElement('h4');
		title.innerText = prop;
		var value = document.createElement('p');
		value.innerText = metadata[prop];

		sceneMetadataElement.appendChild(title);
		sceneMetadataElement.appendChild(value);
	}
}
It is the longest one of the three. It gets the Koru object, removes the highlighting of the last selected object, then highlights the newly selected one (if any). Then it gets metadata with the following line:
var metadata = node.metadata;
It then checks if something is there and finally runs a loop through metadata and makes a simple table at the right.
Although the code is quite long, it is actually pretty simple. You handle clicks and taps, get the object clicked, access its metadata and use them the way you need.
Further Steps
That is all you need to know to create and use metadata in Koru. However, that’s actually just the beginning of the story. The thing is that you run this code in browser. This mean you have all the power of Javascript and Internet at your fingertips.
For instance, you can query a remote database for the SKU of the selected item and display additional information like stock quantities or manufacturer or something like that. You can send commands to remote servers by making ajax queries. You can run animations depending on the response from those servers and so on. Sky is the limit!
That’s All!
Metadata is a powerful instrument taking Koru scenes to the next level - all you need is just some Javascript around.
- Decals — how to place images on objects as decals;
- Lightmaps — how to compute scene lightmaps and configure them;
- Floor reflection — how to add and configure floor reflection;
- Watermarks — adding 2D image overlays;
- Taking Screenshots — how to add "Take Screenshot" button to your Koru exports;
- Loading Images — how to upload your own images to exported Koru scenes;
- Automatic Rotation — how to make your scene automatically rotates when idle;
- Customizing Snapshot Buttons — how to customize snapshot buttons with CSS;
- Creating Snapshot Buttons — when CSS is not enough you can create snapshot buttons yourself;
- Drop–Down Snapshots Menus — convert snapshots to configurable options;
- Manual Snapshots Control — how to activate a specific snapshot;
- Customizing Background — replace that gray gradient for scenes with transparent background;
- Non-Interactive Scenes — can exported scenes ignore mouse clicks?
- Fullscreen Button — how to change the fullscreen button look?
- Materials — Koru materials explained;
- Partial Snapshots — making snapshots that affect just some scene elements;
- Using Metadata — add extra information to nodes and use it in browser.