Customizing HTML Background
You can set the background to be transparent in Koru with the checkers displayed in preview:
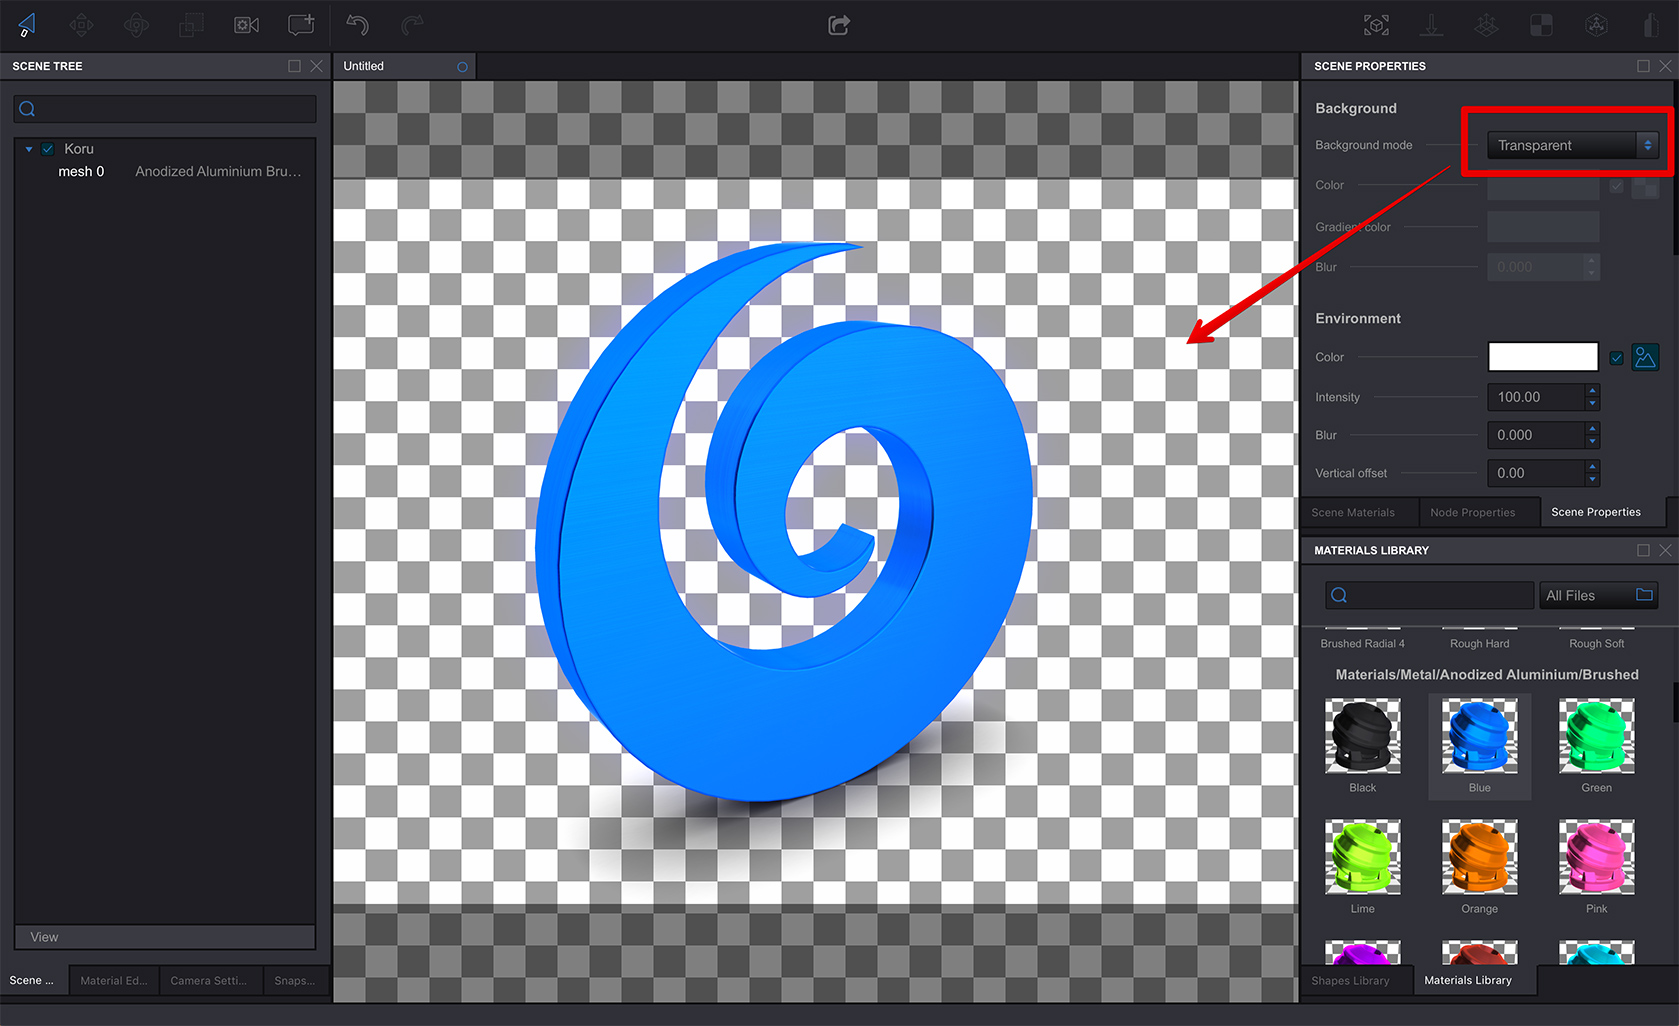
However, when you export this to HTML you see that gray gradient, which may not be what you need:

The reason is because Koru displays 3D graphics on top of the HTML background it adds and the good news is that you can easily customize this background.
The Easy Way
The simplest way to customize the HTML background (which is good for one-off jobs) is to manually edit the HTML that Koru exports. Let’s export the scene above to a single HTML file and open it with a text editor:
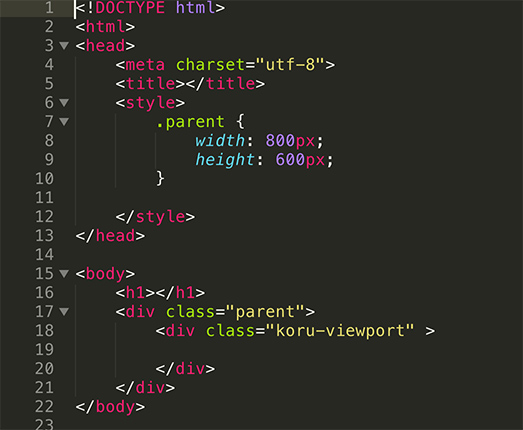
At the very top of the file you’ll see the <style> section. Right after the .parent style add the following code:
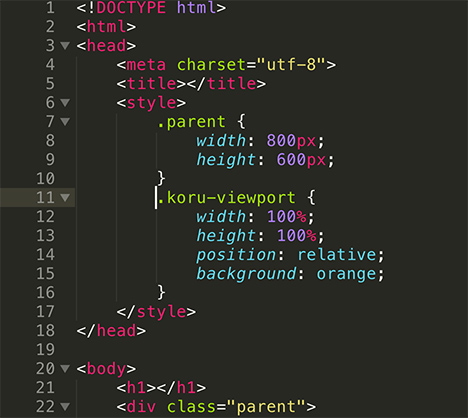
.koru-viewport {
    width: 100%;
    height: 100%;
    position: relative;
    background: orange;
}
So the HTML code looks like this:
Save the file and reload it in browser. You’ll see it now looks different:

What you’ve done is you changed the CSS rule for the background HTML element Koru adds for you. Some of the lines may not be so obvious, though and need to be explained.
When Koru rendering engine loads scene in browser, it checks for custom CSS styles. If it finds them, it uses them. Otherwise it uses the built-in ones. This means that if you override something, you need to override all the properties of the style, not just what you need. That’s why we have width, height and position properties there in addition to the background one. Width and height parameters make sure the background has the proper size, while the position one helps displaying snapshot buttons at the right place.
It might be a good idea to use your browser’s “Inspect” tool to see the default styles used by Koru and make sure the custom ones work the same way.
More Options
CSS background rule has many options, so you can have a gradient background:
.koru-viewport {
    width: 100%;
    height: 100%;
    position: relative;
    background: linear-gradient(red, yellow);
}
Or maybe image-based background:
.koru-viewport {
    width: 100%;
    height: 100%;
    position: relative;
    background: url(image.png);
}
Or make it completely transparent and see the underlying graphics below:
.koru-viewport {
    width: 100%;
    height: 100%;
    position: relative;
}
Refer to CSS background property manual for all the options you can use.
The Right Way
The easy way explained above is good when you need a one-off edit. However, you may need to have the same background for many scenes you export. This may be the same scene exported many times, or a set of scenes, or maybe a branded background and so on.
When something export-related needs to be done many times in Koru, you need a custom template. You can read more about templates here and here - see the Creating a template section.
Assuming that you have read the links above and created a template folder called html-background with all the necessary files inside, let’s focus on the _template.html file there.
For this tutorial I copied the mini-widget template to a custom one, so my _template.html is as follows:
<!DOCTYPE html>
<html>
<head>
	<meta charset="utf-8">
	<title>{{KORU_TITLE}}</title>
	<style>
		.parent {
			width: 800px;
			height: 600px;
		}
		{{KORU_NOSCRIPT_CSS}}
	</style>
</head>

<body>
	<h1>{{KORU_TITLE}}</h1>
	<div class="parent">
		<div class="koru-viewport" {{KORU_DATA_SCENE_ATTRIBUTE}}>
			{{KORU_NOSCRIPT_HTML}}
		</div>
	</div>
</body>

{{KORU_SCRIPT}}
{{KORU_EXTRA_SCRIPT}}

</html>
You see it has the same <style> block as we saw before. Now you should get the idea: you edit it exactly the same way by adding a .koru-viewport section with the background you need:
...
<style>
	.parent {
		width: 800px;
		height: 600px;
	}
	.koru-viewport {
	    width: 100%;
	    height: 100%;
	    position: relative;
	    background: background-image: linear-gradient(red, yellow);
	}
	{{KORU_NOSCRIPT_CSS}}
</style>
...
Save it, select it in export templates list and have the same background every time you need it.
For the Lazy Ones
Here is a zip-file with the template described above. Unpack it to your templates folder to get the same result without typing a word.
That’s All!
Koru templates is a powerful tool for customizing export. You can combine the ideas from multiple templates to make a very special look and feel of your scenes.
- Decals — how to place images on objects as decals;
- Lightmaps — how to compute scene lightmaps and configure them;
- Floor reflection — how to add and configure floor reflection;
- Watermarks — adding 2D image overlays;
- Taking Screenshots — how to add "Take Screenshot" button to your Koru exports;
- Loading Images — how to upload your own images to exported Koru scenes;
- Automatic Rotation — how to make your scene automatically rotates when idle;
- Customizing Snapshot Buttons — how to customize snapshot buttons with CSS;
- Creating Snapshot Buttons — when CSS is not enough you can create snapshot buttons yourself;
- Drop–Down Snapshots Menus — convert snapshots to configurable options;
- Manual Snapshots Control — how to activate a specific snapshot;
- Customizing Background — replace that gray gradient for scenes with transparent background;
- Non-Interactive Scenes — can exported scenes ignore mouse clicks?
- Fullscreen Button — how to change the fullscreen button look?
- Materials — Koru materials explained;
- Partial Snapshots — making snapshots that affect just some scene elements;
- Using Metadata — add extra information to nodes and use it in browser.