Exporting 3D scene to WordPress blog
Note that this tutorial doesn’t work for sites hosted at WordPress.com, you need your own copy of WordPress to use this tutorial.
WordPress is a popular content management system and blogging platform. You can easily publish Koru scenes to your WordPress site and this tutorials shows how to do that.
First Thing First
As WordPress is just a software running on your server and helping you provide your content, you need to use server-based export in Koru for WordPress. We’ve got a server export tutorial that we recommend to go through to have a better understanding of the process. Please do this, then come back here.
Once you are back, we assume you have a folder with three exported files from the server-based export tutorial mentioned above.
Uploading Media and Tricking WordPress
Once again, WordPress is just a CMS, so all you need is to upload scene model and Koru engine to your site, then add some HTML code to your WordPress page to use the model and Koru engine.
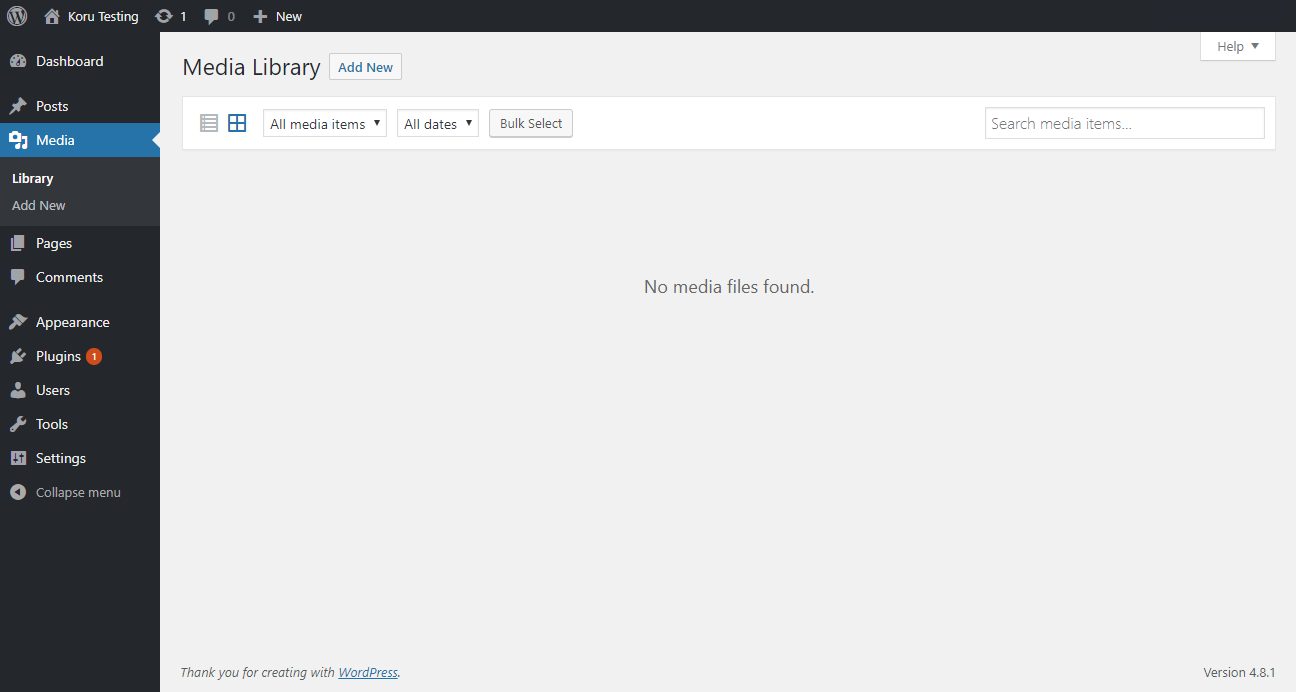
Log on to your WordPress management console and open its Media Library:
Now you need to upload Koru engine (koru-xxx.js) and scene model (xxx.koruDat) files. Click Add New and upload the files:
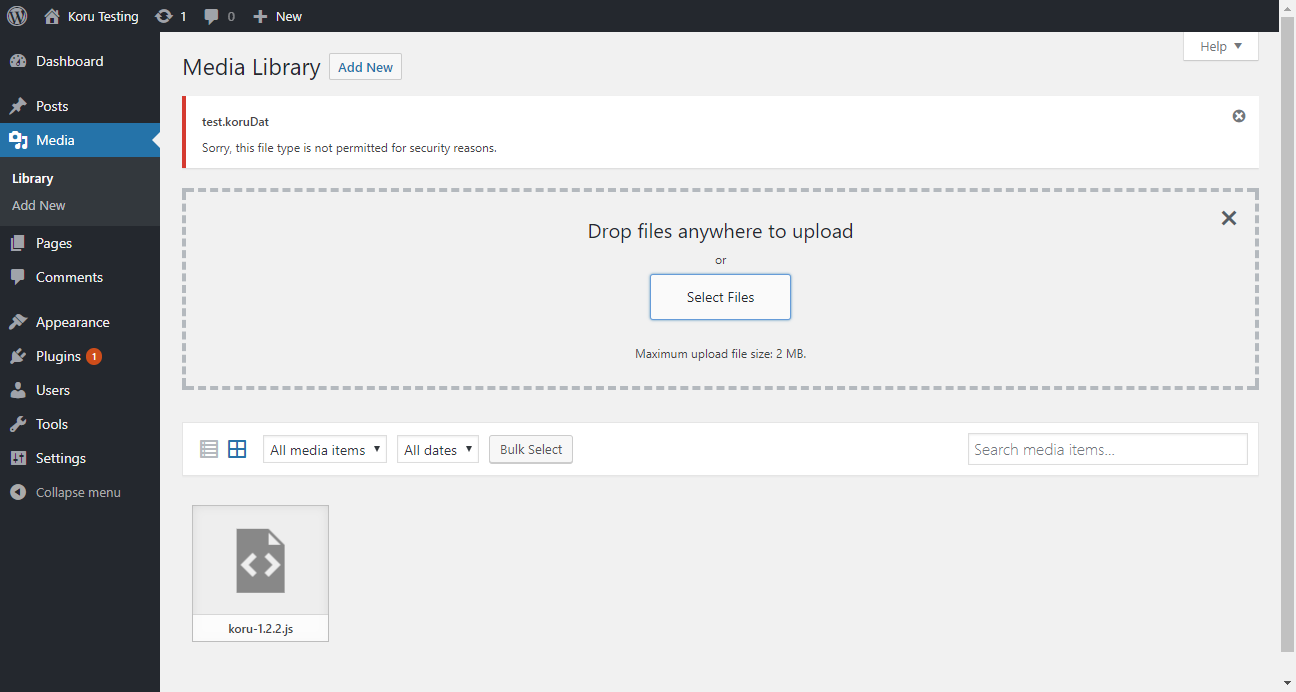
You see that WordPress let me upload the engine file, but blocked the scene .koruDat file. The proper solution is to add .koruDat file type to the exception list ( see here ), but for now we can trick it by renaming our .koruDat file to, say, PDF. Rename your file so instead of “scene.koruDat” you get “scene.pdf”, then upload it:
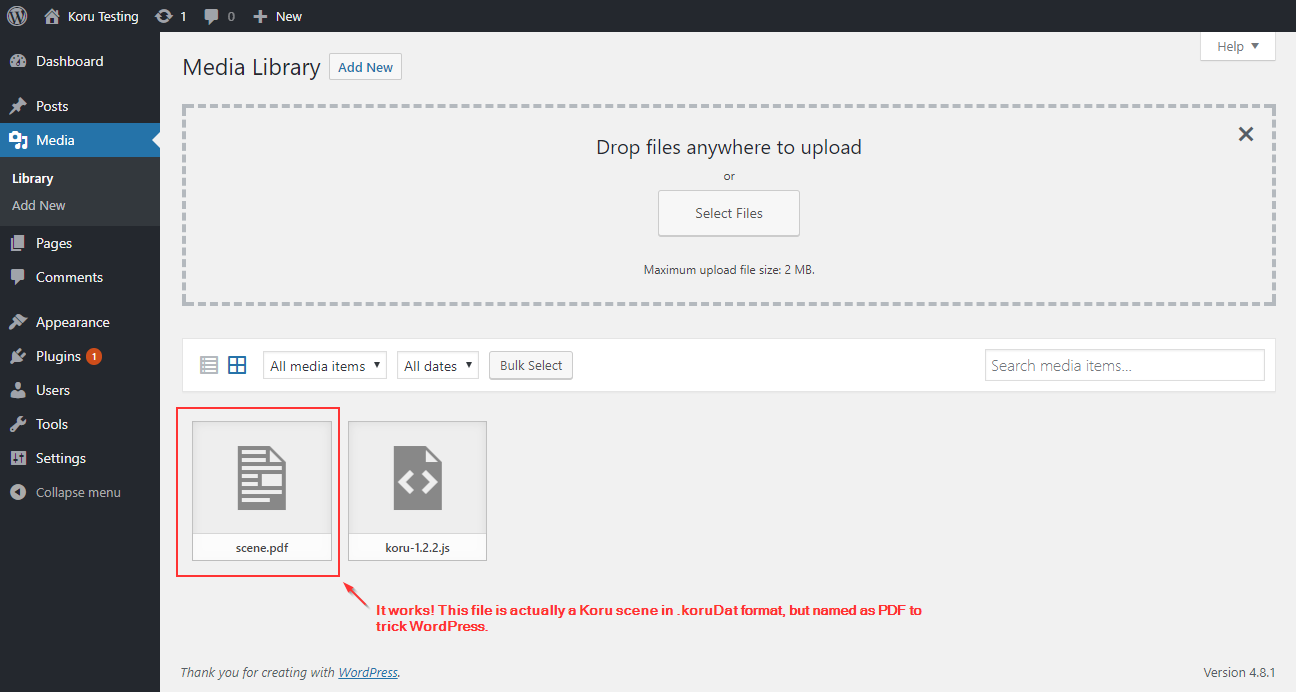
Good, at this point we’ve uploaded everything we need and ready to show the model.
Showing 3D Model in Blog Post
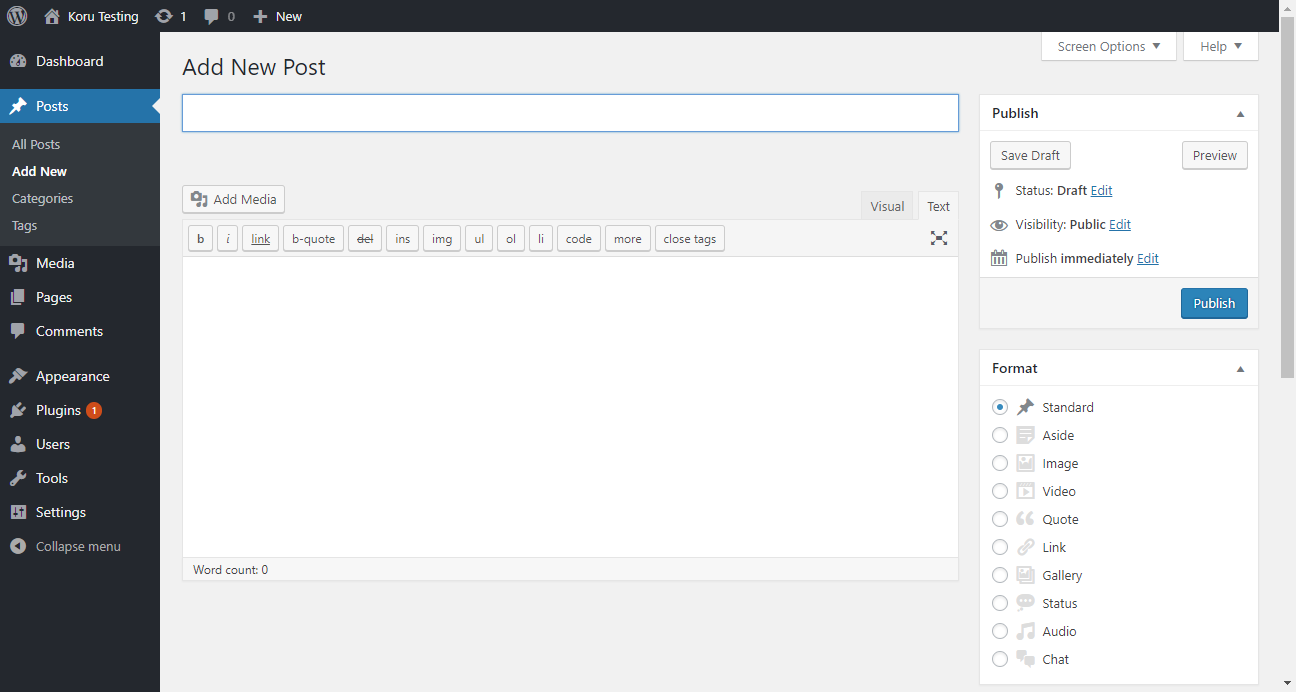
OK, now let’s create a new blog post:
You can do the same with a page instead of post, it will work there, too.
Type a title, add some text, then make sure you are in Text mode and add the code from the HTML file exported by Koru:
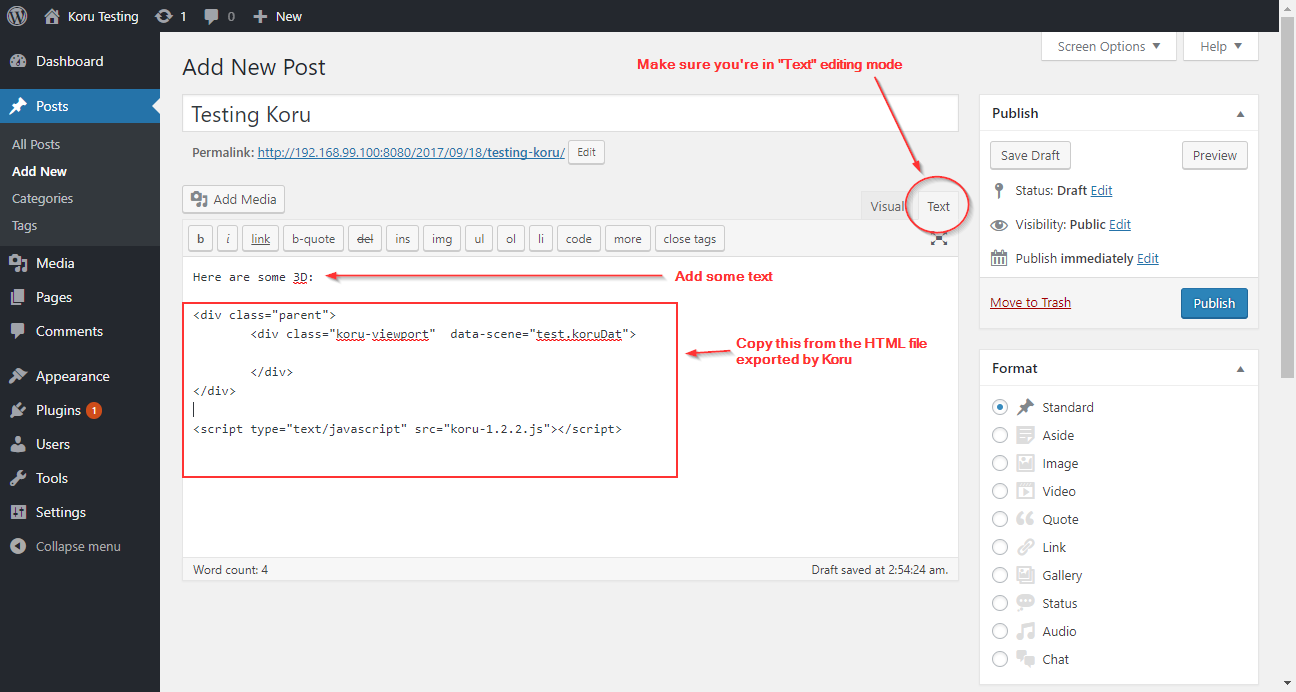
Perfect, now we need to do some modifications to make sure that Koru engine is loaded and it can load a proper scene model. Here’s what we need:
- Correct the path in data-scene attribute, so it points to our scene file renamed to PDF;
- Correct the path in script tag, so it points to the uploaded Koru engine;
- Add something into the inner DIV block to prevent WordPress editor from collapsing it.
Let’s do this step by step. First of all, we need to get full paths to both scene model and Koru engine. Let’s open our Media Library in another tab:
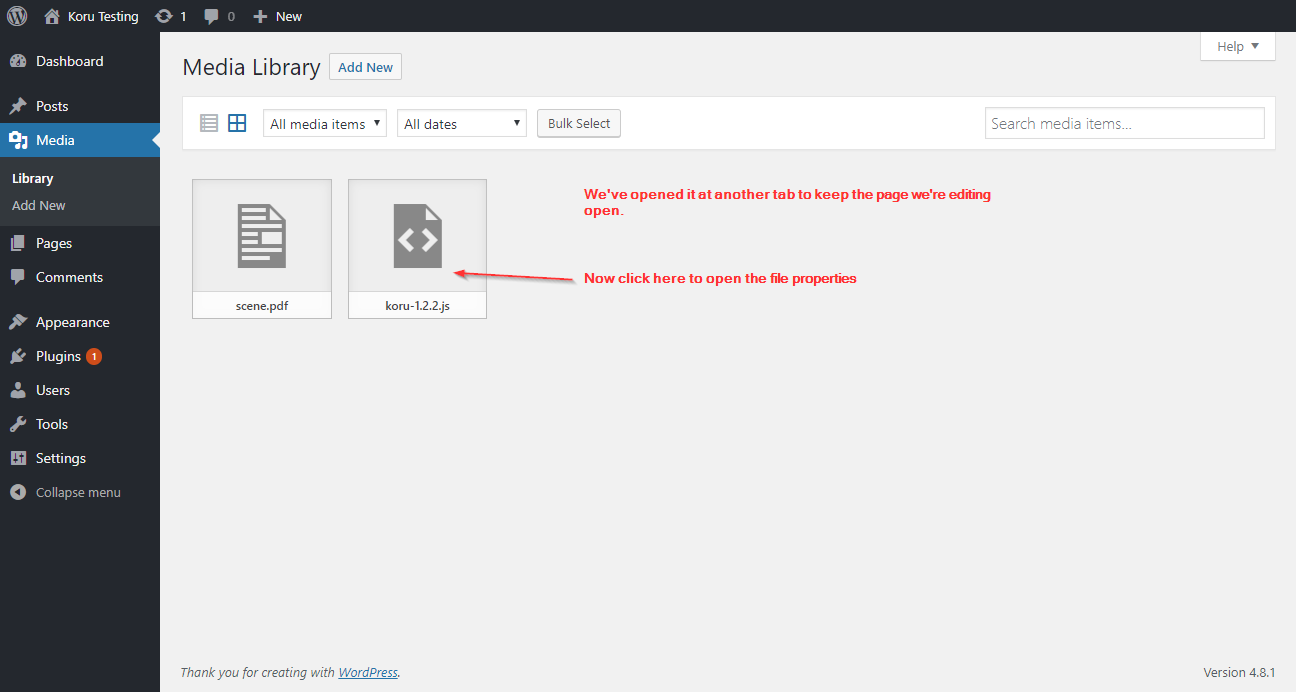
Make sure you open the Media Library in another tab, so the new Post you’re editing is not closed or saved. In Media Library find and click the Koru engine file:
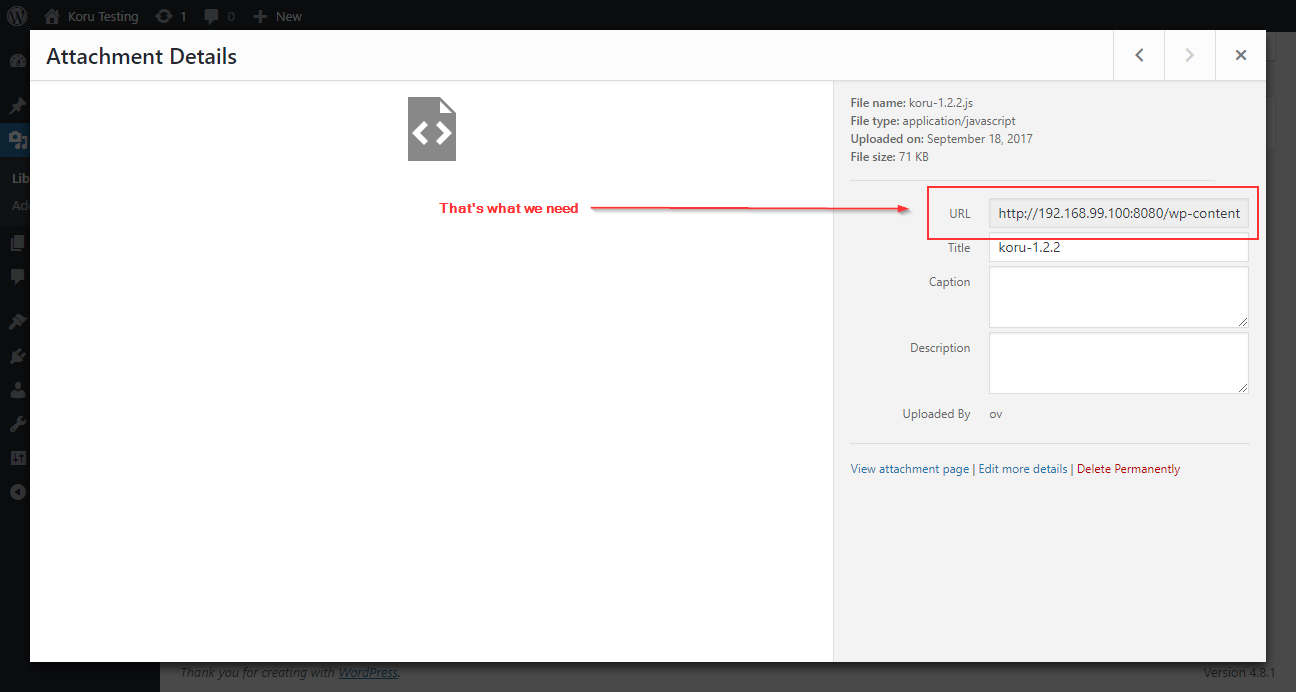
What you need is the URL parameter. It looks like http://server_name/wp-content/date/koru-xxx.js, where server_name is the name of your server, date is the uploading date or some other path, xxx is the version of the Koru engine you uploaded. Now you need to copy just a part of this part, starting at /wp-content, so basically you need to cut the server name off and leave just the relative path to the file. You can use the full path, as well, but relative path is better.
You should end up with a path like /wp-content/uploads/2017/09/koru-1.2.2.js. Save it somewhere, then return to Media Library and get a similar path for the scene file.
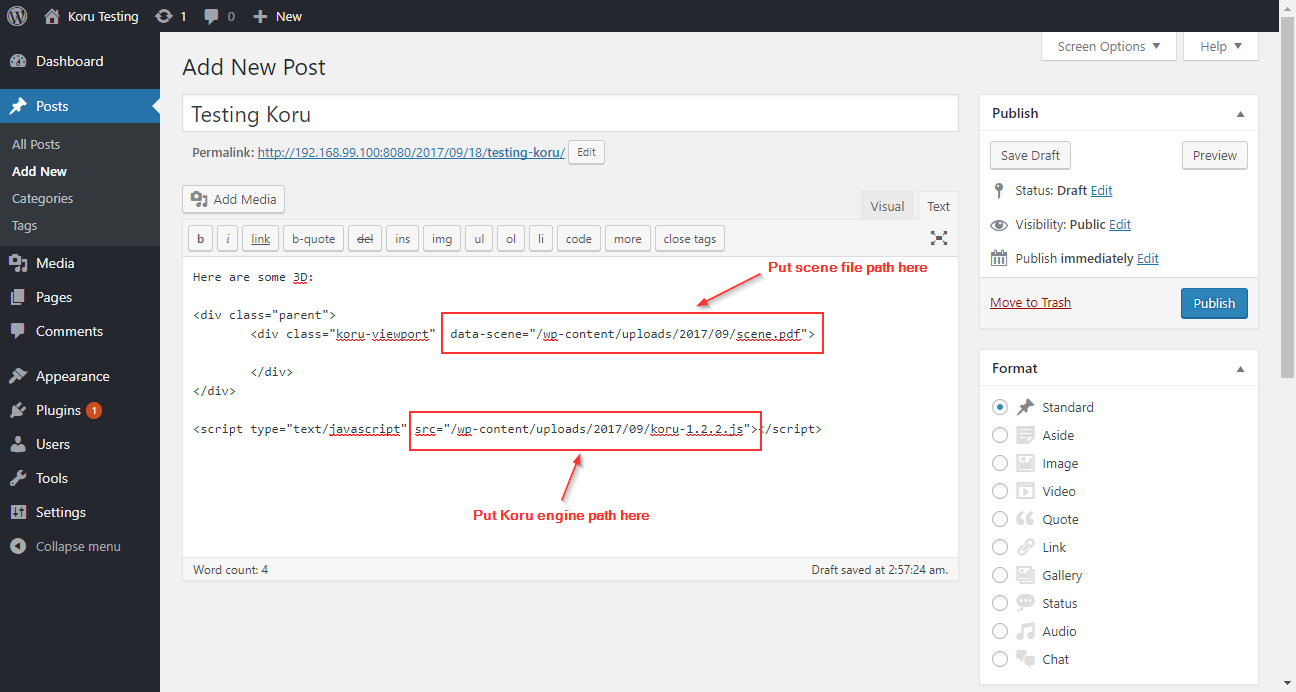
In our case the other path is /wp-content/uploads/2017/09/scene.pdf (remember that we renamed .koruDat to .pdf to overcome WordPress limitations).
Now close the Media Library and go back to the post you’re editing. You need to put the scene path into the data-scene attribute and Koru engine path to the script attribute. Here’s what it looks like in our case:
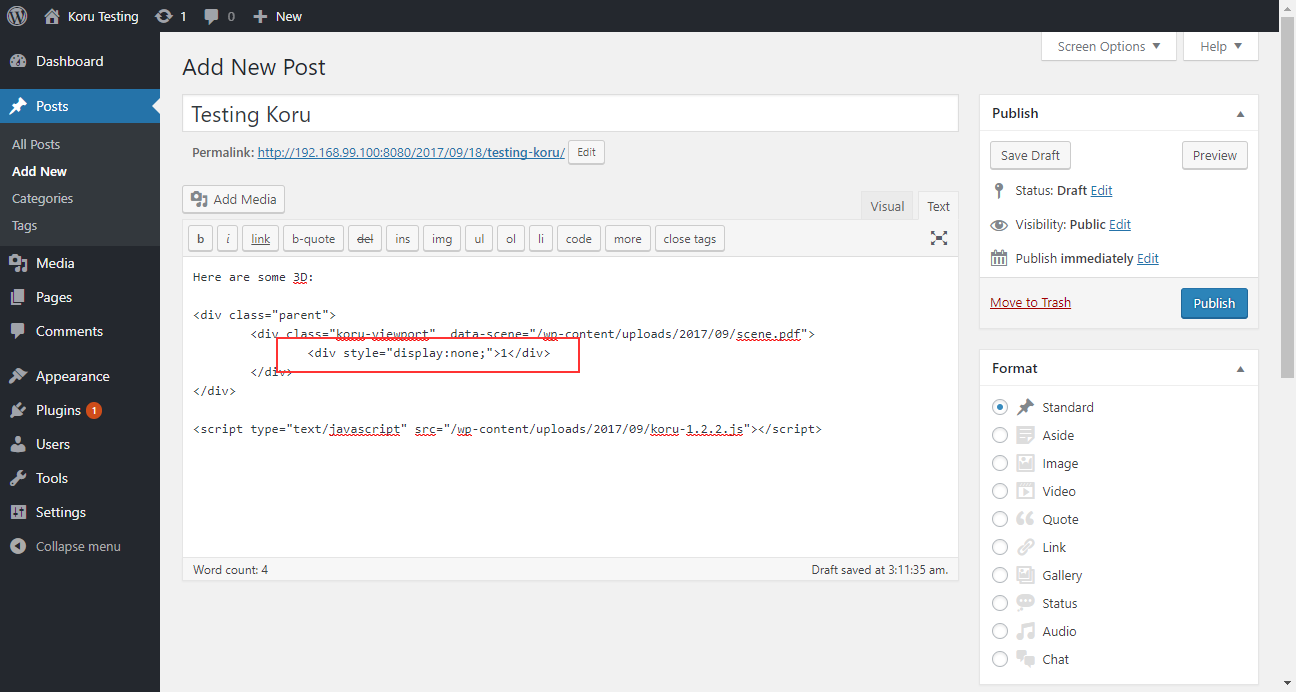
We’re almost done. However, if you click Publish now, WordPress will try to “help” by optimizing empty tags and removing them. That’s not what we need, so let’s add one more line right in the middle of the inner DIV. The line is simple:
<div style="display:none;">1</div>
It adds invisible text text into the Koru tag and prevents WordPress from deleting it. Here’s what it looks like:
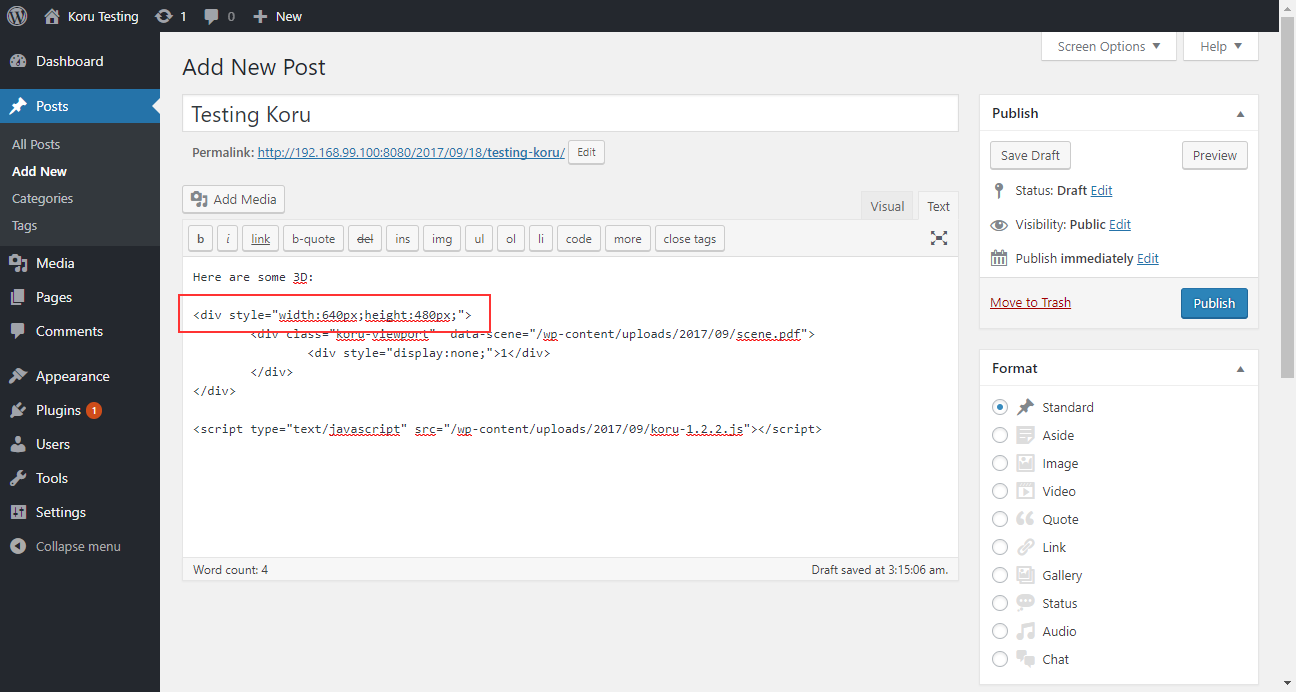
And the last thing we need is to define the viewport size. To do so, modify the parent DIV this way:
Now click Publish or Preview and see your model in your WordPress site:
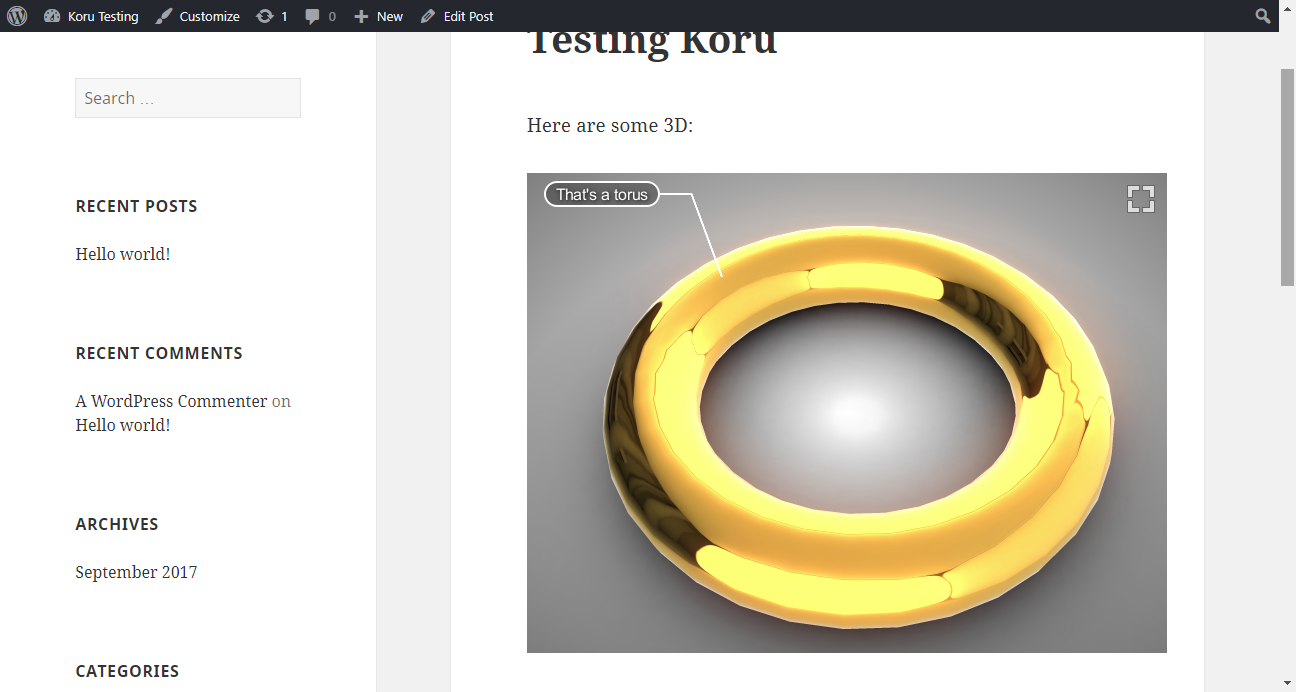
We did it! Although it took some time for the first model, the next one should go easier, as you can simply duplicate the page or copy/paste the code.
Make It Better
The instruction above lets you quickly add a single model to your WordPress web site. However, if you decide to add another one the same way, you’ll end up with loading two copies of the Koru engine - one for each model. The first thing you can optimize is to make sure that just one copy of the engine is loaded.
To do so, you need to move the script line to the theme files. Go to the WordPress admin panel and click Appearance then Editor. You’ll see the current theme editor with the list of files at the right. Find “Theme Footer” there (or anything else that looks like footer) and click it. WordPress will show you the HTML code, look for closing </body> tag there and paste the script line from your blog post there. Click Update to save the file. Now you don’t need to add the script line next to each Koru model, as it is always loaded.
As exported scenes need corresponding version of Koru engine, you need to make sure that all scenes are exported with the same version of Koru and the engine version matches the version of Koru. To achieve this, you could put the engine path to page attribute and then load the proper version of Koru engine in the footer (or don’t load it at all).
Another good improvement would be to follow this article and install a plugin that lets you edit the list of allowed media files. Add “.koruDat” file to the list to be able to upload these files to your media library without renaming.
Make It Even Better
Finally, you can go further and make a WordPress plugin that handles all the above and provides a nice user interface. Let us know if you do it, we’ll be happy to promote it here :)
That’s All
That’s not the only one export option in Koru, here are some more:
- Single File Export — when you need a single HTML file containing everything;
- Export for Server — when you want to upload 3d models to your website;
- Publishing Scenes — drag-and-drop your exports to get a public link;