Custom Shapes
Boxshot lets you add custom shapes to the left panel so you can re–use them when needed.
Adding Shapes to the Left Panel
Let’s start with a very simple example of a customized book shape: add a book shape and make its height smaller, so you can visually distinguish it from a normal book. You can use any other shape if you like, it doesn’t really matter:
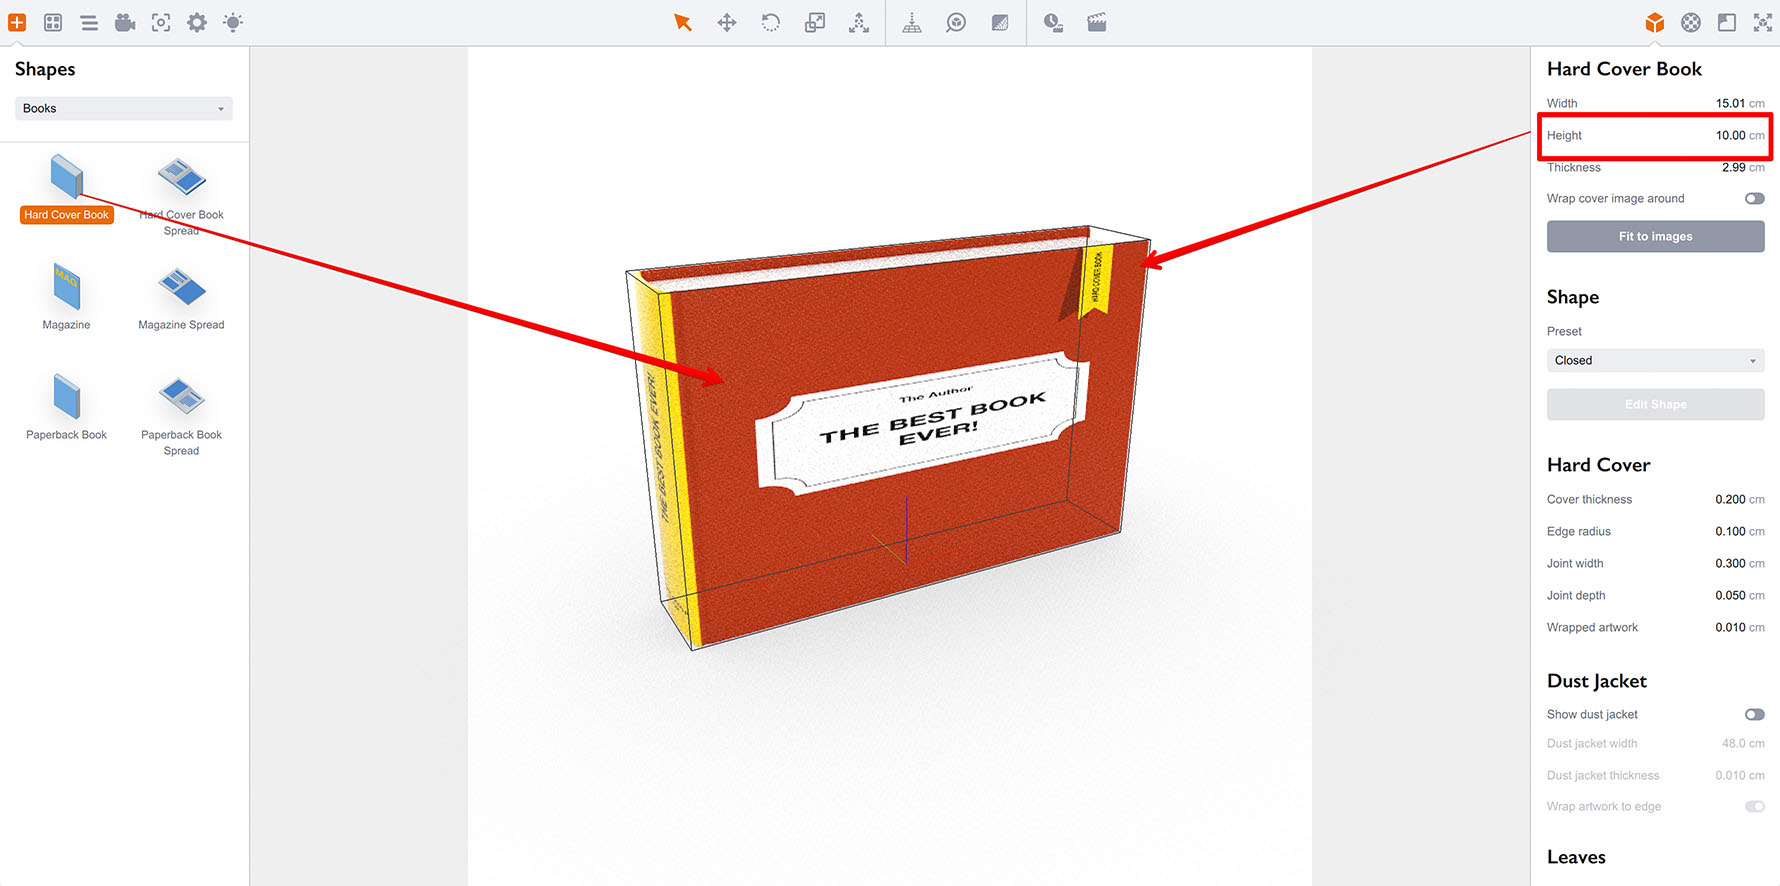
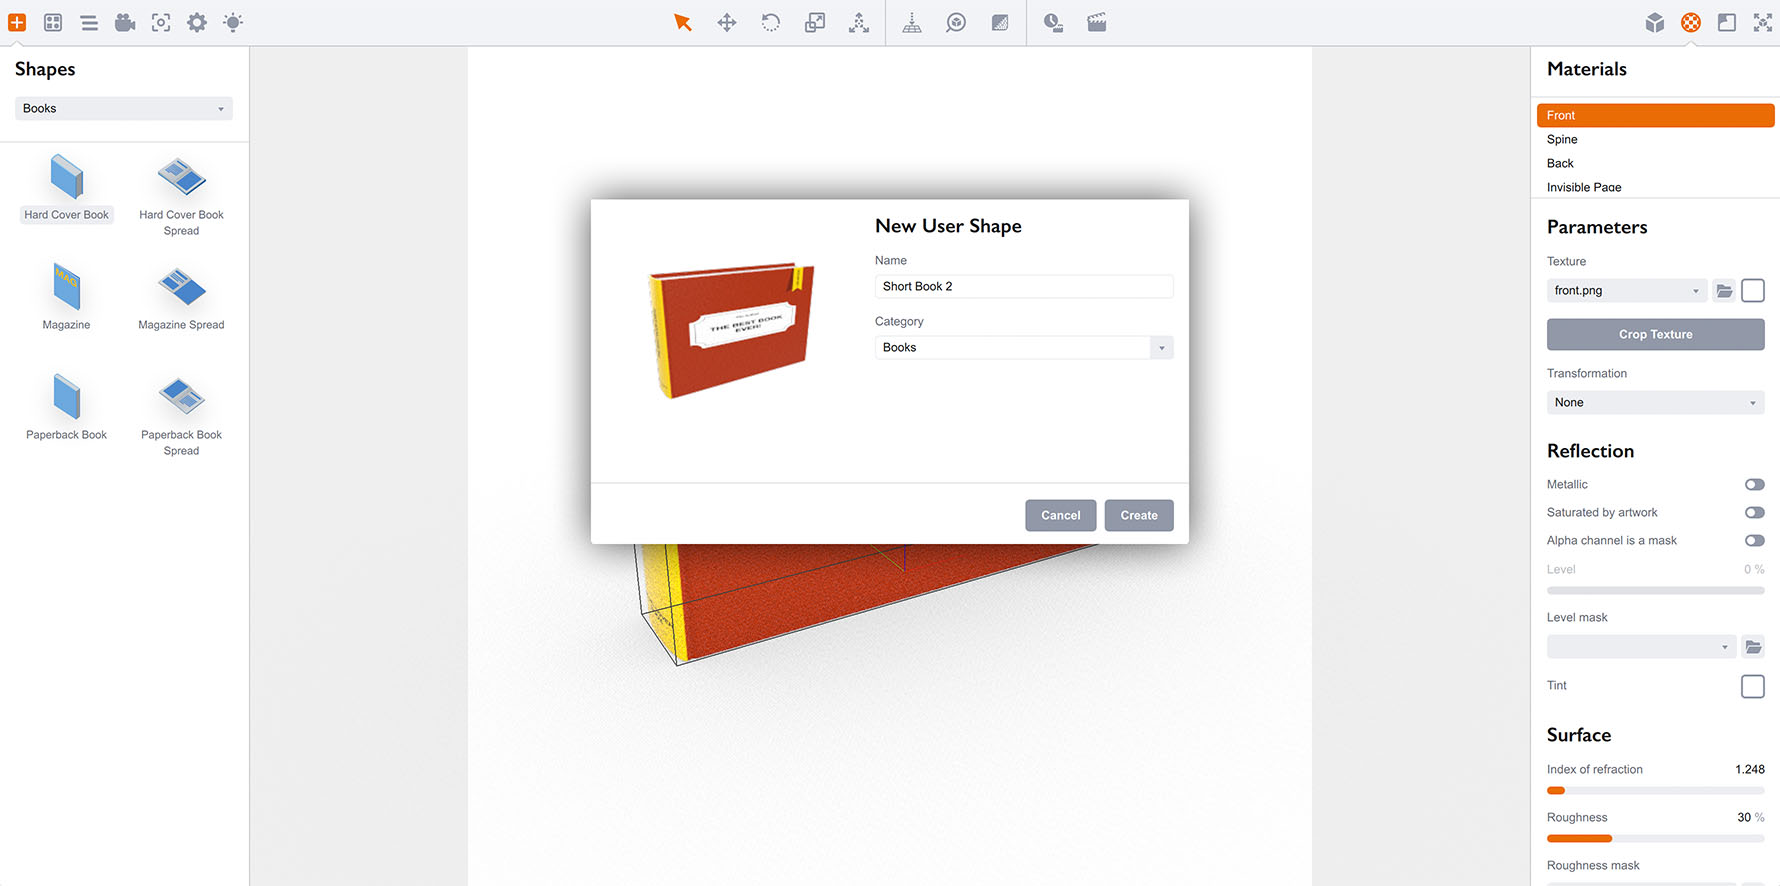
Now imagine that you need this shape later and want to have it nearby on the left panel. To do so right–click the shape and select Tools → Add To Shapes List… in the popup menu. You will get a popup window with the shape preview and some parameters:

The panel lets you enter the name of the shape you’re adding and select the category (folder) of the shape to place it into. Let’s type “Short book” in the Name field and leave the Category field as is with the “User” value, then click Create.
Once done click the drop-down list of the objects panel and select “User” there to see your shape:
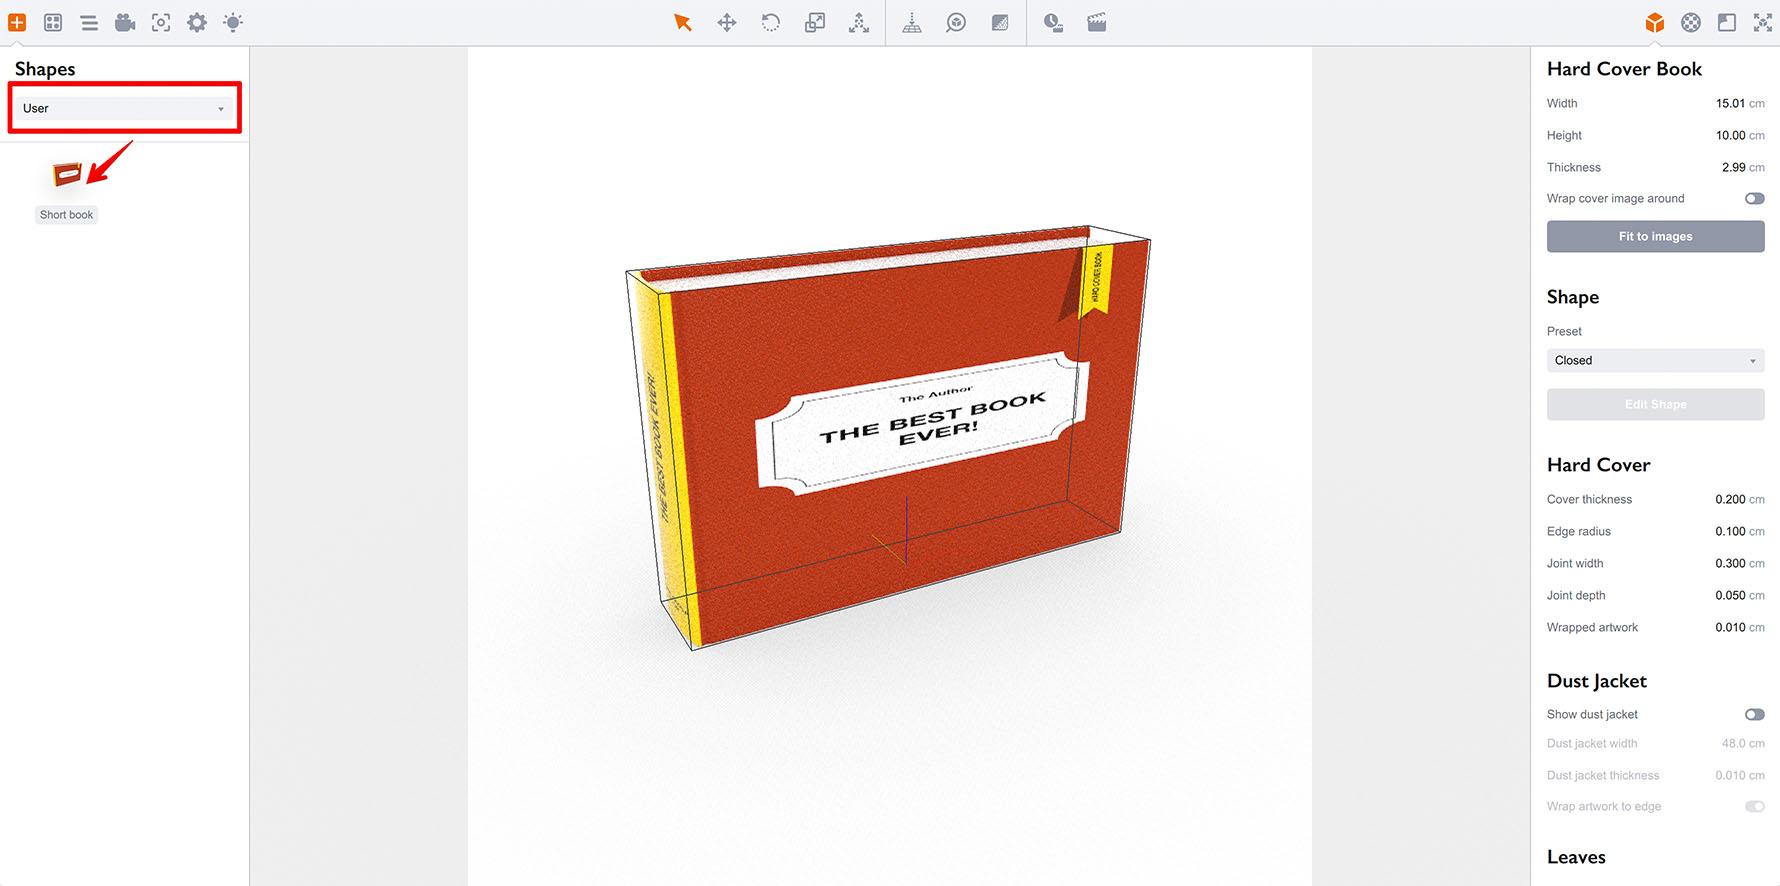
Now you can make a new project and drag that shape into the scene as a built–in one:
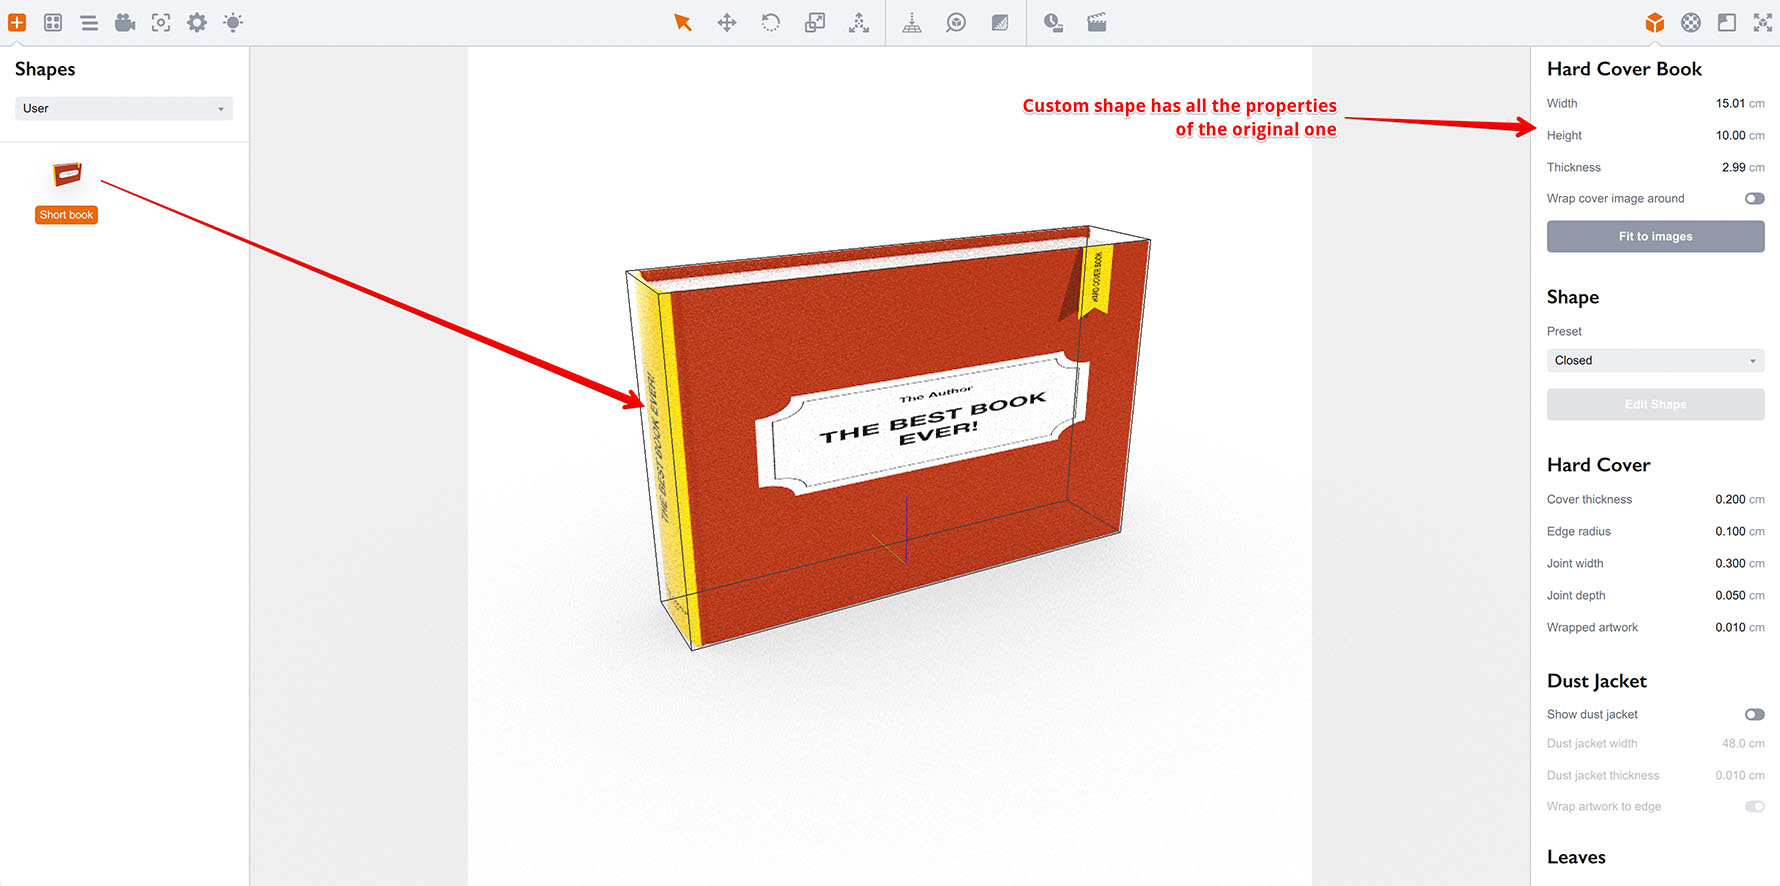
Boxshot saves all the materials and images with custom shapes, so you don’t need to worry about missing artwork. Note that the custom shapes are stored locally and you might need to carefully transfer projects to other computers or back them up if you don’t want to miss artwork. You can read more about this in our image management tutorial.
Managing Custom Shapes
Custom shapes show a popup menu when you right–click them. There are two items there:
- Show in Finder/Explorer — lets you open a folder with the shape you saved;
- Delete — lets you remove the shape.
Lets try the first option and see what is stored in the folder:
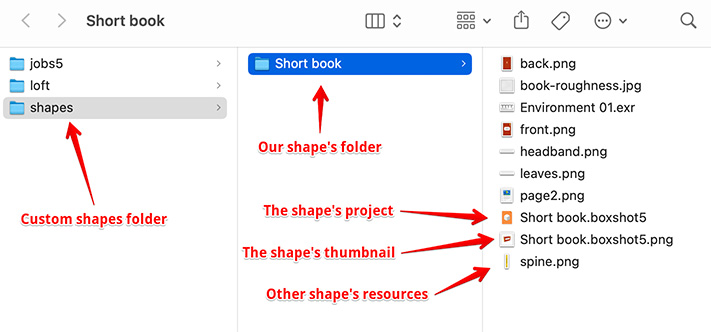
You will find the project file with the shape, the thumbnail to display in the left panel and all the resources used by the custom shape. The folder name defines the name of the shape and you can rename the shape in the list by renaming the folder (more about this below).
Using Categories
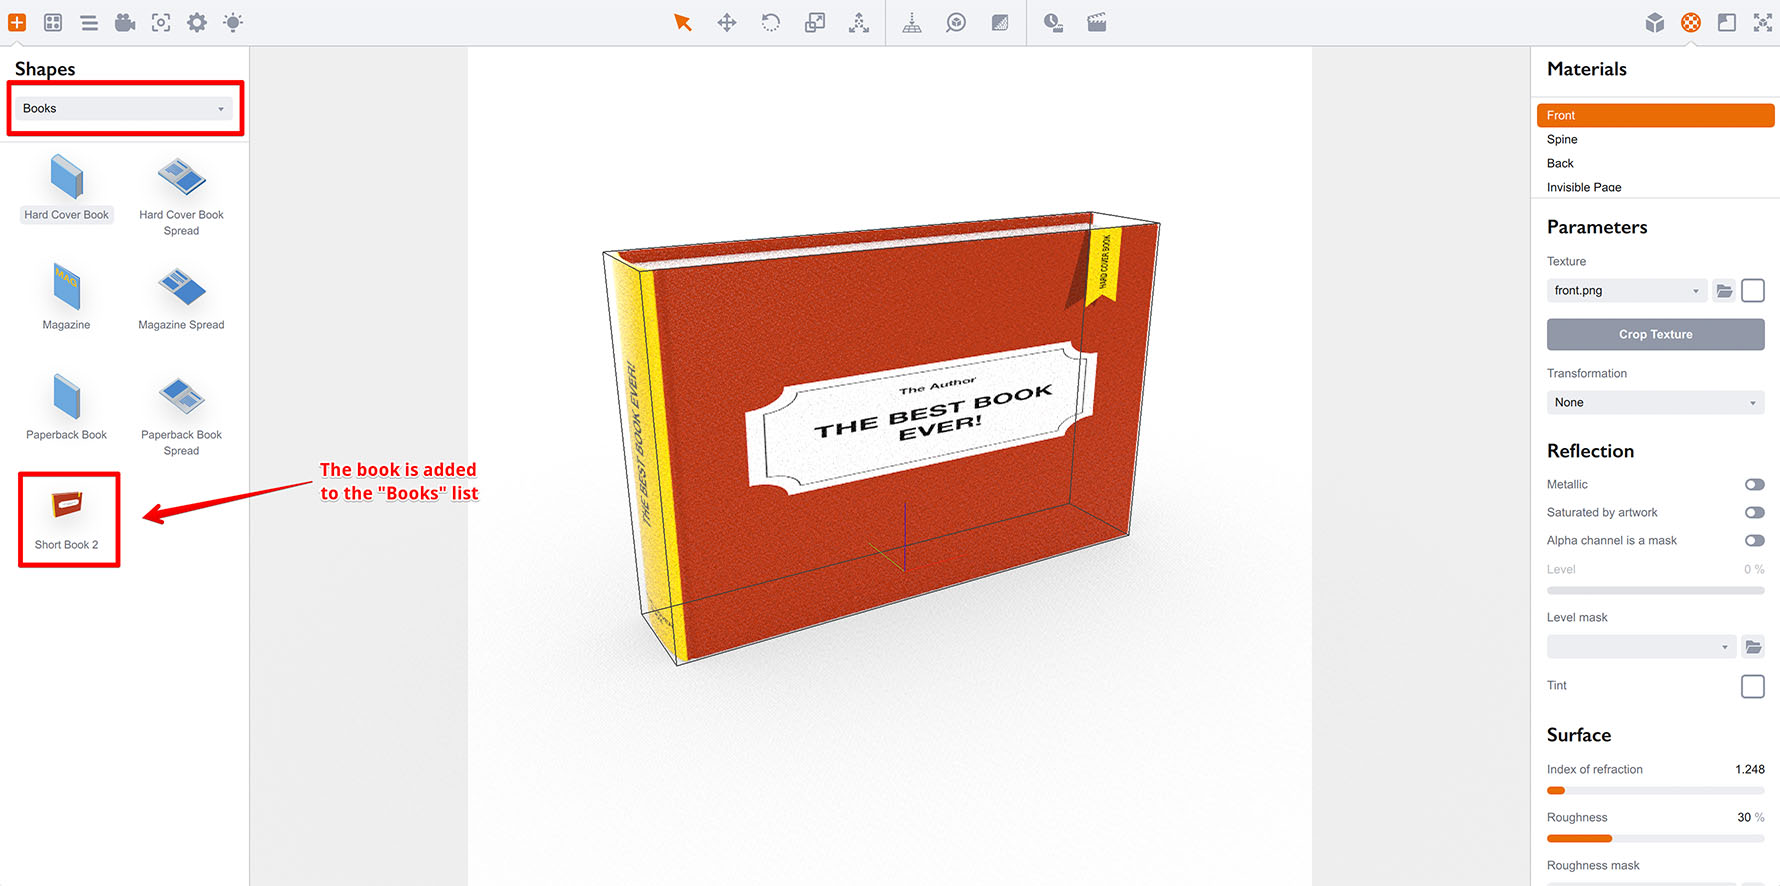
You can also add that book to the “Books” panel on the left, so you have all the books together. To do so right–click the shape, select Tools → Add To Shapes List… again, put the name you need, then type “Books” in the category field:
Then click Create and notice the shape is added to the “Books” category:
If you now switch back to the shapes folder you opened above, you’ll notice the new shape is added there:
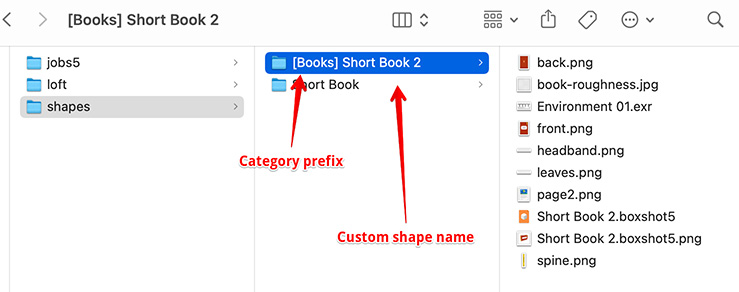
The main difference you might notice is the category name is the square brackets. The shape folder is named "[Books ] Short Book 2" which is parsed by Boxshot as a shape named “Short Book 2” in the “Book” category.
The complete custom shape folder name format is "[Category] Name". If the category is absent Boxshot uses the default “User” category — that’s why our first shape has a simple folder name and is located in the “User” category of the shapes list.
You can rename shape folders yourself and providing you use a proper name syntax, Boxshot should parse names and categories correctly and place objects where requested in the shapes list.
Transferring Shapes
You can transfer shapes folder to other computer by simply copying them into the similar folder there. Boxshot will detect the copied shapes and display them in the shapes list, so you can use them there.
You don’t need to transfer shapes to another computer if you simply want to transfer the project there, but consider using File → Collect Resources… from the main menu in order to get all the artwork copied with the project. This is exactly the same as transferring other complex projects with multiple textures from various folders.
That’s all
You can add any shapes, including the external (embedded) ones to the left panel for your convenience. This also applies to shape packs we offer, third–party models you found somewhere else and the custom lathe/loft/extrude shapes you made yourself.
More Tutorials
Rendering
- Realistic Rendering — improving scenes visual appearance;
- Lighting — control environment and directional lighting;
- Saturated Reflection — make "rich" colorful reflections;
- Floor Reflection — reflecting scene objects in the floor;
- Job Manager — rendering jobs later;
- GPU Rendering — rendering scenes faster on GPU;
- Rendering Time and Quality — getting more control on rendering;
- Simple and Realistic Lighting — speeding up scene rendering.
Materials
- Texture Slots — how to use texture slots in Boxshot;
- Glass Materials — how to make semi–transparent objects look attractive;
- UV–Spot — how to make a UV–spot effect easily;
- Foil Effect — how to add foil–finishing to your shapes;
- Bump — adding relief to your materials;
- Copying Materials — how to copy materials to other shapes;
- Custom Materials — extend the materials library with your own ones;
- Semi–Transparent Labels — making semi–transparent and partial labels;
- Boxshot Materials — more details about Boxshot materials.
Features
- Boolean Operations — combining and subtracting shapes, making holes;
- Decals — applying decals and configuring them;
- Bump Decals — applying bump where it is needed;
- Depth Of Field — adding more realism to your renderings;
- Tools — read more about Boxshot tools;
- Managing Images — how to manage image files used by Boxshot projects;
- Shapes Instances — creating lightweight copies of other shapes;
- Model Editor — edit embedded models in many ways;
- Shrink Wrap — heat–shrink film simulation for objects wrapping;
- Physics Simulation — applying gravity to your scene;
- Palletize — arrange scene objects for the pallet;
- Snapshots — save scene state to re–use it later;
- Translation — teach Boxshot to speak your language;
- Vector Artwork — how to maintain the quality of vector artwork.
Shapes
- Lathe Objects — making symmetrical objects using revolving curves;
- Loft Objects — making custom objects with 2D cross–sections;
- 3D Text — making 3D text objects in Boxshot;
- Extruded Objects — how to make thick 3D object of your flat 2D curve;
- Conical Labels — making conical labels with distorted artwork;
- Dieline Box — a very realistic dieline–based box;
- Custom Shapes — adding custom shapes to the left panel;
- Solid Shapes — create boolean-friendly shapes;
- Script-Based Solids — create complex solid shapes with code;
- Third Party Shapes — importing third party shapes to Boxshot.