Making Book Mockup
This tutorial provides a step–by–step guide on creating and rendering a simple 3D hard cover book mockup in Boxshot without any special graphic or art knowledge. All you need is 2D artwork and a few minutes of your time.
Artwork
You need the 2D artwork for your book. It is easier when the artwork is split into front, spine and back parts, but Boxshot can also handle full–cover images.
In this tutorial we will be using the artwork below:
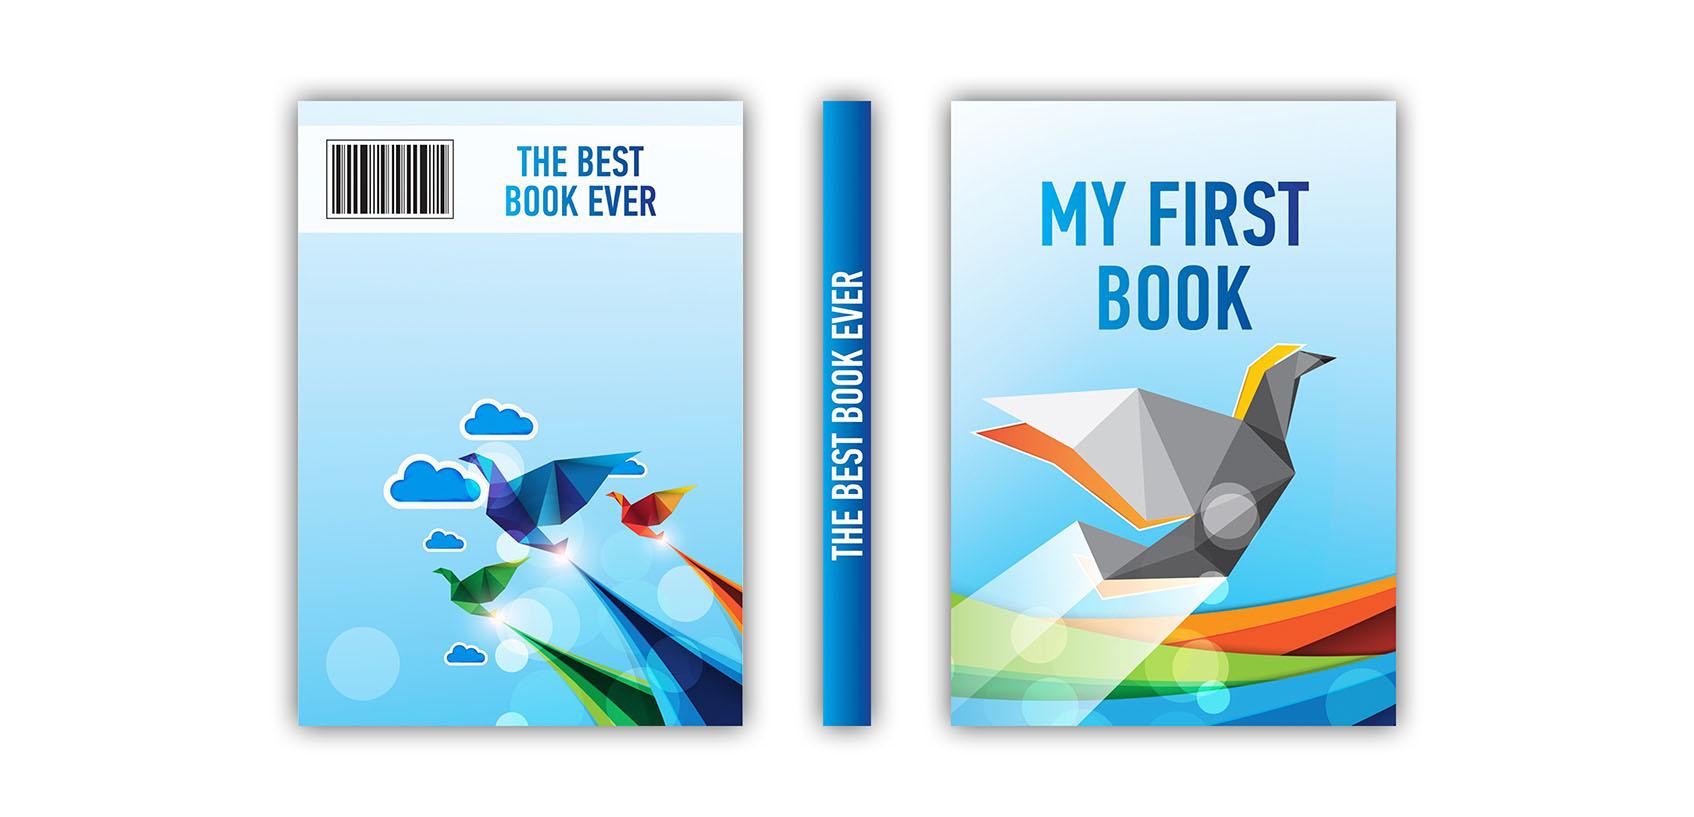
The artwork comes in three images: for front, spine and back of the book. Here you can download it if you like.
Too Complex?
If you feel that the instructions below are way too complex, consider trying our online book mockup maker where you can easily make book mockups right in browser and absolutely free. There’s no that much options there, but everything is quick and easy. Come back if you need more features.
Making 3D Book
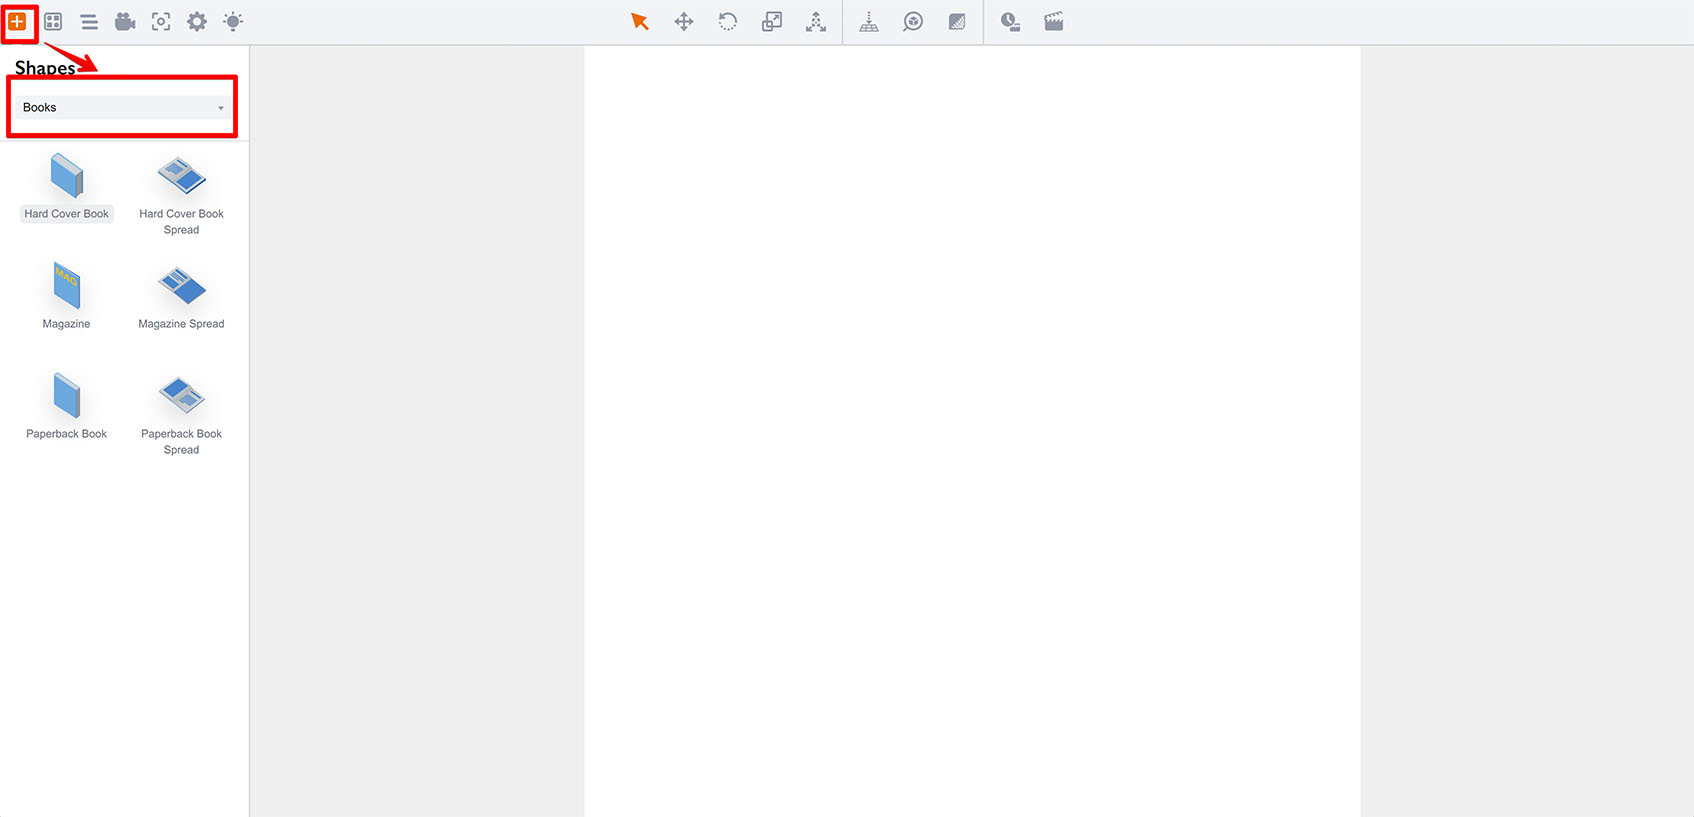
Download and install Boxshot if you haven’t done this yet, then start it and switch to Books in the left panel:
Click the Hard Cover Book icon in the left panel and drag it into the scene:
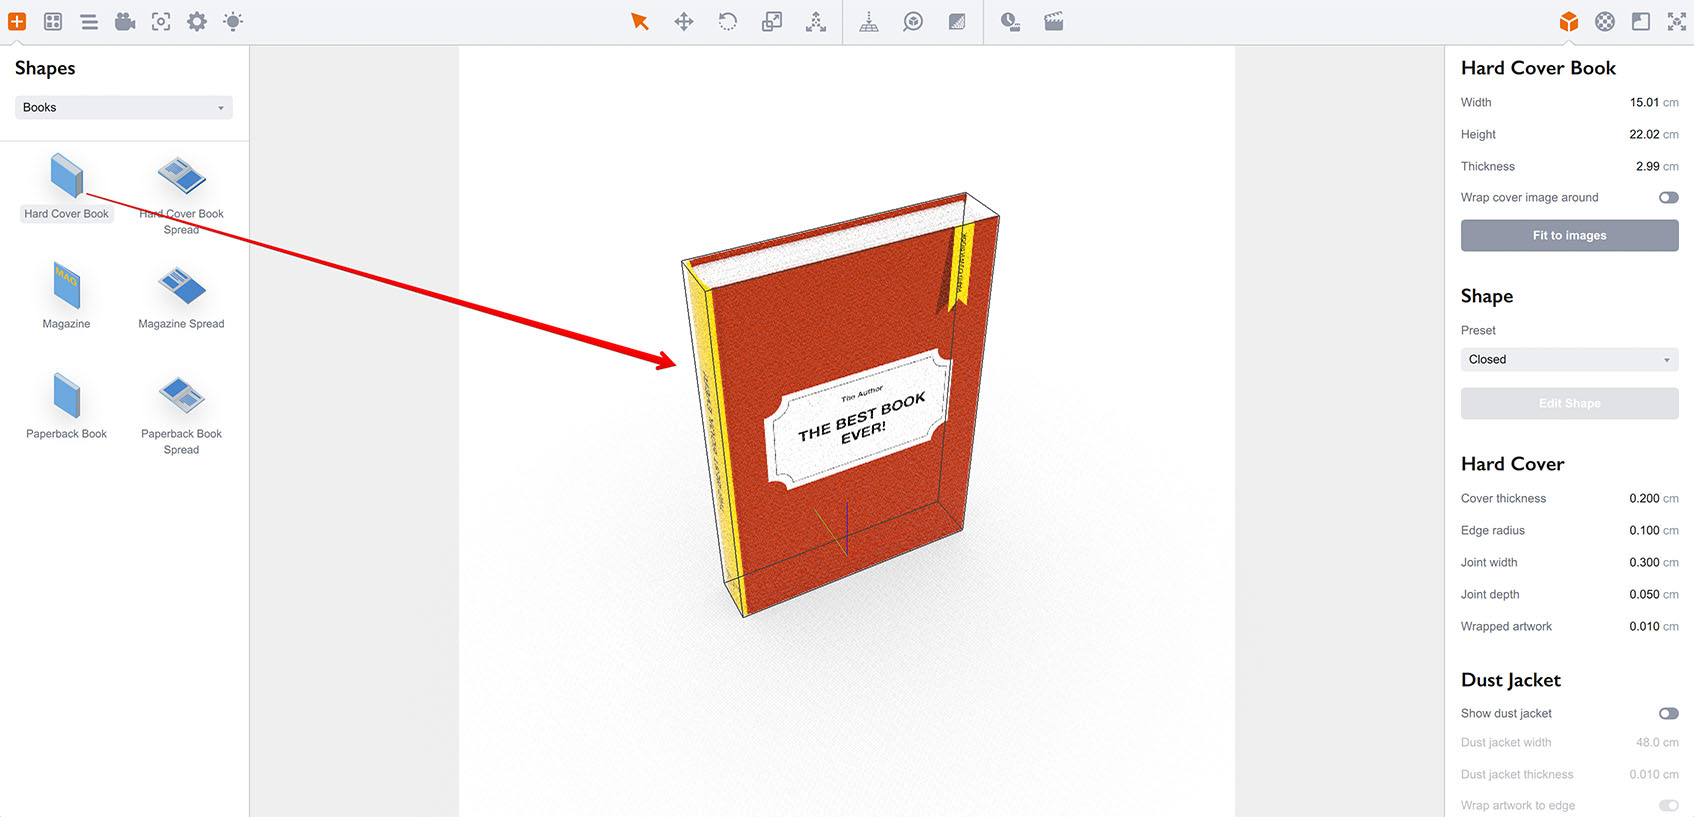
Once the book shape is added, you can rotate the camera by holding the left mouse button and moving the mouse around. You can also zoom the scene using the mouse wheel.
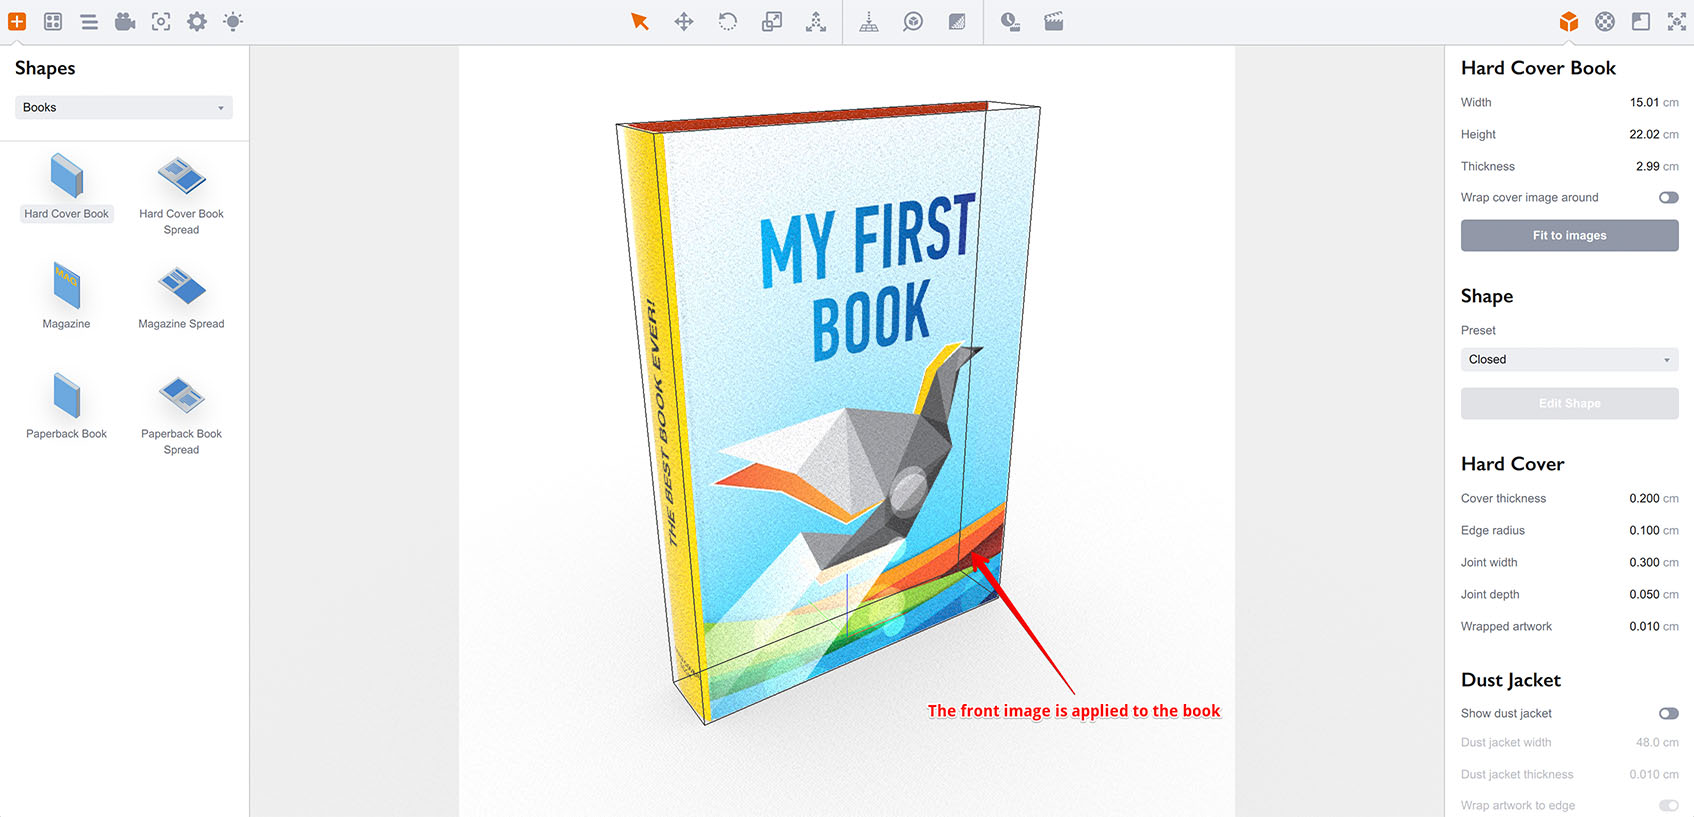
Now open the folder with the book artwork, and drag the front image onto the front side of the book in the scene. Boxshot may ask you how to use the image, select the Texture item from the popup menu. You should see the image applied to the book:
Then do the same for the spine and the back of your book, so you end up with a fully configured 3D book shape.
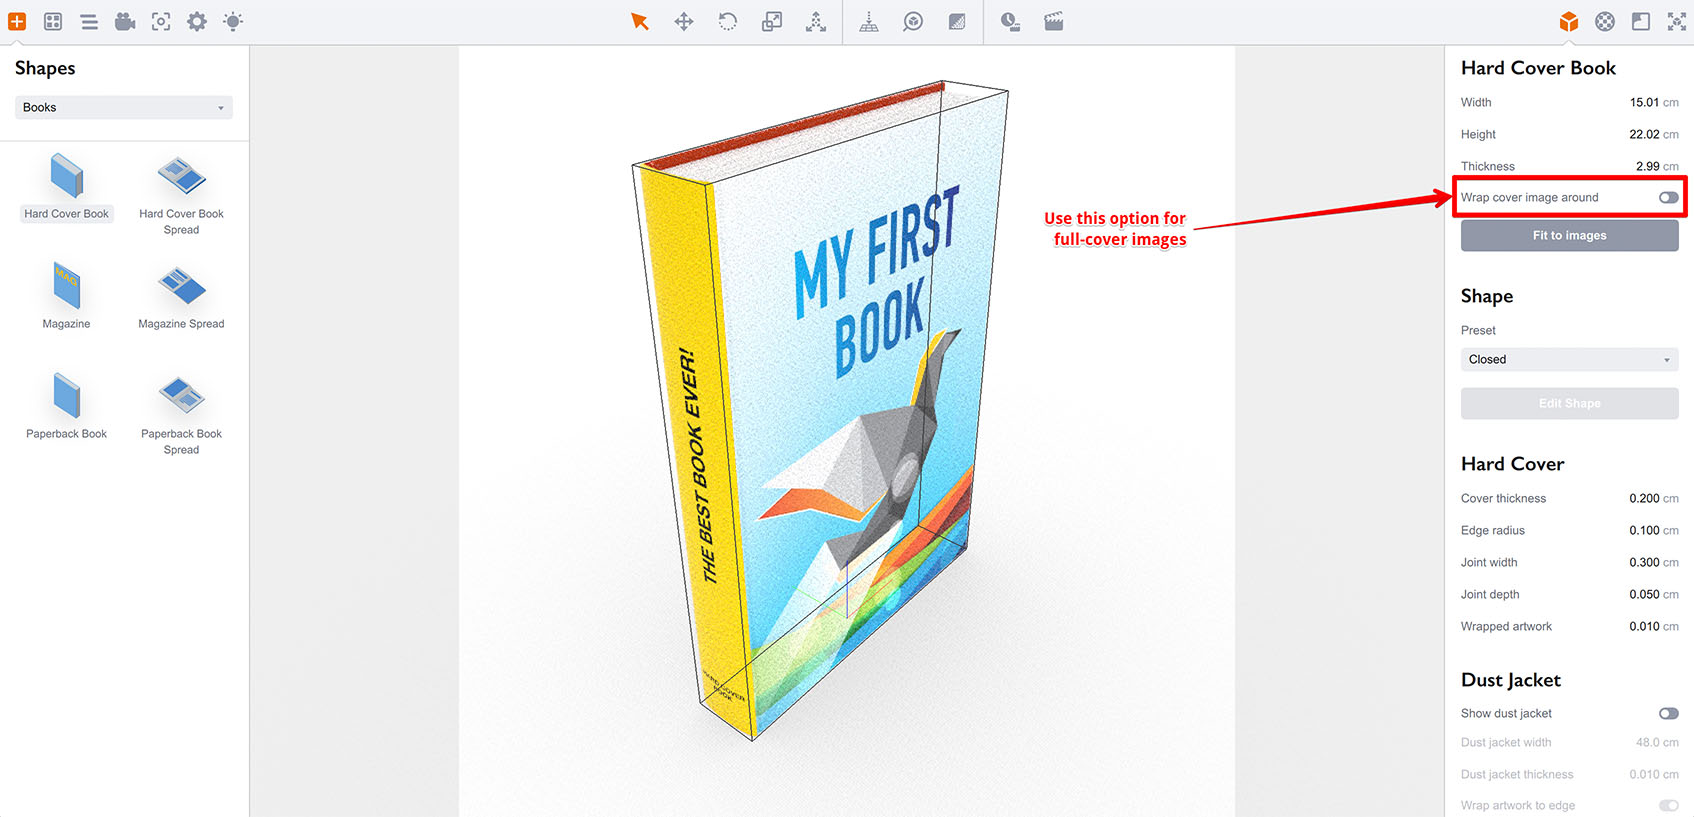
If you have a full–cover image with both front, spine and back parts on the same image, you will need to enable the Wrap cover image around option and then drop the artwork on the book. Boxshot will use the artwork for all the parts of the book cover.
When all the artwork is loaded, you should end up with something like that:

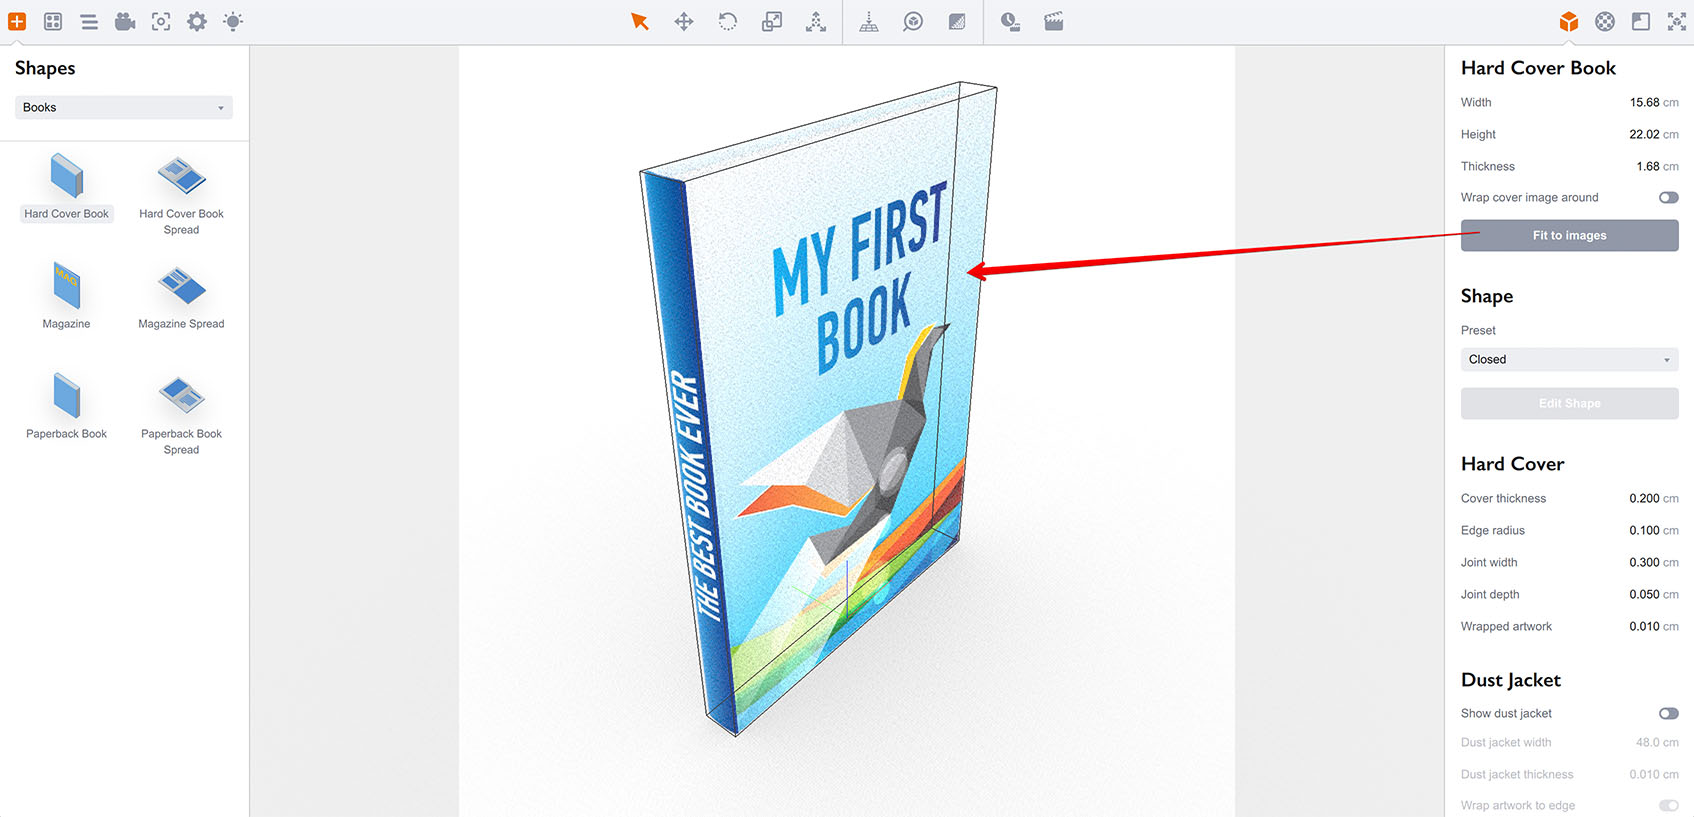
Finally, you need to adjust the book size to match the artwork. Boxshot doesn’t change the shapes’ dimensions when you apply artwork, so you need to tell it to do so. Although you can manually configure the dimensions using the right panel, there is a faster way: simply click the Fit to images button that automatically resizes the book to match the artwork you uploaded:
Note that if you use a full–cover image, Boxshot will not be able to compute the book thickness for you. In this case you need to configure the thickness manually using the right panel, then fit the shape to images like explained above.
Done! The book is now properly resized to fit the artwork you uploaded. Rotate the scene to check that everything fits well. You might also adjust materials further if you like.
Adjusting Camera
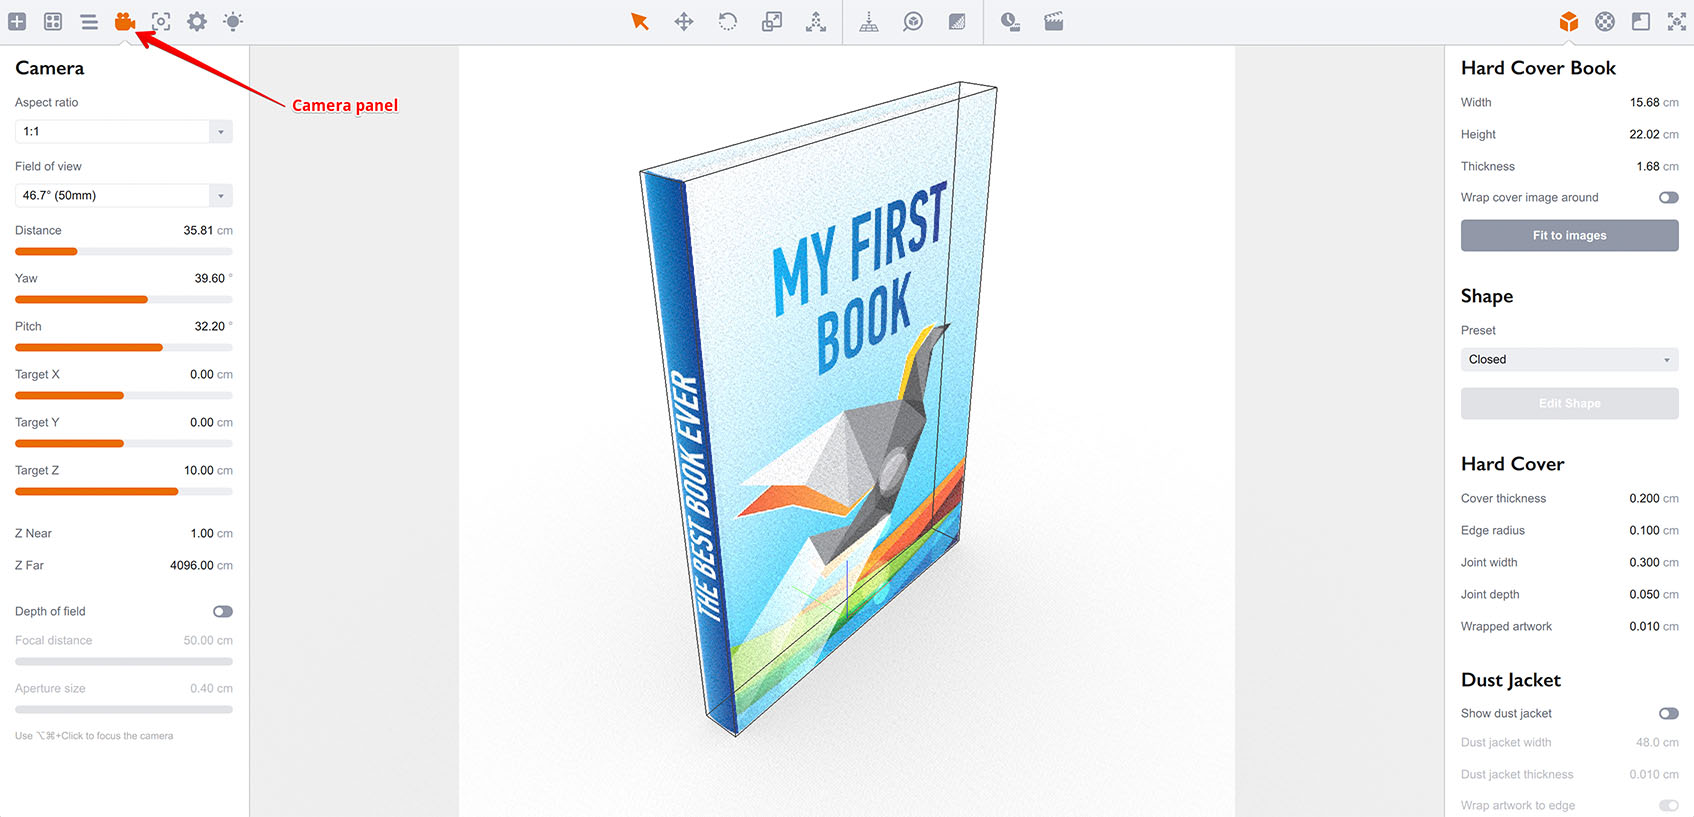
Before rendering the scene, it is worth visiting the Camera panel on the left to review the camera settings and adjust them. Switch to the camera panel:
What you might need to adjust is the Aspect field. The aspect is 1:1 by default, which means a square image. Boxshot shows the working area of the scene using gray overlay and if you look at the images above, you will notice the working area is square. Let’s change it to 4:3 and see what happens:
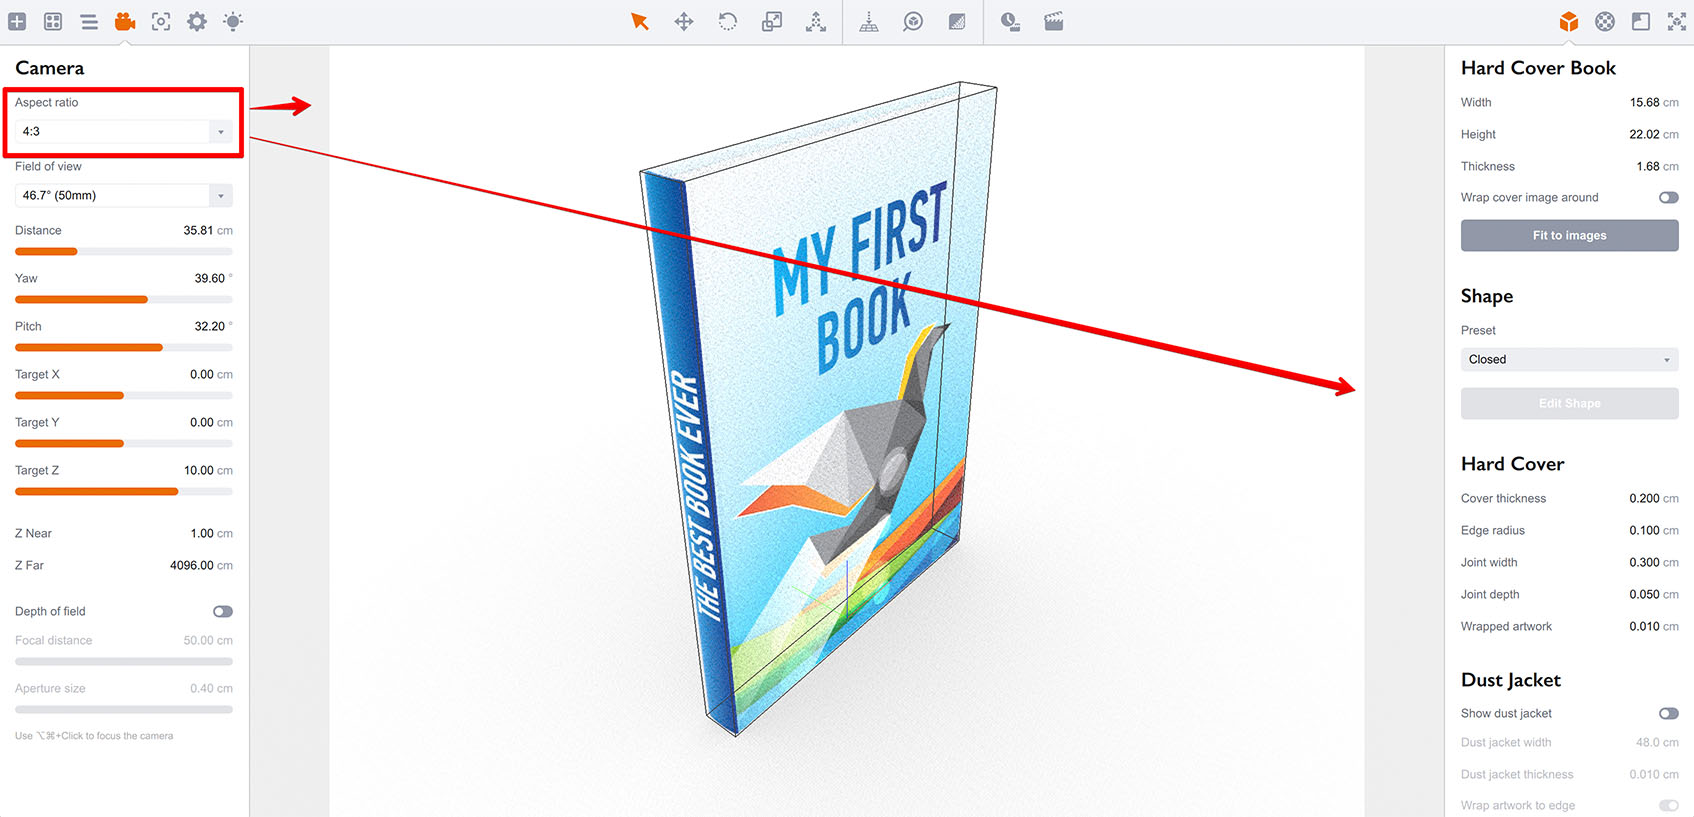
The gray overlay will get updated and the working area will have different proportions. It is really helpful to define a proper aspect ratio of the camera before rendering, so you render exactly what is needed.
Read more about camera settings here
Rendering Scene
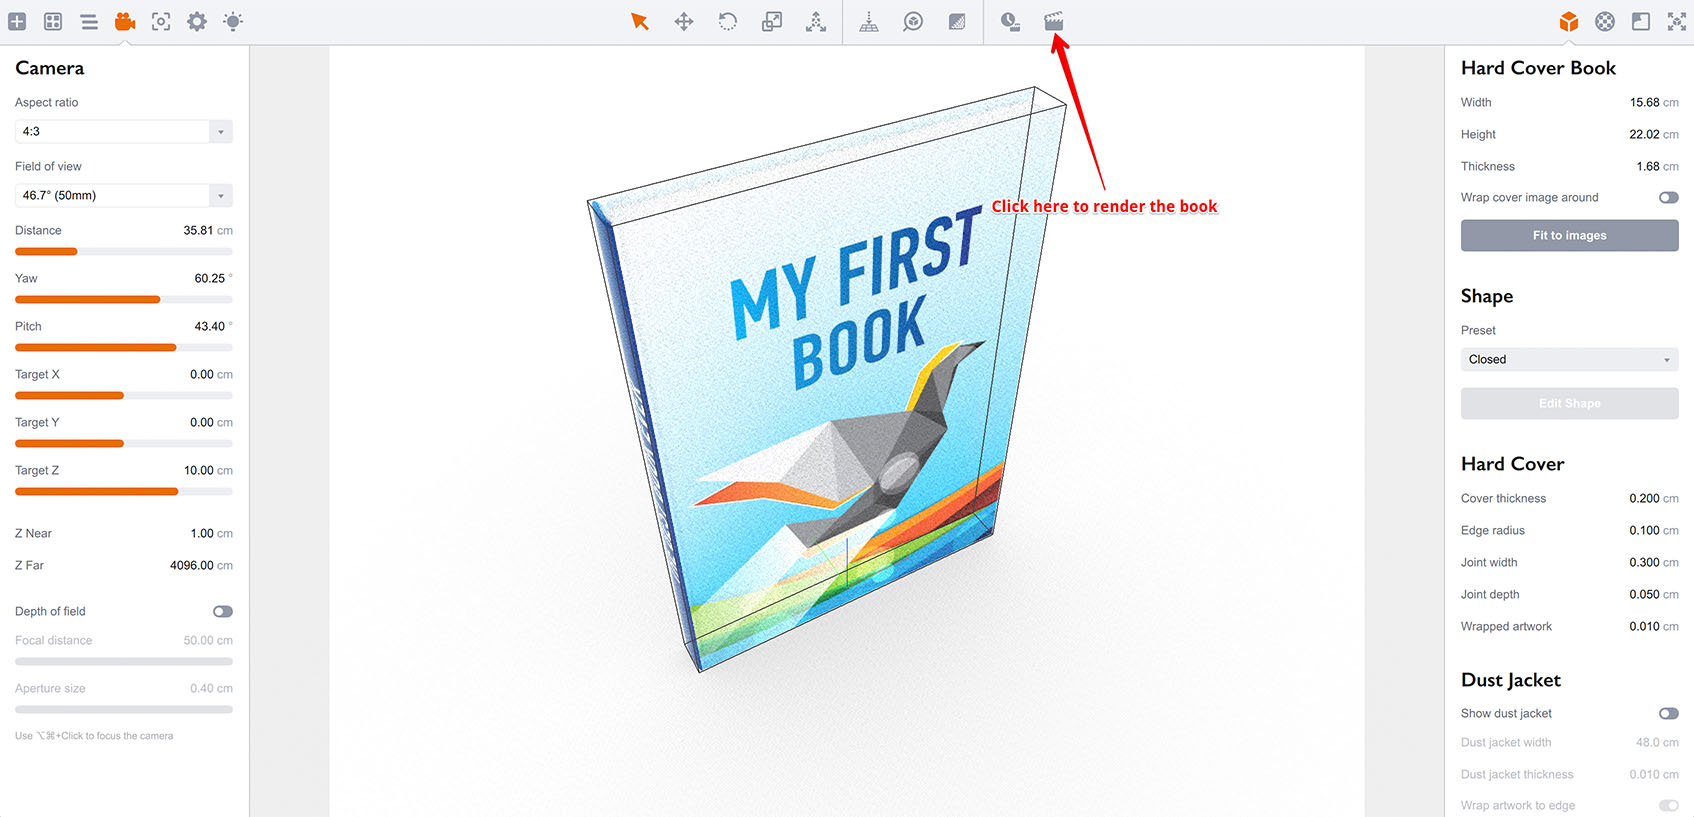
Now we are ready to render the scene. Once again rotate the book to the angle you want to see it rendered. Adjust the zoom and other camera parameters, so the book fits the working area and click the Render button in the toolbar:
Boxshot will open a rendering parameters window, where you can setup the output resolution and other rendering parameters.
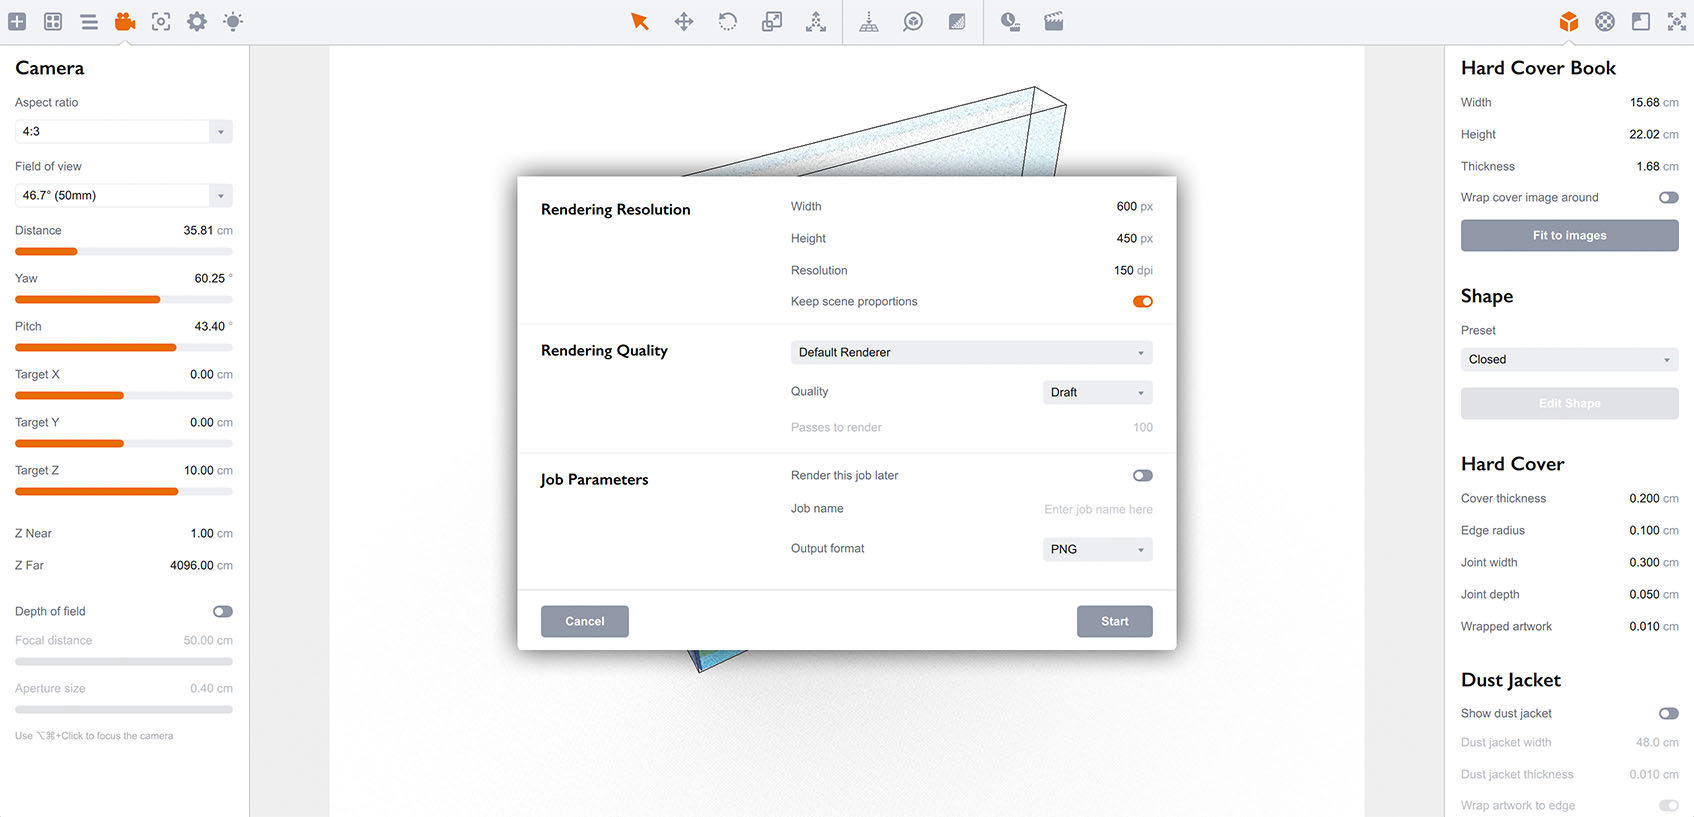
Edit the rendering parameters where needed and click the Start button to start rendering:
Once the image is rendered you can save it using the Save button at the bottom:
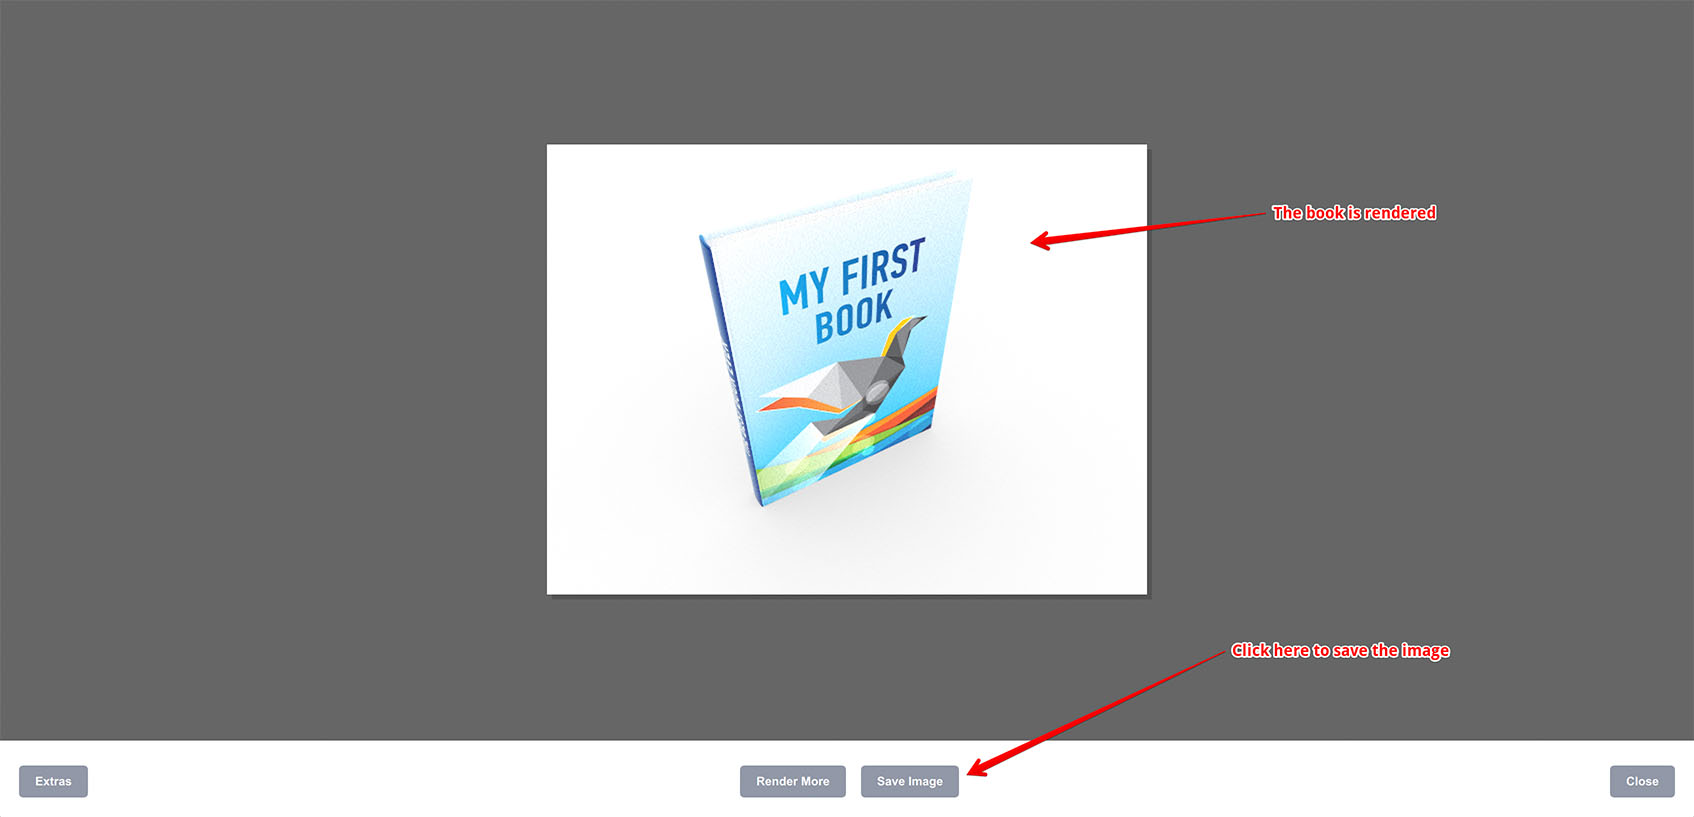
That’s it! The image is rendered and saved. You can now close the rendering panel and render another angle, or save the project for further usage.
Other Mockup Tutorials
- Book Mockup — making a 3D book cover from 2D artwork;
- Box Mockup — making a simple 3D box mockup;
- Pallet of Cans Mockup — a complex scene of can boxes on a pallet.