Adding Shapes to the Scene
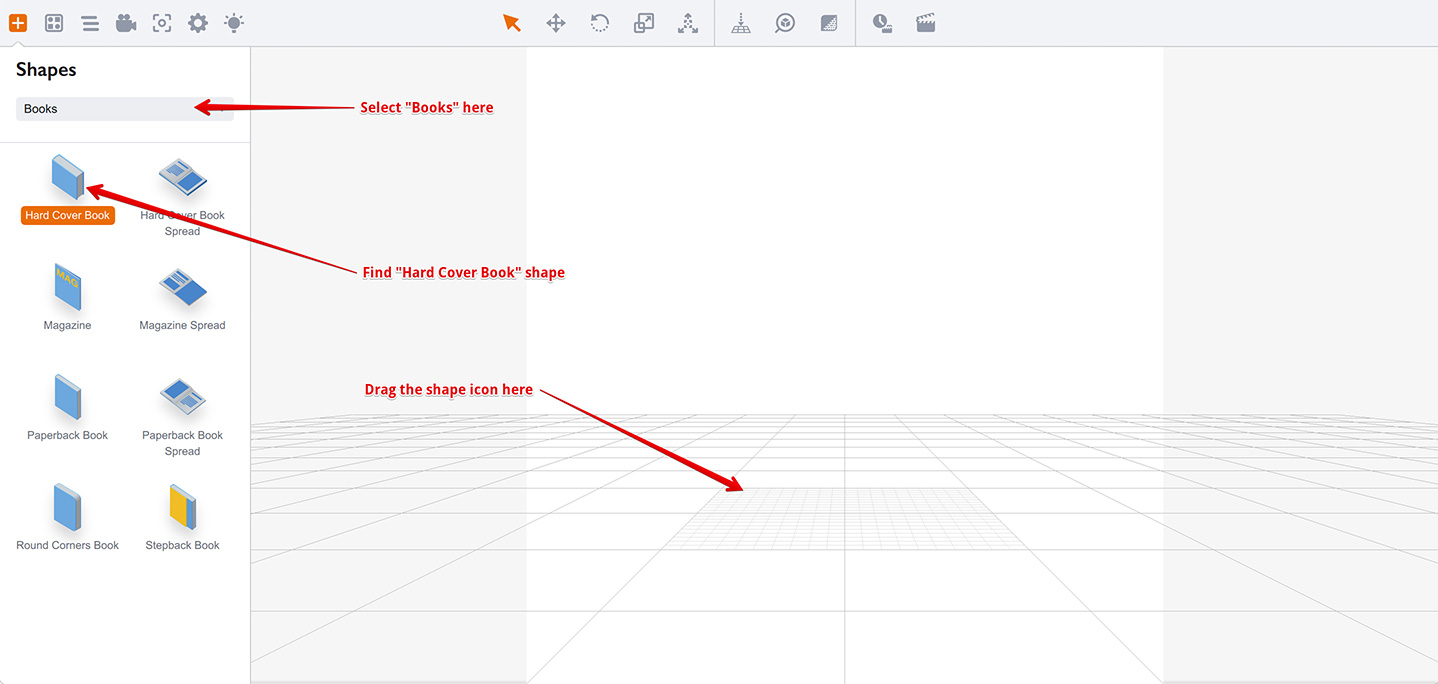
This is probably the easiest tutorial ever. As you know from the user interface layout tutorial, Boxshot keeps a list of available shapes at the left panel. All you need is to pick a shape from the left panel and drag it into the scene. Let’s drag a hard cover book shape. To make it easier, select Books in the drop-down list at the top of the Shapes panel to shorten the list of shapes to choose from.
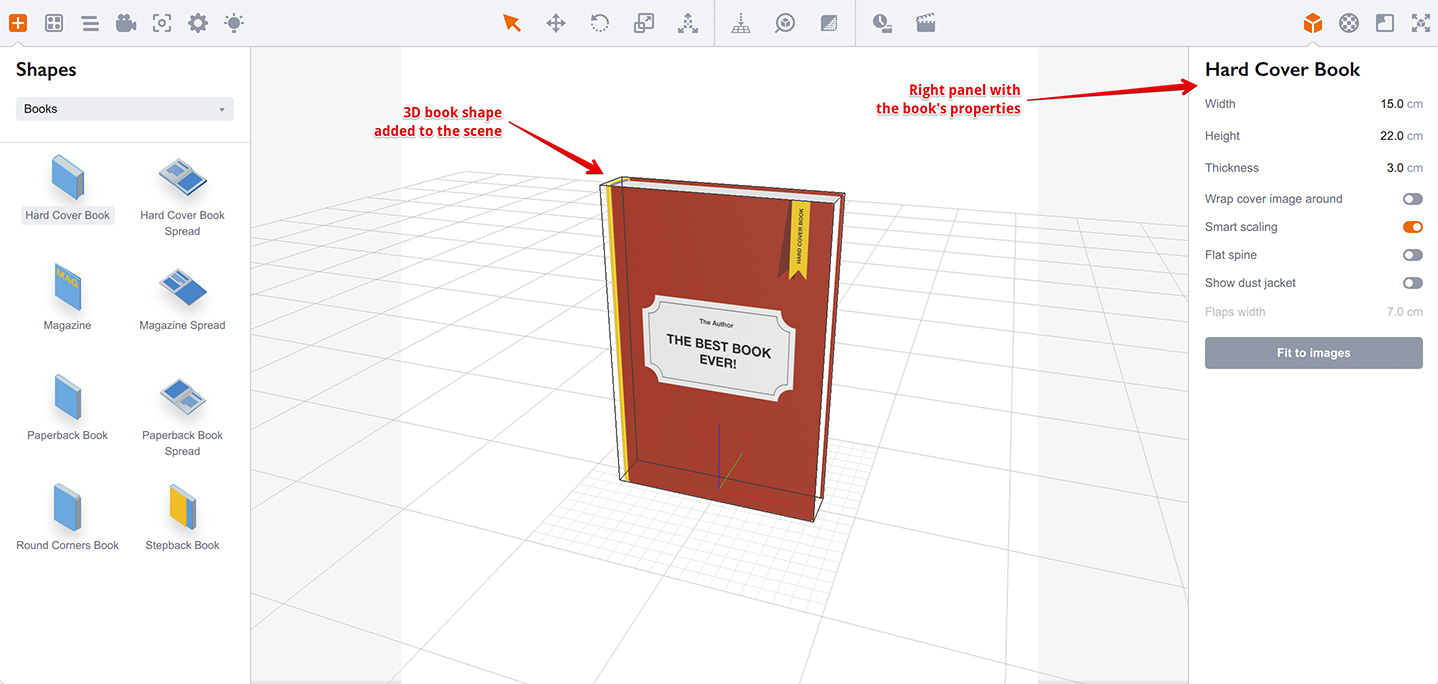
Now drag the book shape to the scene and release it there. You’ll see the book in the scene and the right panel shows the list of the book’s properties.
Congratulations: you’ve just added a shape! You can now add more shapes, but note that Boxshot adds shapes to the center of the scene, so the second shape will be visually merged into the first one. However, you can rearrange shapes easily with your mouse, as described in the moving shapes tutorial.
You can also right click on the selected shape to see the context menu, where you can do many useful things.
Now try to add more shapes yourself. Then rotate the camera by holding the left mouse button and dragging the mouse to see the shapes from different views.
Conclusion
You have learned about adding shapes to the scene in Boxshot. Isn’t it easy? It is. Please continue to the following topics:
- Moving Shapes — how to move and rotate the shapes;
- Editing Shapes — learn how to edit shapes parameters;
- Editing Materials — change shapes appearance by editing materials;
- Using Camera — how to control the scene camera;
- Rendering Scenes — how to render your completed scene.