Using Vector Artwork
Boxshot supports vector artwork in PDF and AI formats. However, as Boxshot works with pixels internally, it needs to rasterize vector images first, before it can display them applied to the shapes.
This tutorial explains how it works and provides some hints on improving the vector artwork appearance in Boxshot.
We’ll need a sample vector artwork for this tutorial, so I found a nice picture of a cat (because everyone likes cats).

You can use your own artwork, if you like. The artwork itself doesn’t really matter here, just make sure it is a vector one.
Here I loaded it to Boxshot and placed onto the box:
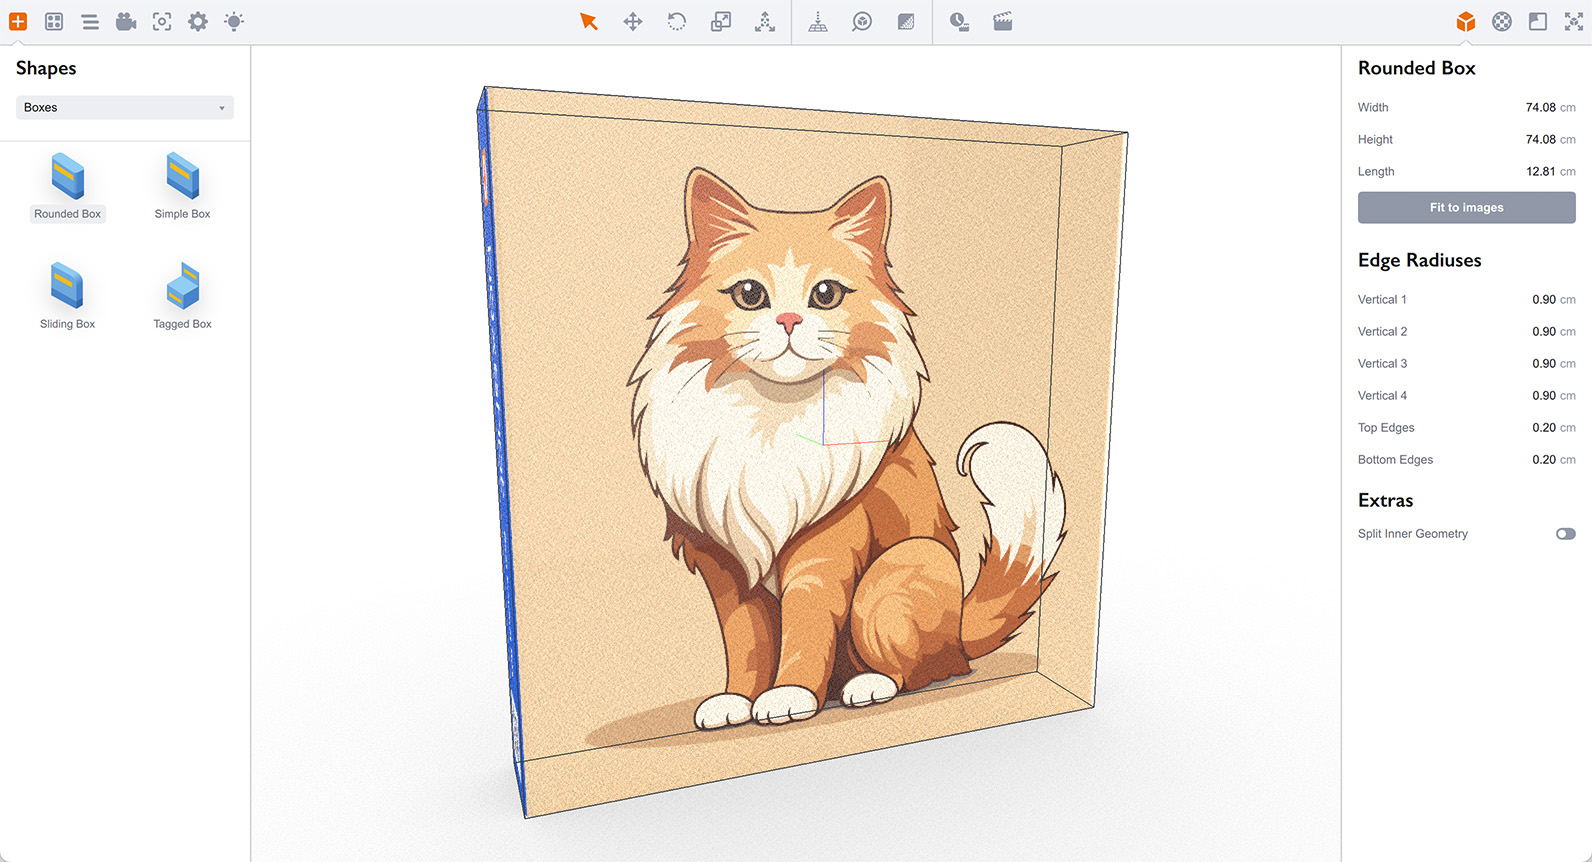
So far so good, the image looks sharp and everything is fine.
Behind the Scenes
Notice the box dimensions displayed on the right. Boxshot says it is 74x74 centimetres — that’s quite a big box.
As I said above, Boxshot works with pixels, so internally it converts the vector image into a raster one at 300 dpi by default, so that 74cm becomes 8740 pixels. Boxshot caps that at 8192 pixels to avoid consuming too much RAM, so you end up with a very detailed 8192x8192 pixels raster image that Boxshot uses internally for rendering.
Providing that your target rendering resolution is comparable with that numbers, you should end up with a decent rendering of the cat. Perfect.
Getting Smaller
Now what happens if we resize the vector image? Of course, as the image is in vector format, the quality will stay the same. Will it? Let’s give it a try.
Here I opened the vector image in Adobe Illustrator and adjusted its size to a much smaller one: slightly above an inch (3cm):
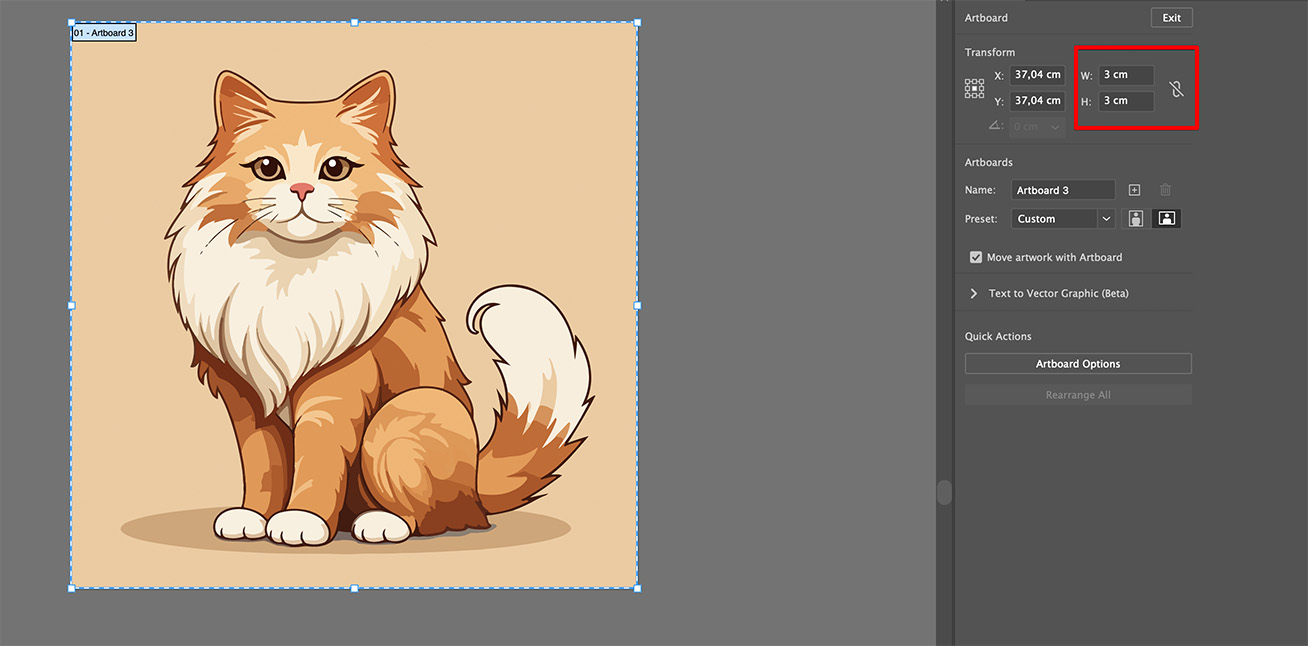
Of course, the cat looks as gorgeous as usual as it is vector (and a cat), but let’s save that image and see what happens in Boxshot.
The cat looks blurry. It might not be obvious from a first sight, but if you have a closer look, you’ll notice that.
Why that? Again, let’s do the math. We have 3x3cm image. 3cm is 1.18" or about 350 pixels at 300dpi.
So instead of 8K image we had before, we now have a 350x350 pixels one.
Why That?
Well, one thing is missed here. Notice that the box is still 74x74 centimetres. Let’s click Fit to images to resize it to its proper size, according to the artwork.
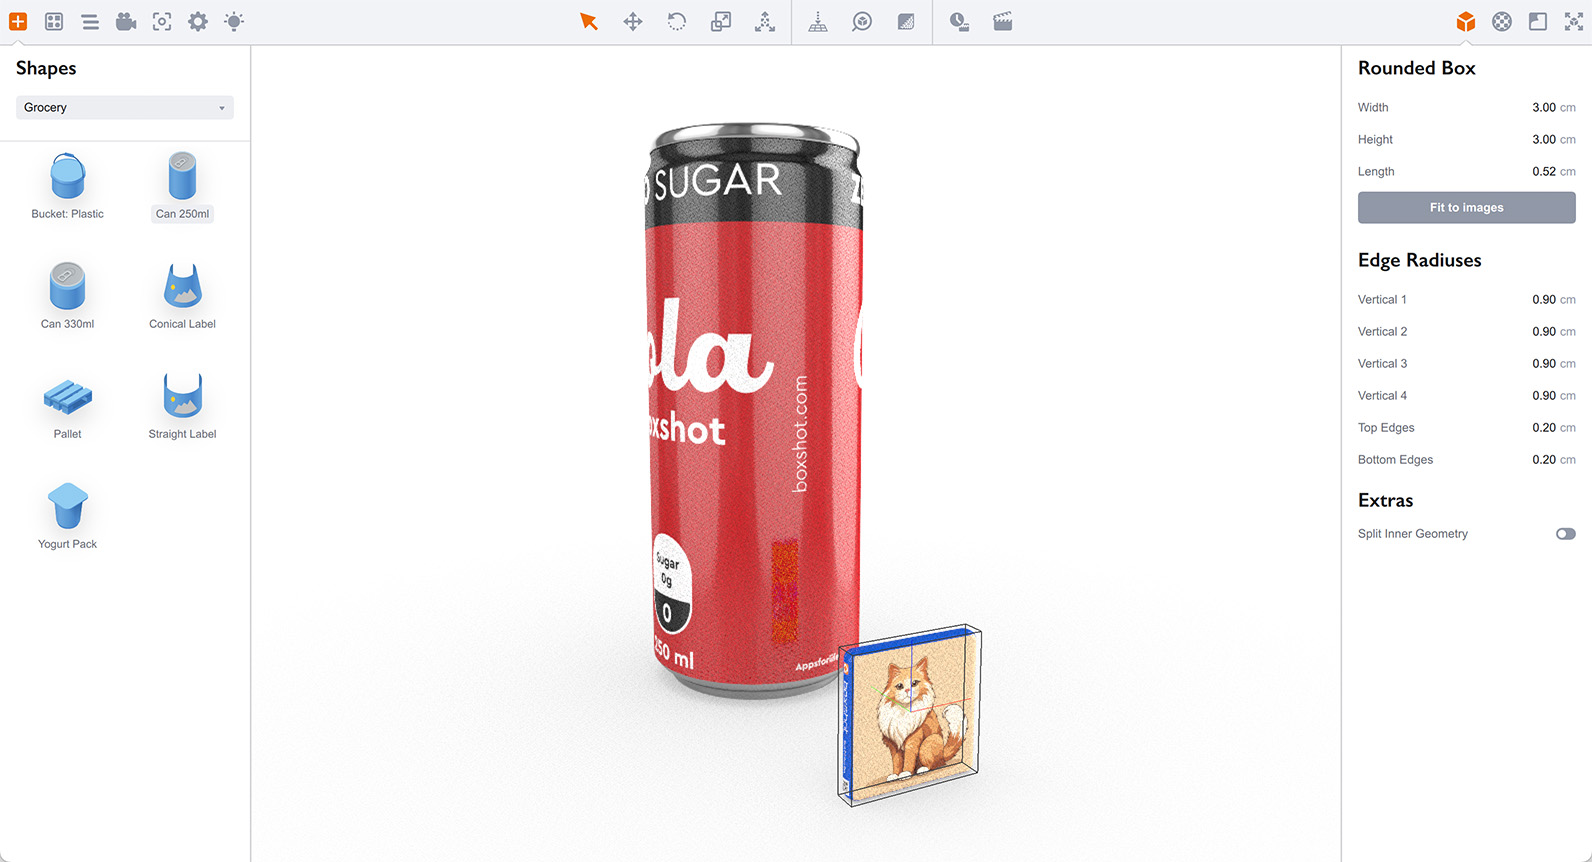
The box is now 3x3cm and I had to add a soda can nearby so you can feel the scale.
The logic behind is that if the object is small, it is likely to be small in the scene and will not take much space in the rendered image. So there’s no need to provide too much details for it. You can see that our “low–res” cat looks pretty nice on that small box next to the soda can. That’s enough.
Except…
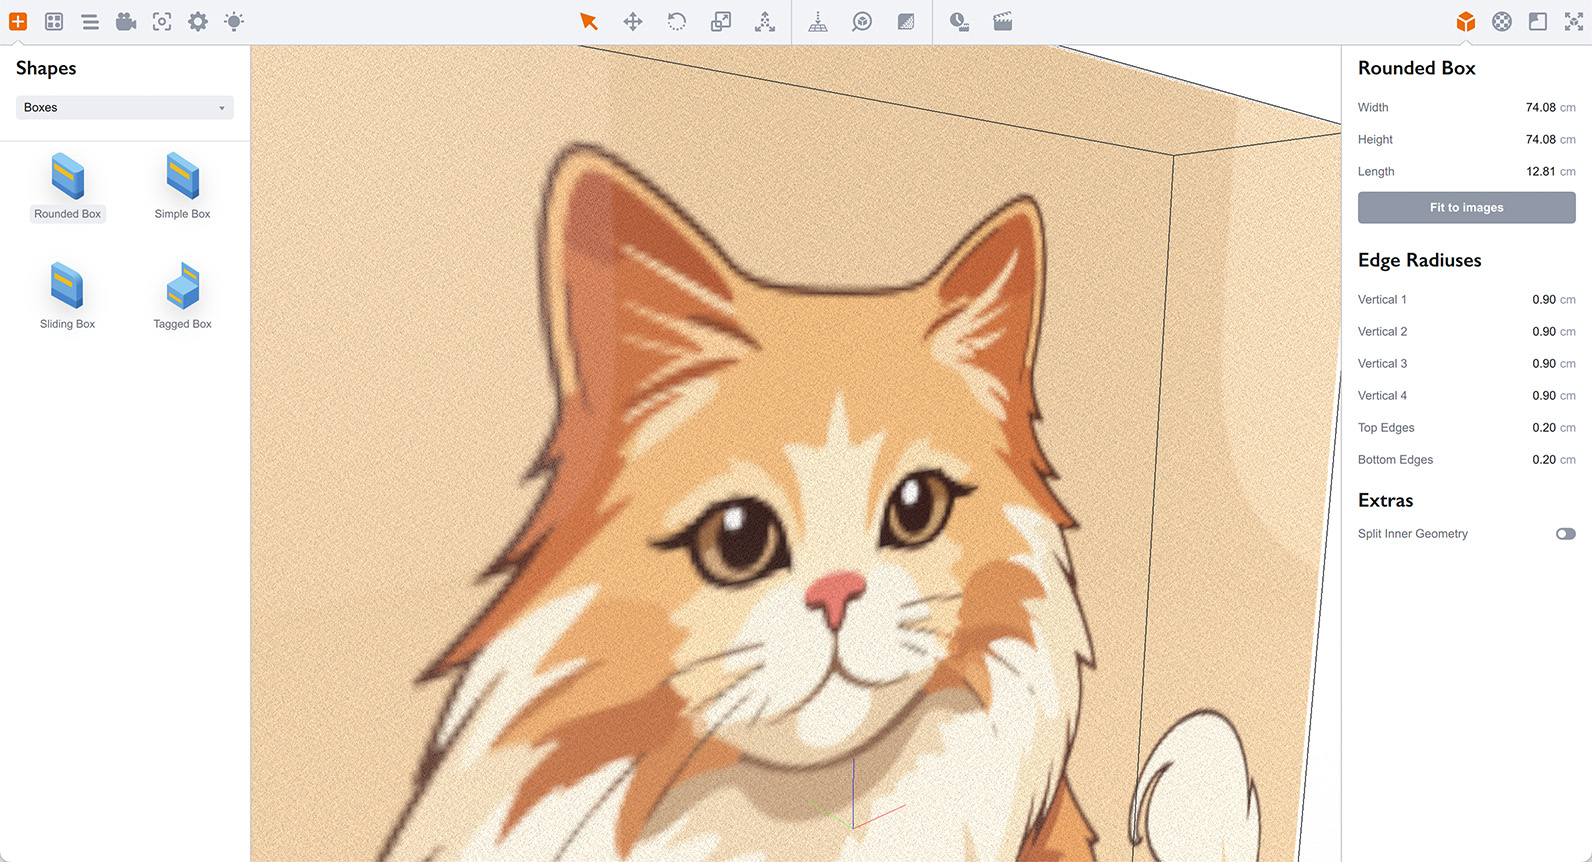
Except if you need a “macro” shot of that small object. Here I zoomed closely to the cat box:

That’s a problem… 300 dpi is not enough if we want a macro rendering of a tiny object, so what to do? Let’s change the DPI in settings!
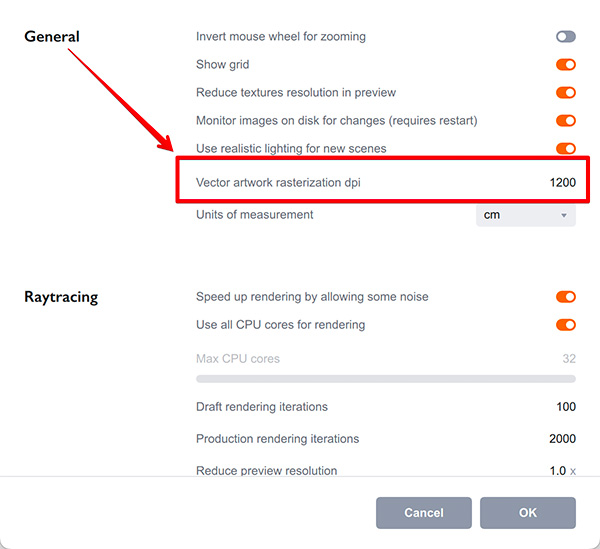
Here I changed it to 1200, so for 3x3 cm we’ll end up with 1400x1400 pixels image.
You will need to reload all the images to see the difference. Click Tools → Reload Images in the main menu and see what happens:
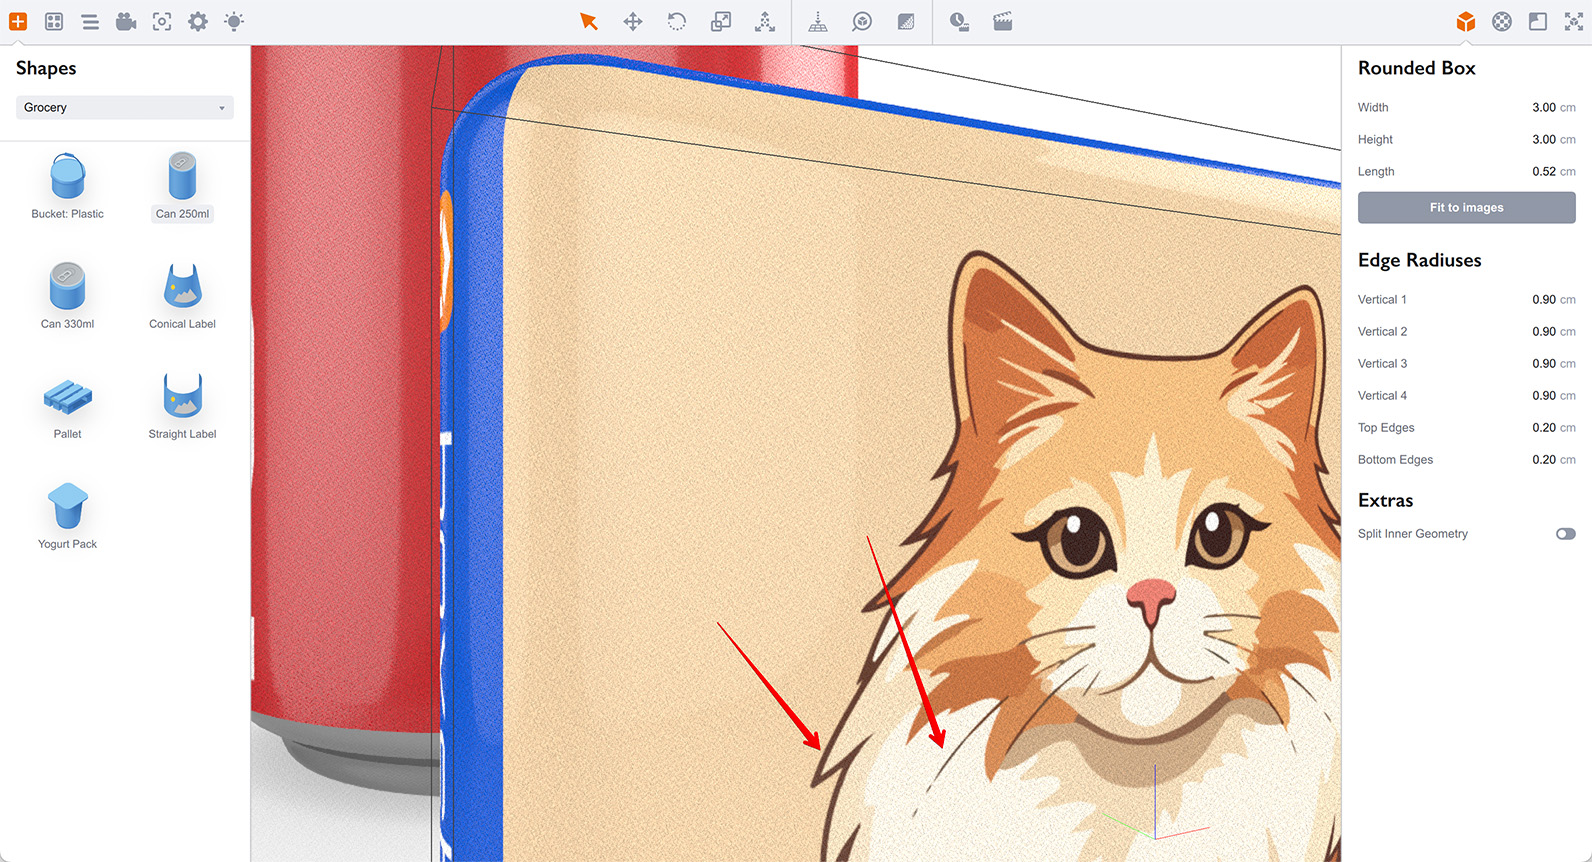
Do you see the difference? The edges and thin lines look much more detailed now.
Notes
So Why 300 DPI?
That’s basically a sane default, a “good enough” value for most. You can increase it, but Boxshot will consume more memory and might take longer to load and render scenes.
Consider keeping the DPI at 300 and only change it if you really need.
This Affects All Vector Images
Another thing to mention is that this option affects all the vector images in Boxshot. You will have your tiny vector artwork properly rasterized, but if you have 10 more vectors in the scene of a “regular” size, they will be rasterized to a higher resolution, as well. They will take much more space which might affect other apps running on your computer.
Sometimes, if you need it just for a single vector, an easier work–around would be to resize the vector itself, so instead of 3x3 cm it will be 30x30cm. This doesn’t affect the vector itself, but Boxshot will use a higher resolution raster for this image internally without touching others images.
Why This is a Global Option?
Why didn’t we make it a texture property? Boxshot doesn’t load images twice, so if you load a texture for one shape and then load it for another, Boxshot will re–use the first one. This is done for speed and efficiency. This also means we cannot have two different “versions” of the same image. That’s why the option is global.
This Only Affects Vector Images
Just in case: this option only affects the vector artwork. The PDF and AI formats only.
All the other artwork formats supported by Boxshot are raster, they are already in pixel format and there’s no need to rasterize them. Although they have DPI, too, that’s a different story and has nothing with the quality of their appearance in renderings.
Boxshot does not apply this parameter to raster images.
Finally
It is likely that you will never need to adjust this option. Unless you use a really small vector artwork for a close–up high resolution rendering of a tiny object, you will be fine with the default settings.
Otherwise, you know what to do.
PS
Do not forget to reset the DPI back to 300 when done :)
More Tutorials
Rendering
- Realistic Rendering — improving scenes visual appearance;
- Lighting — control environment and directional lighting;
- Saturated Reflection — make "rich" colorful reflections;
- Floor Reflection — reflecting scene objects in the floor;
- Job Manager — rendering jobs later;
- GPU Rendering — rendering scenes faster on GPU;
- Rendering Time and Quality — getting more control on rendering;
- Simple and Realistic Lighting — speeding up scene rendering.
Materials
- Texture Slots — how to use texture slots in Boxshot;
- Glass Materials — how to make semi–transparent objects look attractive;
- UV–Spot — how to make a UV–spot effect easily;
- Foil Effect — how to add foil–finishing to your shapes;
- Bump — adding relief to your materials;
- Copying Materials — how to copy materials to other shapes;
- Custom Materials — extend the materials library with your own ones;
- Semi–Transparent Labels — making semi–transparent and partial labels;
- Boxshot Materials — more details about Boxshot materials.
Features
- Boolean Operations — combining and subtracting shapes, making holes;
- Decals — applying decals and configuring them;
- Bump Decals — applying bump where it is needed;
- Depth Of Field — adding more realism to your renderings;
- Tools — read more about Boxshot tools;
- Managing Images — how to manage image files used by Boxshot projects;
- Shapes Instances — creating lightweight copies of other shapes;
- Model Editor — edit embedded models in many ways;
- Shrink Wrap — heat–shrink film simulation for objects wrapping;
- Physics Simulation — applying gravity to your scene;
- Palletize — arrange scene objects for the pallet;
- Snapshots — save scene state to re–use it later;
- Translation — teach Boxshot to speak your language;
- Vector Artwork — how to maintain the quality of vector artwork.
Shapes
- Lathe Objects — making symmetrical objects using revolving curves;
- Loft Objects — making custom objects with 2D cross–sections;
- 3D Text — making 3D text objects in Boxshot;
- Extruded Objects — how to make thick 3D object of your flat 2D curve;
- Conical Labels — making conical labels with distorted artwork;
- Dieline Box — a very realistic dieline–based box;
- Custom Shapes — adding custom shapes to the left panel;
- Solid Shapes — create boolean-friendly shapes;
- Script-Based Solids — create complex solid shapes with code;
- Third Party Shapes — importing third party shapes to Boxshot.