3D Text Objects in Boxshot
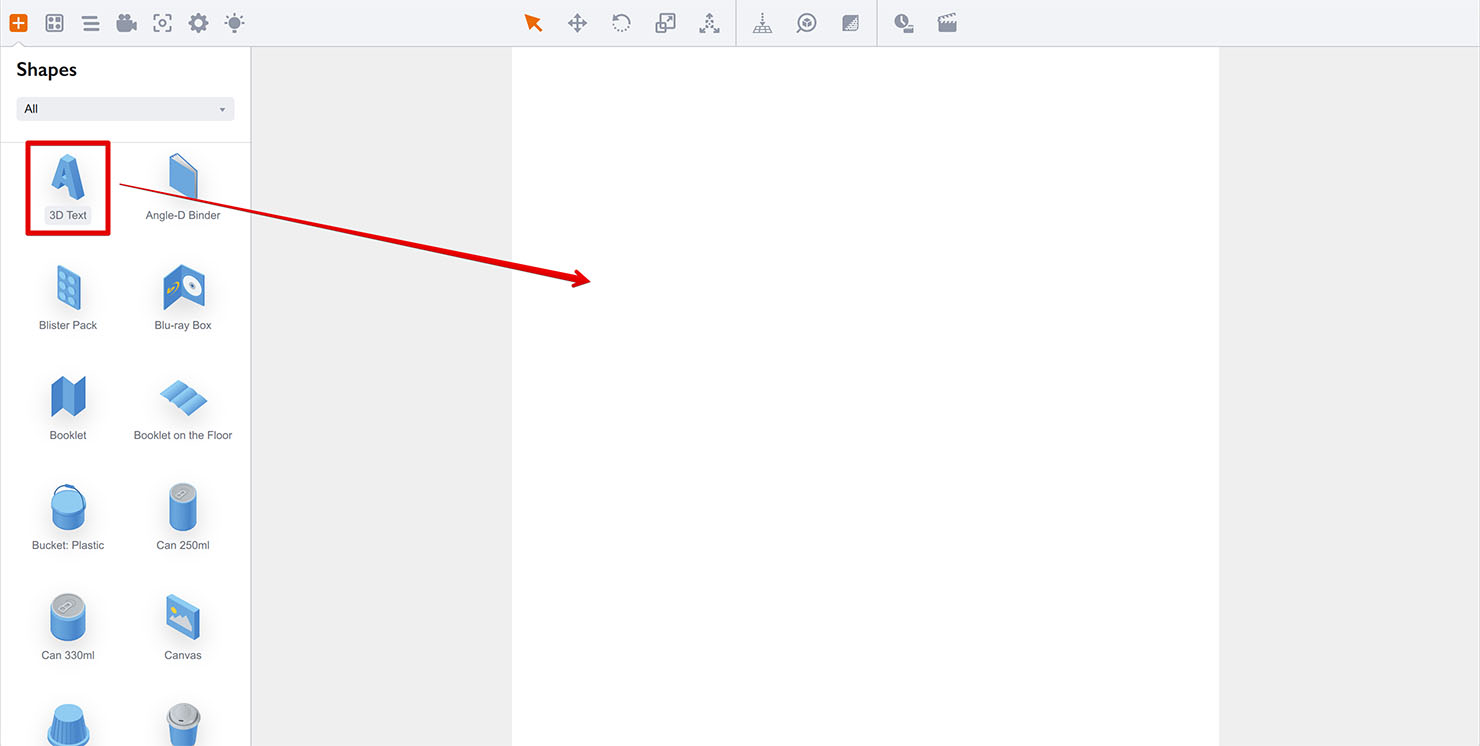
To make a 3D text object in Boxshot, locate the “Text” shape in the shapes panel and drag it into the scene:
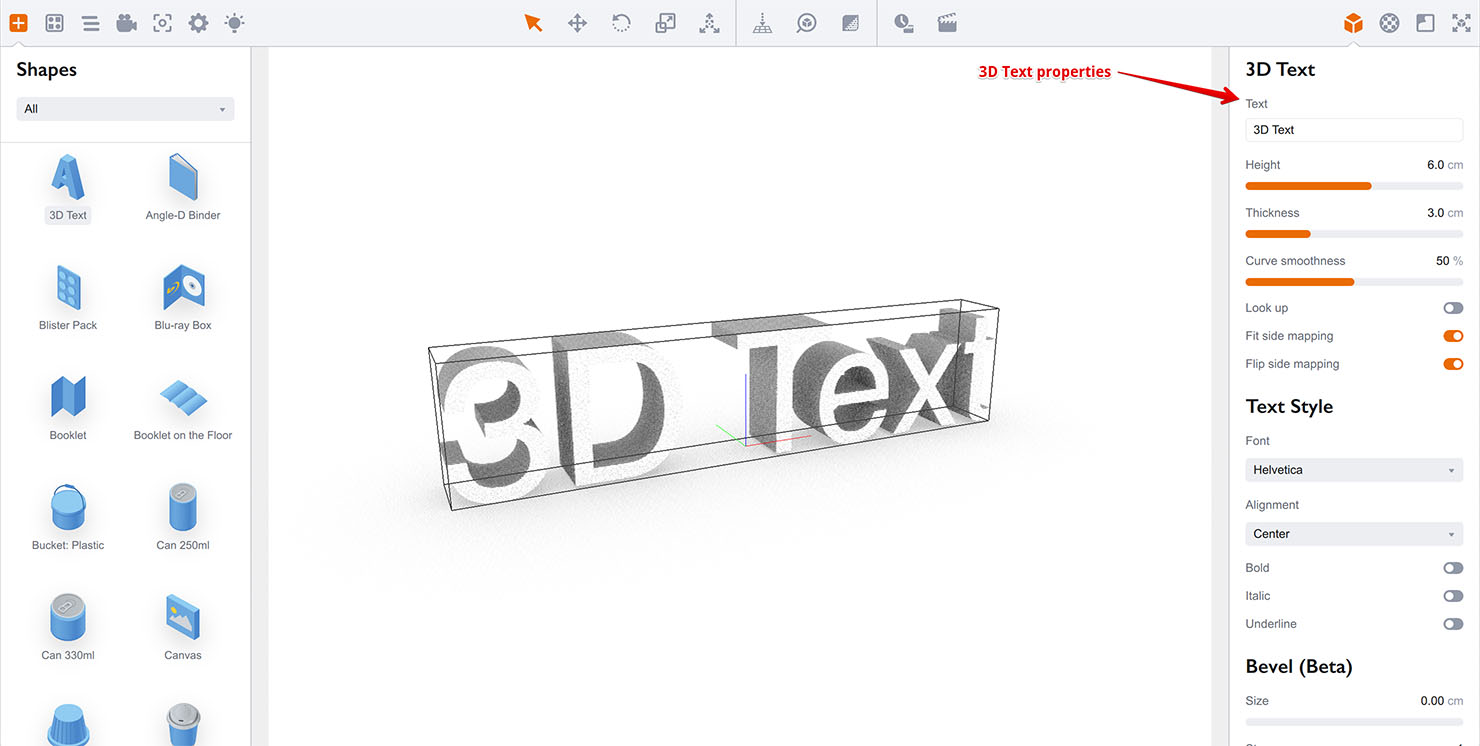
A default “3D Text” text object will appear and you can see its properties at the right panel:
Configuring 3D Text Properties
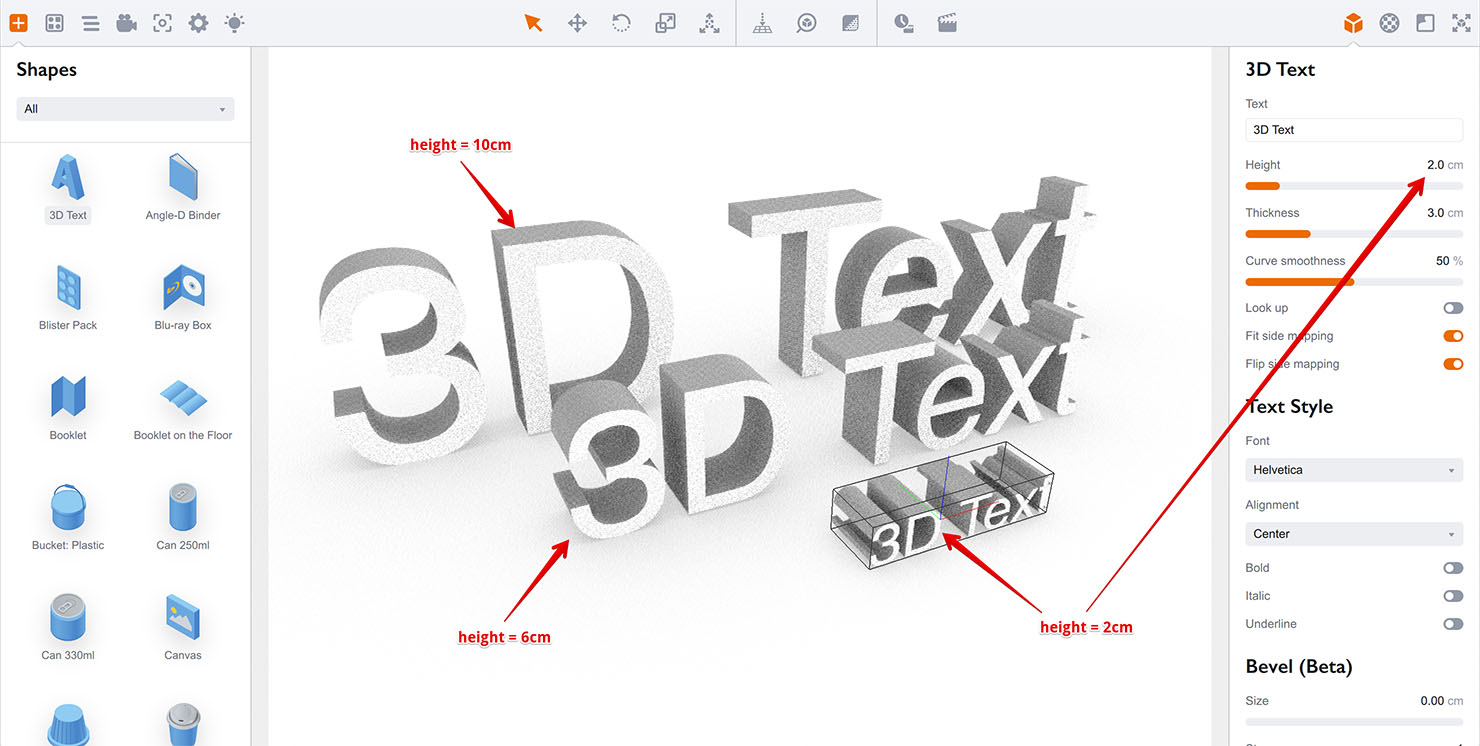
Boxshot measures text height in centimeters, not points to make it more convenient for 3D space. The height is measured by so–called “cap height” — the distance between baseline and cap line (the top part of the uppercase letters). Below you find 3 text objects with different heights:
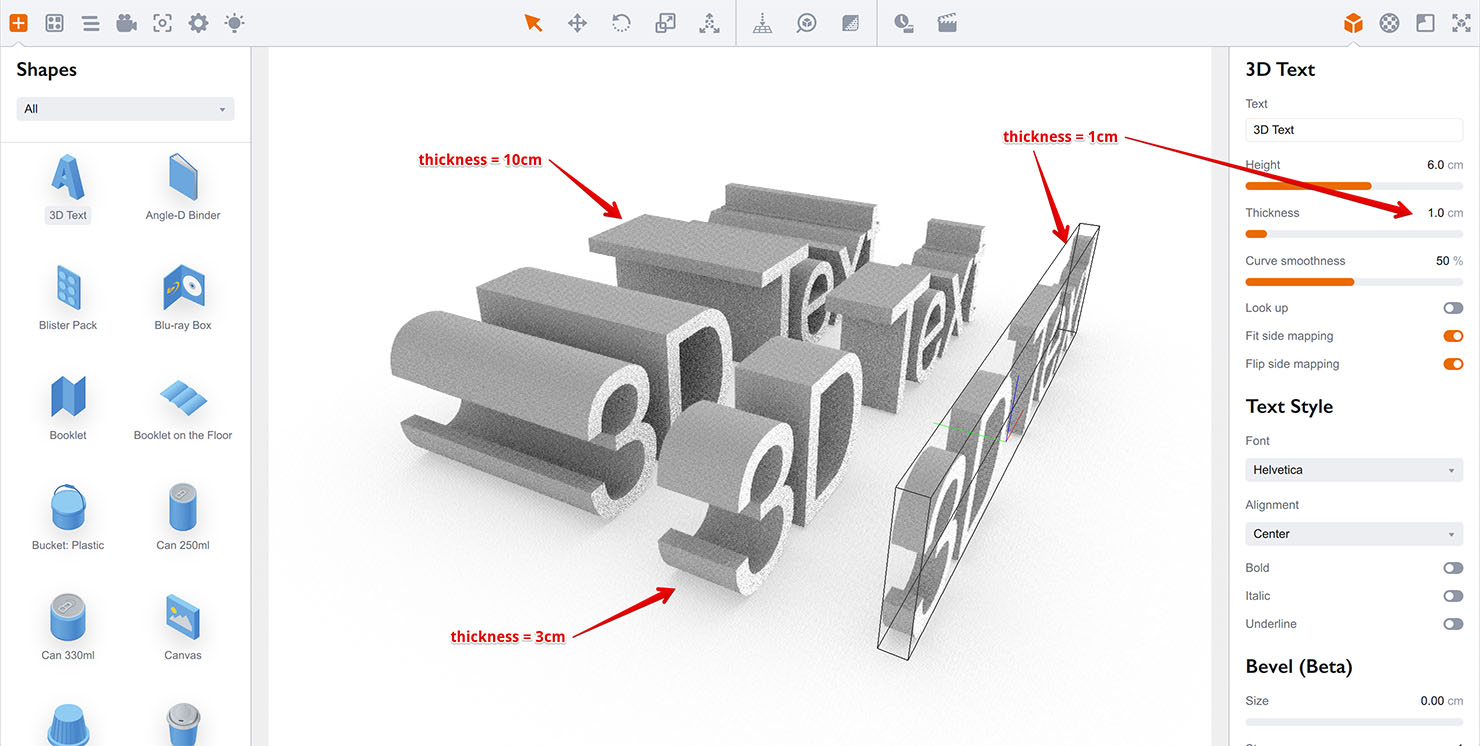
The same for thickness. Here are the same text objects with thicknesses of 1, 3 and 10 centimeters:
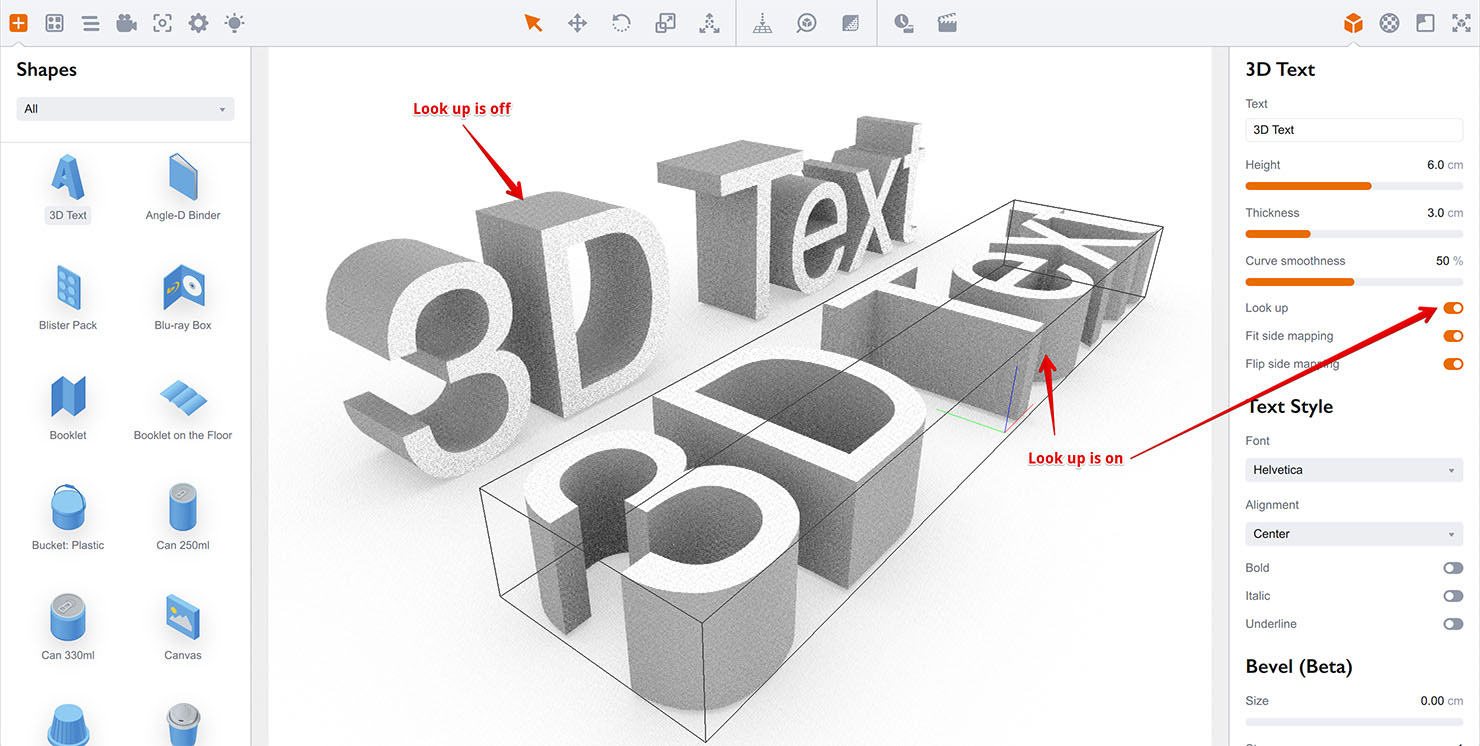
The next Look up option tells Boxshot how to place a text object. If you check it, Boxshot will lay 3D text down on the floor, so it looks up. Otherwise it stands it up, so the text looks front. Note that you can do the same using the rotation gizmo, this option is just for convenience.
Boxshot does not support multi–line 3D text, so you’ll need to make a few text objects (one for each line) if you need multi–line text. In order to keep the texts aligned, Boxshot has a special alignment control. The default pivot point of a text block is located in the center of its bottom. You can shift it to the left or right end of the bounding box, moving the text right or left respectively:

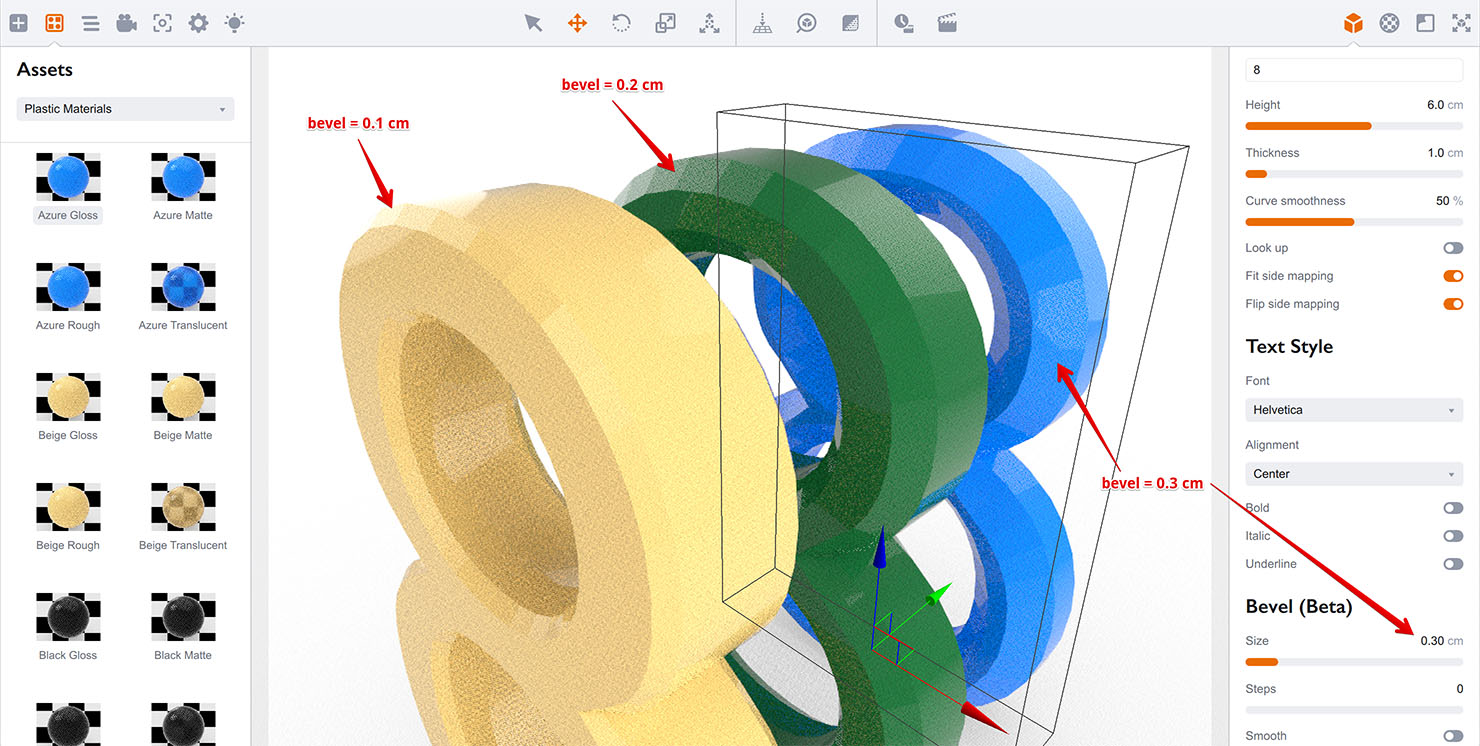
Adding Bevel
Boxshot lets you enhance the shape by adding bevels to its edges. You can do so by setting bevel size to a value greater than zero (it is measured in centimeters). Below there are three similar text objects with different bevel sizes:
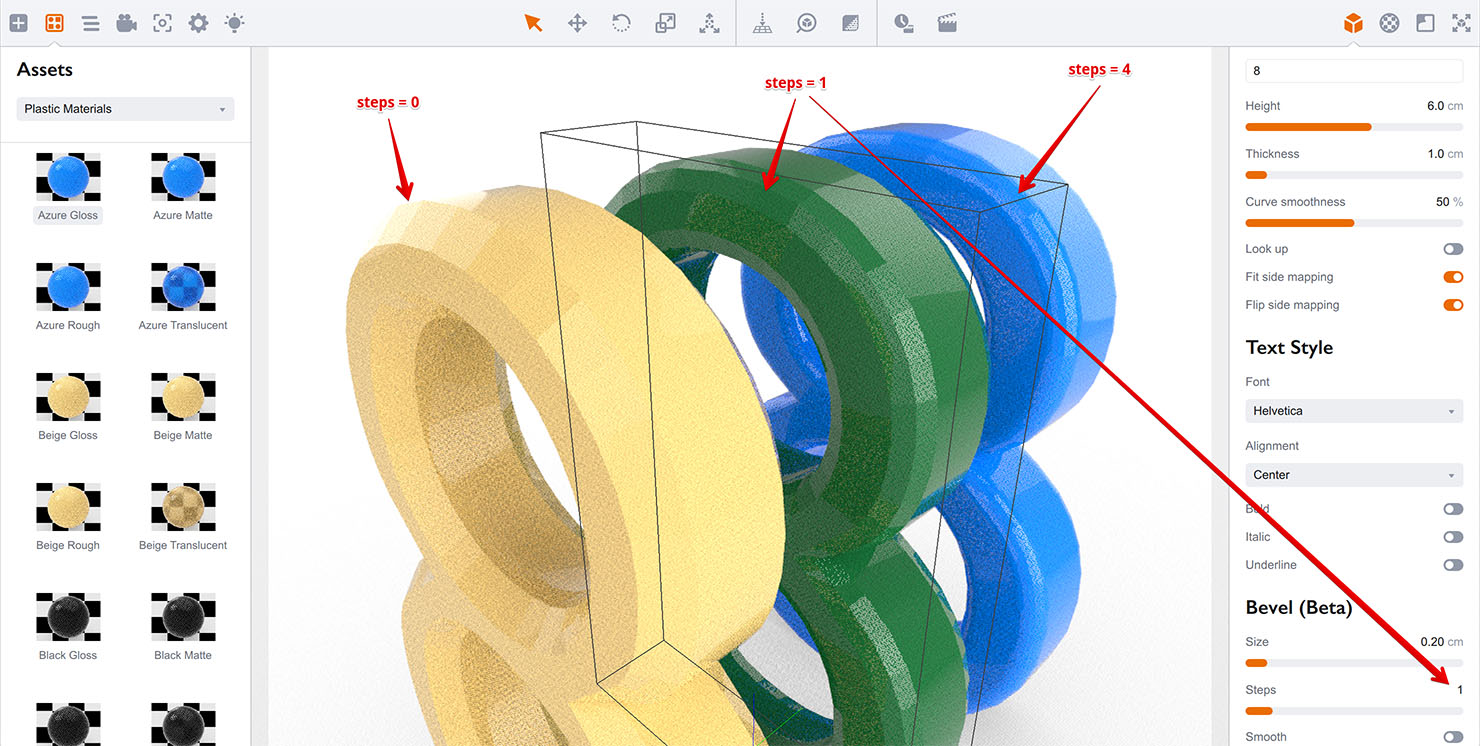
The next Bevel steps parameter lets you configure how many extra steps is added to bevel geometry. The value of zero means the bevel is just a flat surface, while values of 1 and more adds some extra geometry to bevel. Here are the difference between 0, 1 and 4 bevel steps:
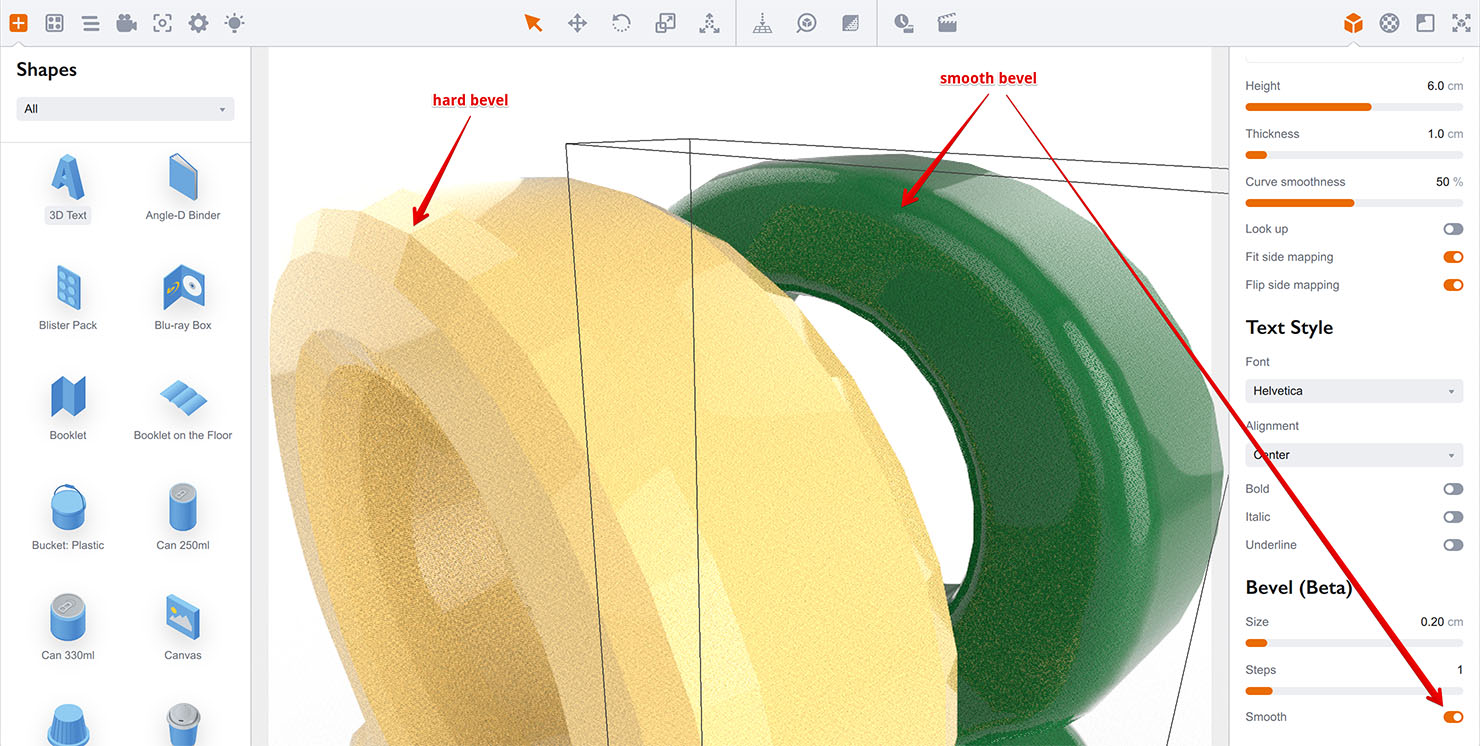
Finally, the Smooth parameter tells Boxshot what to do with bevel edges: should they be smooth or hard. At the screenshot below the left bevel is hard, while the right one has the Smooth option enabled and looks different:
Multiple Formats
Boxshot does not support several text styles/colors/materials in one text block. If you need that — just make several text objects, align them using Alignment and Distribution tools and style them the way you want.
An Extra Trick
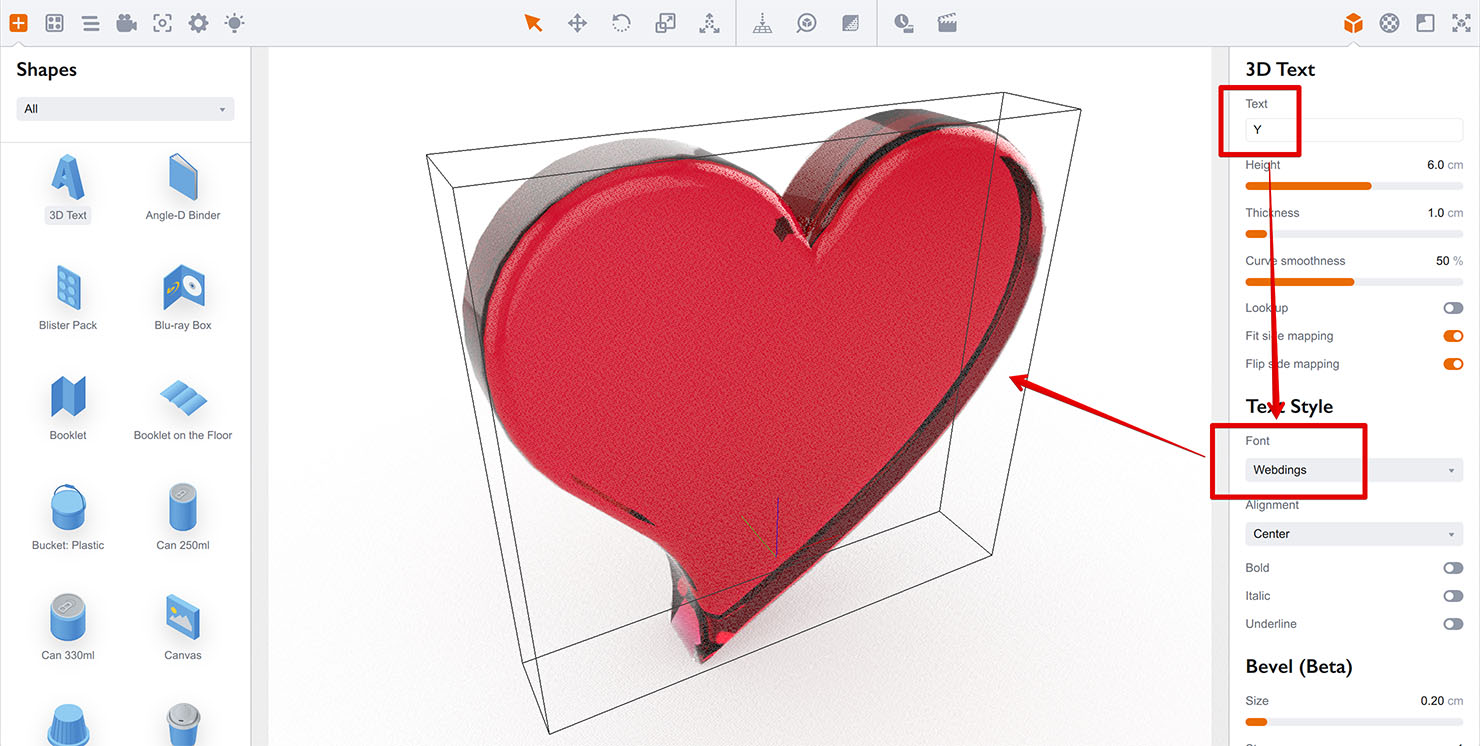
Best of all, you are not limited with just text using this object! Note that there are fonts like Windings, Webding or Symbol that have various symbols instead of letters. For instance, here’s what you can get with Webdings font:
Use Character Map application on Windows or Font Book on Mac to browse fonts and see the characters you may use.
One More Thing
Note that these are fonts and they are platform–specific. Boxshot does not store fonts in projects, so it may not load well on a different computer if the font is missing there. If you want 100% portability, consider exporting 3D text shape to Collada and loading it back as an external object. You’ll lack the ability to edit text, but get the portability you need. Exactly as with outlining paths in 2D editors.
More Tutorials
Rendering
- Realistic Rendering — improving scenes visual appearance;
- Lighting — control environment and directional lighting;
- Saturated Reflection — make "rich" colorful reflections;
- Floor Reflection — reflecting scene objects in the floor;
- Job Manager — rendering jobs later;
- GPU Rendering — rendering scenes faster on GPU;
- Rendering Time and Quality — getting more control on rendering;
- Simple and Realistic Lighting — speeding up scene rendering.
Materials
- Texture Slots — how to use texture slots in Boxshot;
- Glass Materials — how to make semi–transparent objects look attractive;
- UV–Spot — how to make a UV–spot effect easily;
- Foil Effect — how to add foil–finishing to your shapes;
- Bump — adding relief to your materials;
- Copying Materials — how to copy materials to other shapes;
- Semi–Transparent Labels — making semi–transparent and partial labels;
- Boxshot Materials — more details about Boxshot materials.
Features
- Decals — applying decals and configuring them;
- Bump Decals — applying bump where it is needed;
- Depth Of Field — adding more realism to your renderings;
- Tools — read more about Boxshot tools;
- Managing Images — how to manage image files used by Boxshot projects;
- Shapes Instances — creating lightweight copies of other shapes;
- Model Editor — edit embedded models in many ways;
- Shrink Wrap — heat–shrink film simulation for objects wrapping;
- Translation — teach Boxshot to speak your language.
Shapes
- Lathe Objects — making symmetrical objects using revolving curves;
- Loft Objects — making custom objects with 2D cross–sections;
- 3D Text — making 3D text objects in Boxshot;
- Extruded Objects — how to make thick 3D object of your flat 2D curve;
- Conical Labels — making conical labels with distorted artwork;
- Custom Shapes — adding custom shapes to the left panel;
- Third Party Shapes — importing third party shapes to Boxshot.